Lighting the aquarium is an important component of proper care for fish and vegetation. And today, LED lights are increasingly popular. We will learn how to make one of the variants of such an LED lamp for underwater inhabitants.
How to make light in an aquarium with your own hands?
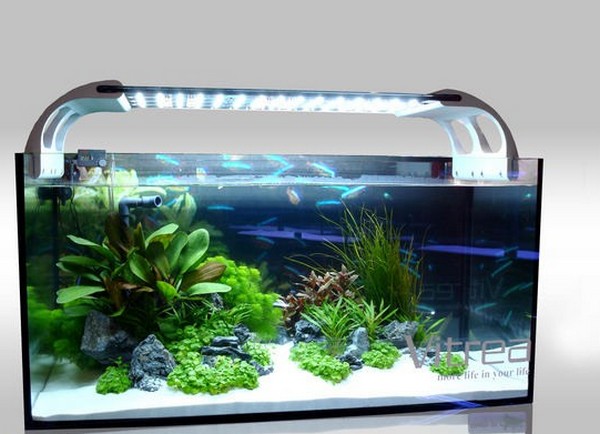
The idea is taken from the original LED lamp for the Vitrea aquarium, which costs about 1500 euros. We will be able to create LED light in the aquarium with our own hands and with much less cost.
We will use white 3-W LEDs mounted on the board in the form of stars. Since the connection scheme of our eighteen LEDs will be implemented as a serial connection of six LEDs, we will use three current sources of 700 mA, 18 W for power supply.
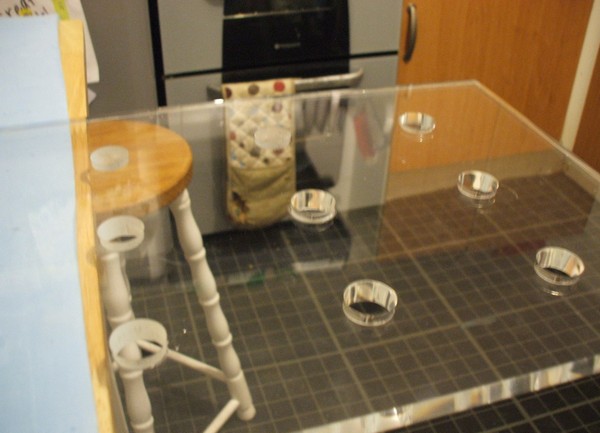
First, on a thick (12 mm) transparent acrylic, cut out in the right size, drill the holes, making a grid with a distance of 12 cm between the holes.
We polish holes and install in them lenses and holders.
| | |
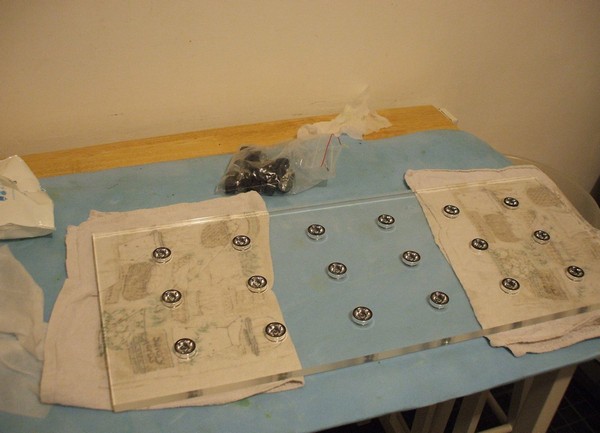
Now we install our LEDs and connect them with wires, which for waterproofing are placed in polyvinyl chloride tubes.
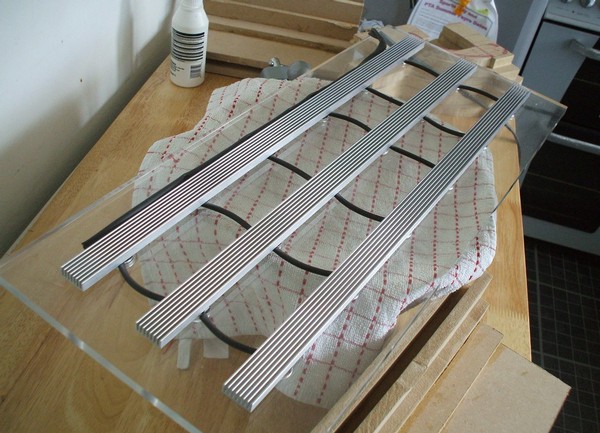
Now install the radiators needed to cool the LEDs.
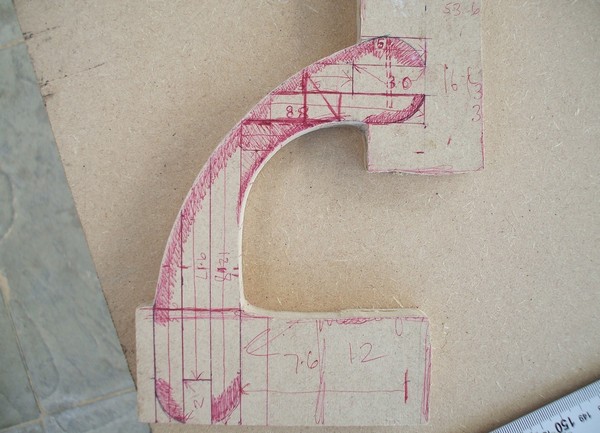
We develop and draw on the paper a diagram of the brackets, then transfer it to the wooden billets. We cut them out.
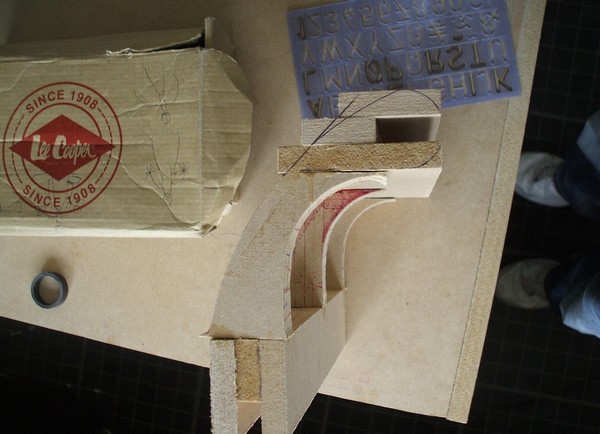
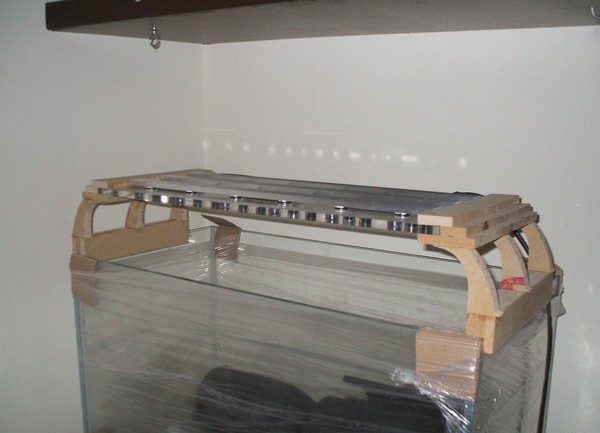
Our brackets consist of several parts, so we glue them together and wait for the glue to catch a little. After that, we put in them an acrylic sheet and install it on the aquarium. This is necessary to ensure that the lamp and its racks do not lead during the complete drying of the glue. In addition, so the whole design densely sits in its place.
| | |
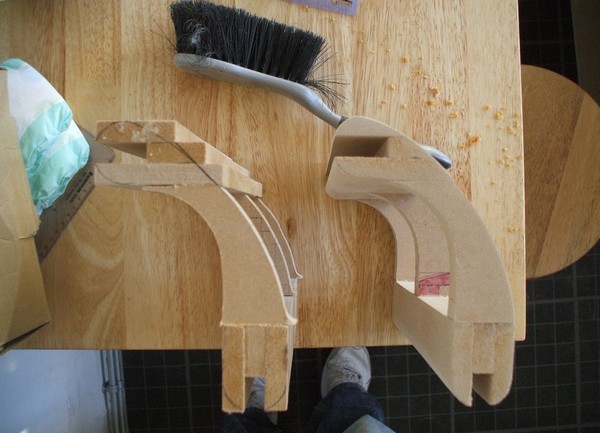
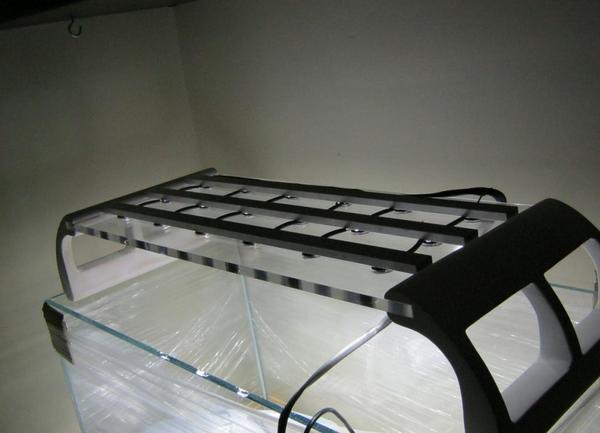
When the glue is completely dry, you need to saw and grind our brackets to give an aesthetic and neat look.
It remains only to paint the brackets in any color with paint from the can. And our lamp is ready for connection and operation.