The demand for plasterboard is explained by its versatility and ease of operation. Even non-specialists can, if desired, produce repair work with this material. Of course, installing multi-level ceilings from gypsum board is a serious matter, without special calculations and some skills, a beginner can not implement it, but with single-level systems it is much easier. In this manual we will give the main stages of this construction work to help our novice masters not make common mistakes.
Step-by-step installation of a ceiling made of plasterboard
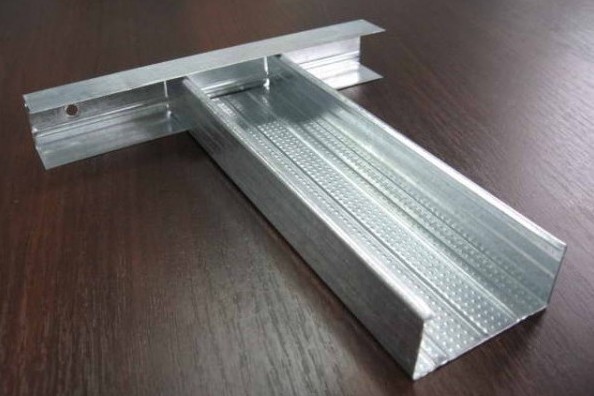
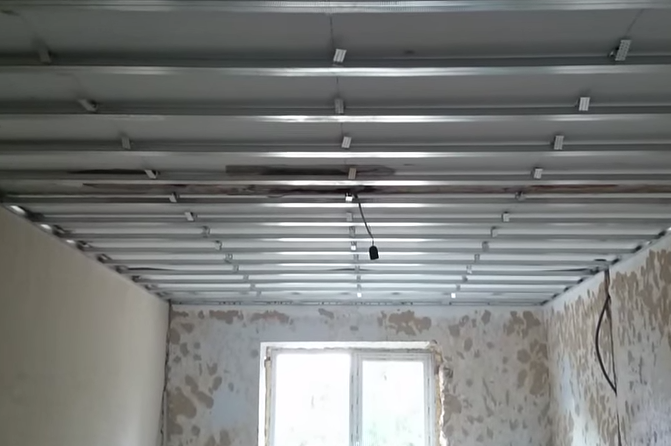
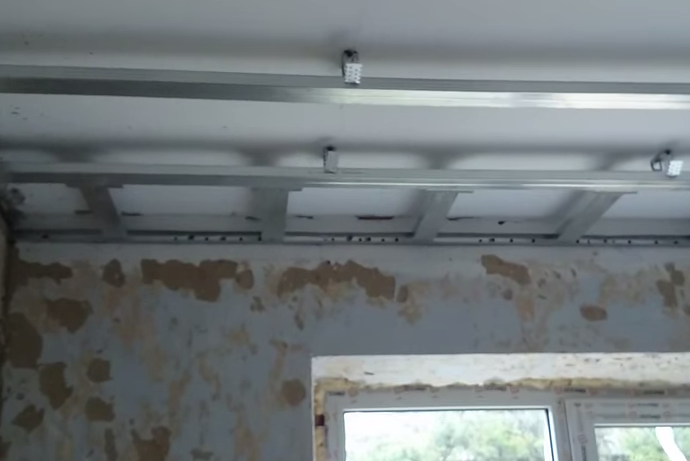
- In this case, the following metal profiles are used - UD (starter) and CD (main). UD is placed along the walls, and CD profiles are arranged along the length of the ceiling gypsum plasterboard sheets to be attached. Normally, a step of 40 cm is maintained between them.
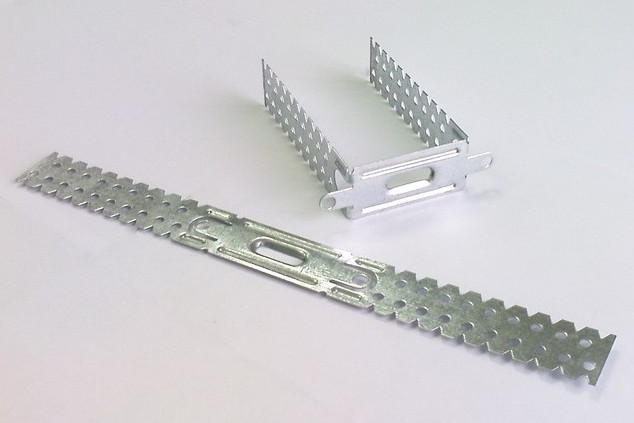
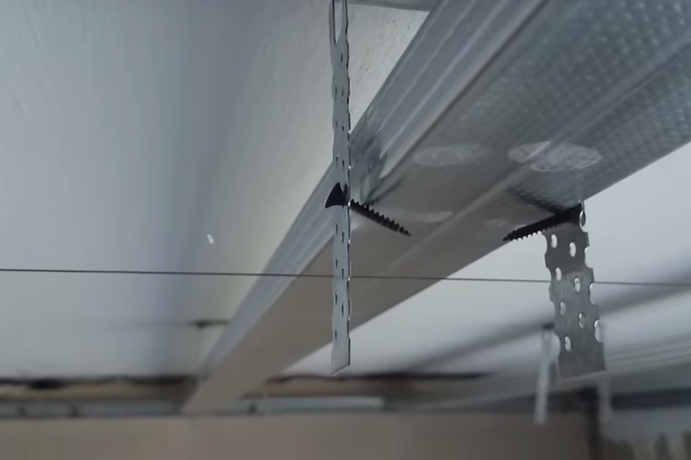
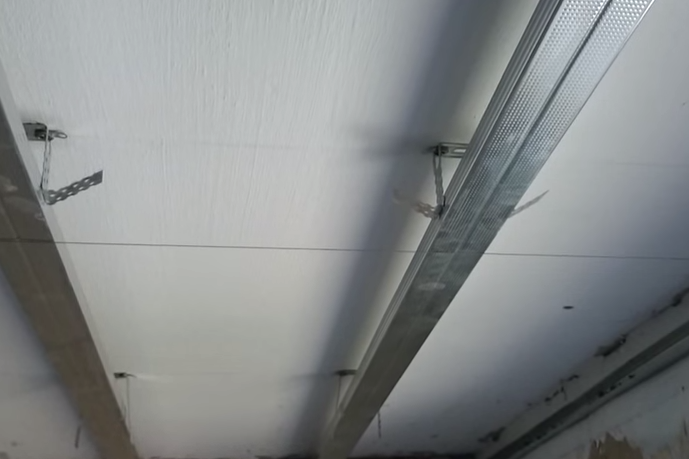
- Installation of a false ceiling from a gypsum cardboard will not do without special suspensions, giving the chance to lower plates concerning an old ceiling. If this distance exceeds 12 cm, then you need to buy spring suspensions of a slightly different design. In our case, they do not need to be applied.
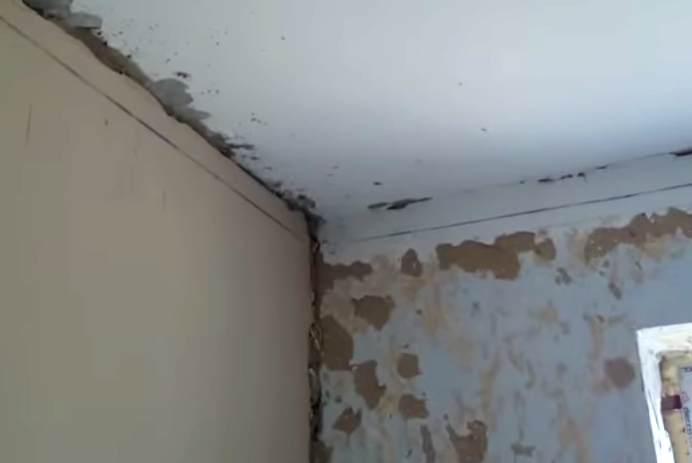
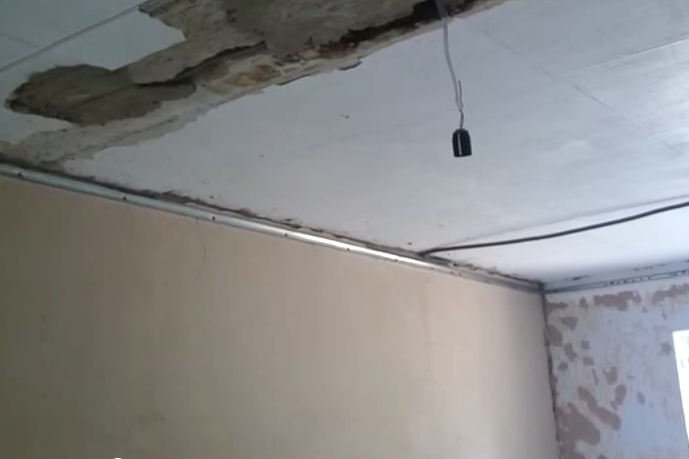
- Using the laser or water level, we put the mark at a selected distance from the old ceiling, connecting them with a solid, even line.
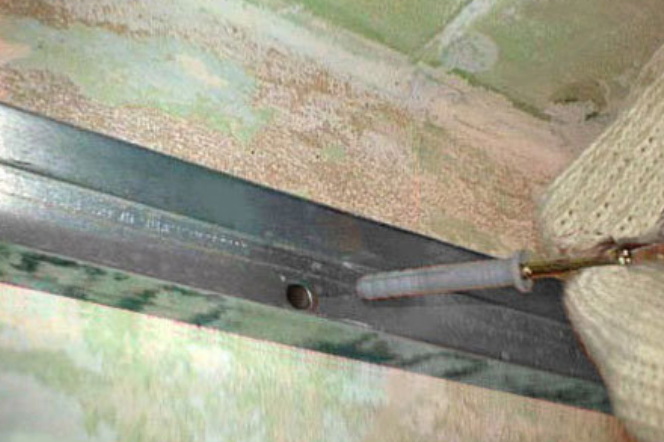
- Strictly along the lines we screw the dowels to the wall with the guide profiles.
- UD profiles in place, go to the next stage.
- We beat off on the ceiling lines, on which we will put the suspension.
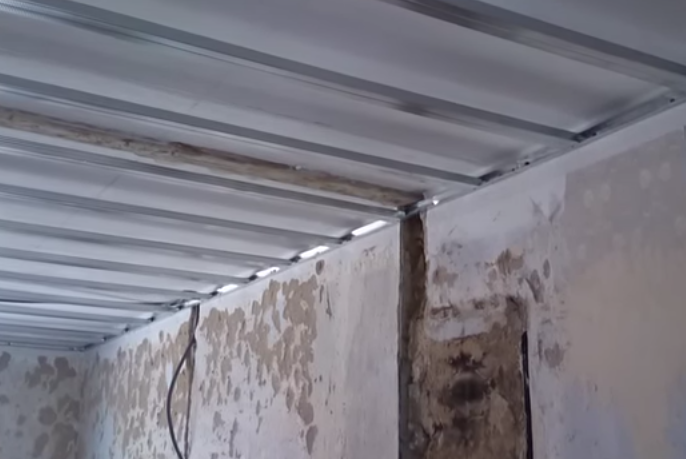
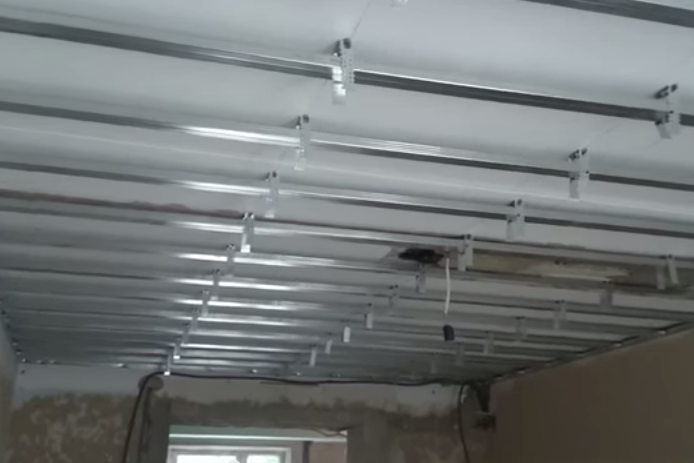
- After 40 cm in flat rows we attach CD profiles.
- We install suspensions. We can say that the first major part of the installation of the ceiling from gypsum board is made, all parts of the construction are practically in place.
- Begin the adjustment of the profile. First, pull the center of the ceiling thread, located at the height of our new ceiling, exposing it at a distance of about five centimeters from a number of suspensions. Then we raise the CD profiles a little higher so that they do not interfere with us.
- Gently lower the profile one by one down to the thread, and fix them rigidly to the suspensions.
- The same is done with other rows of hangers. The correct installation of drywall on the ceiling with your own hands, you will only carry out when all the profiles of your frame will be exposed on the same level.
- In some places it is possible to make reinforcement of the structure with additional elements.
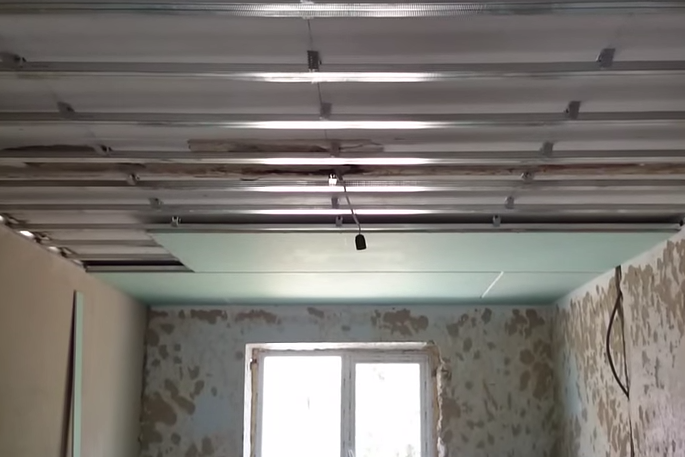
- We begin fixing the plasterboard.
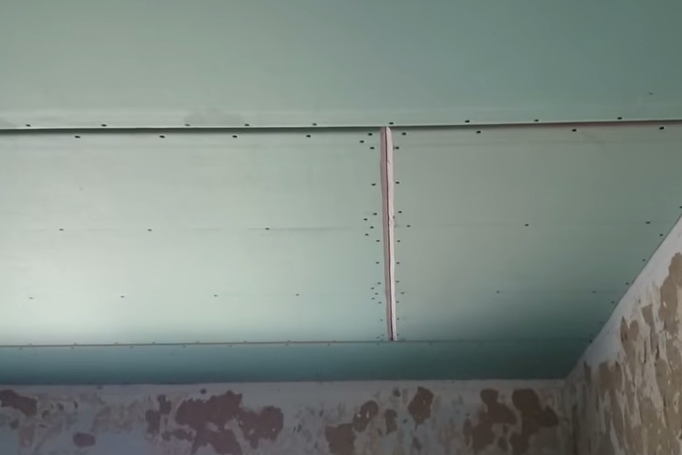
- We put the sheets in unopened. The joints are slightly cut to better fill them with a putty mix.
- The edges of the sheet should not hang in the air. Here we additionally put jumpers.
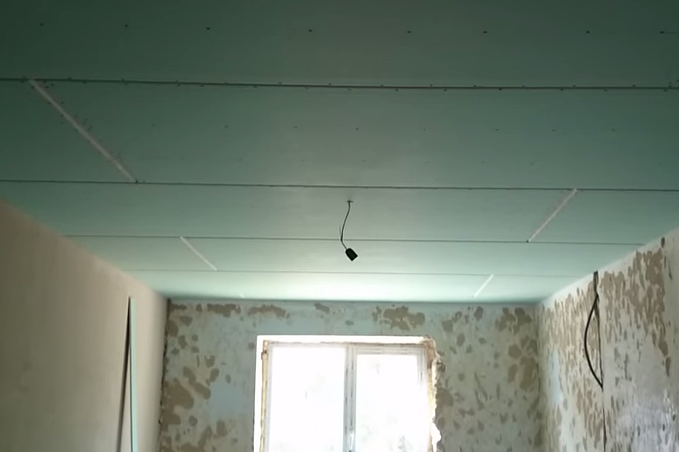
- In a similar way, we sew the entire ceiling with plasterboard.
Installation of a composite gypsum board ceiling
Having learned to make installation of a single-level ceiling from plasterboard, you will be able to proceed with the installation of more complex structures. True, the master will need to be able to make simple drawings and learn how to make from the metal profile bent shapes, the complexity of which depends on your imagination and the ability to carry it out in this room.
In this kind of work there are some features:
- the following levels have a smaller area than the previous levels;
- in some cases, the first level represents the capital concrete or wooden ceiling of the room, but a simple plasterboard ceiling can be used for this purpose and lowered to a given height;
- The basis for the construction of the second and subsequent levels of the ceiling is the framework of UD and CD profiles of the previous level;
- it should be remembered that with each level the height of the ceiling will be slightly reduced by the total thickness of the profile and drywall.
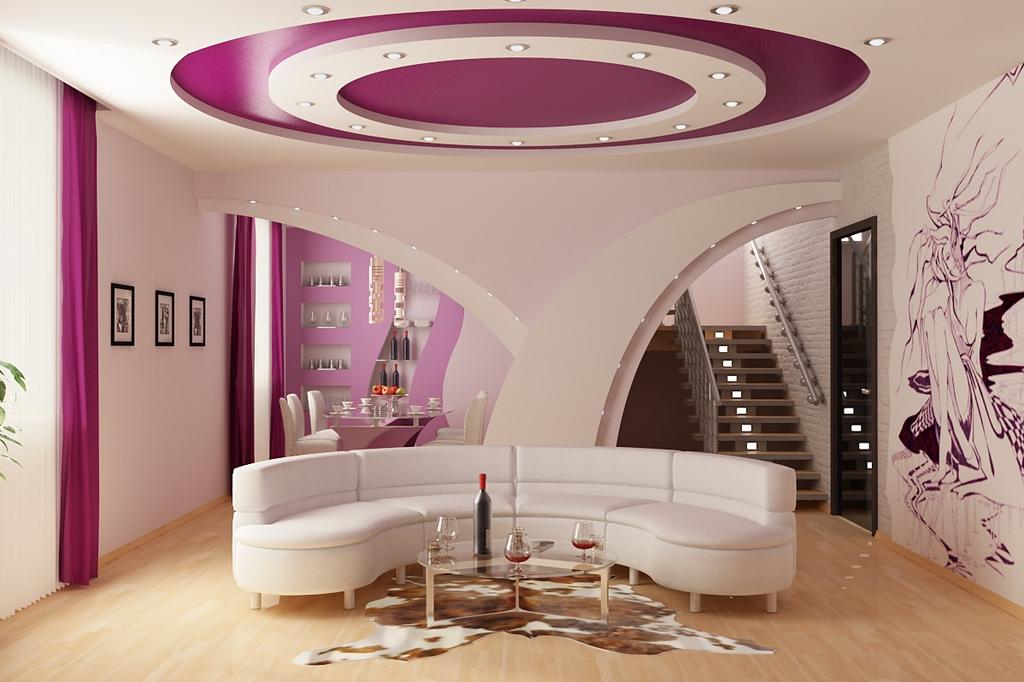
Having learned a little, it is quite possible to install a diagonal, frame, zonal or other complex ceiling from gypsum board, even create different patterns or abstractions, turning the apartment into a castle.