More and more common among girls and women are removable or overhead collars. With the help of such a fashionable accessory it is easy to give expressiveness and elegance to the most dull dress, as well as to change your image, making it more refined. In fashion shows, you can see many different collar options: lace, black, white, leather, embroidered with beads or rhinestones, every girl will find a suitable option for herself. Today this piece of clothing has become a separate element of the outfit, which, moreover, is quite simple to make at home. In the master class, we will tell you how to sew an overhead collar and how to decorate it.
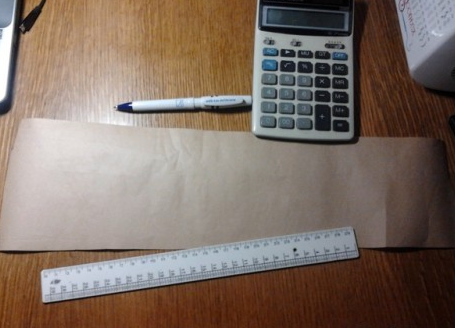
So, for this we need:
- cloth (in our case, stretches from old jeans);
- a set of rivets;
- thread;
- pins, scissors, chalk or soap;
- pliers;
- ruler, pencil, marker;
- sheet of cardboard;
Now you can start working.
How to sew a removable collar?
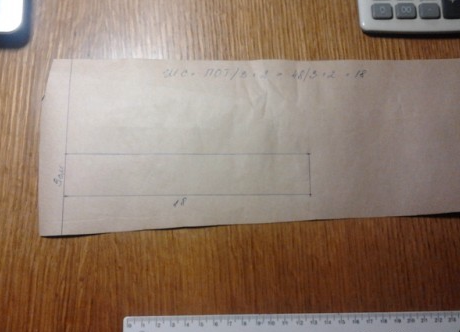
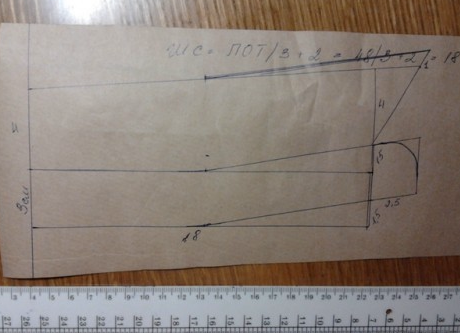
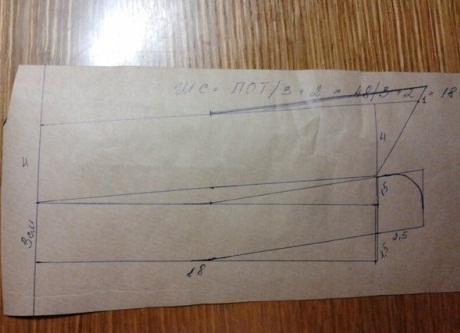
- The first thing we need to do is a pattern for a collar made of cardboard. To build a pattern, we first draw a horizontal line 18 cm long and 3 cm wide on a sheet of cardboard.
- Then two horizontal lines are divided in half, on the one hand we lift vertically by 1.5 cm and then continue by 2.5 cm, rounding the corner.
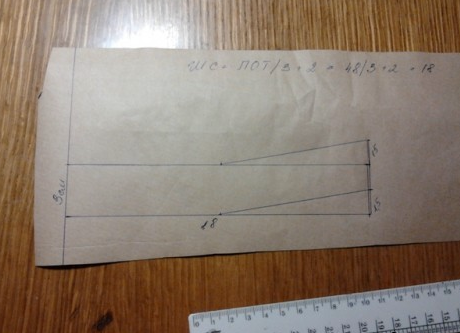
- We lift 4 cm from both sides, then connect these points. On the upper edge of the raised side by 2 cm, we continue the line, we extended it by 1 cm, then we connect the points along the new one from the middle point.
- Now we need to narrow the collar. In the center we notice the width, and draw a line, in our case the width is the same.
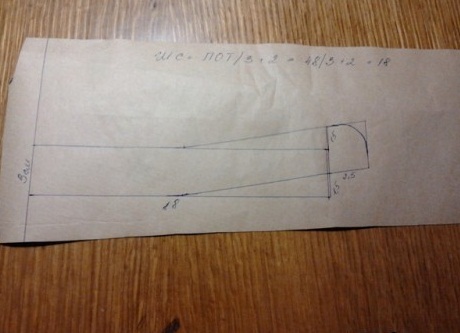
- Circle the marker all the lines, mark the line for the loop.
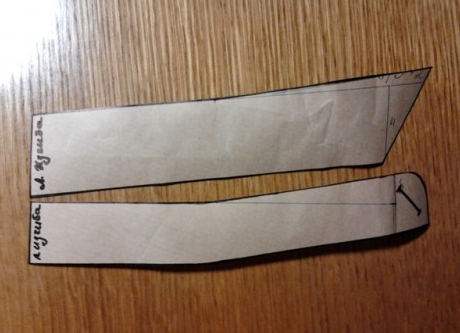
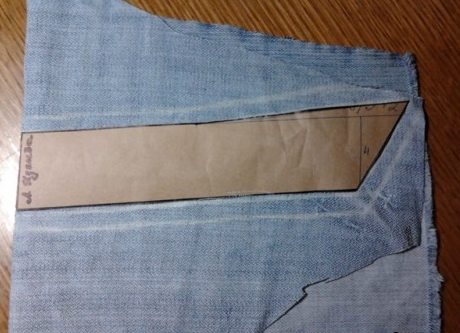
- Cut out the finished pattern.
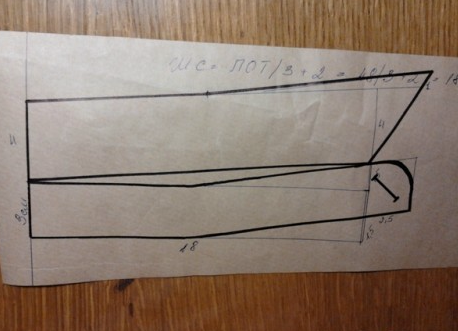
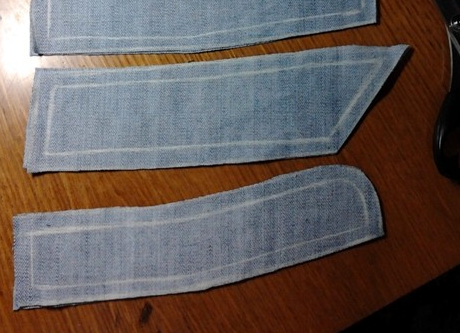
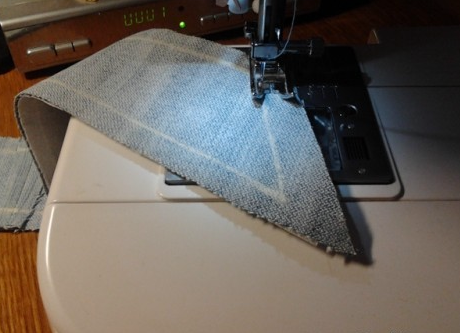
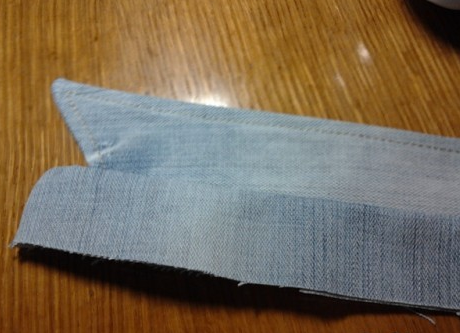
- Next, we need to transfer the pattern for a removable collar made of cardboard to the fabric. We apply a pattern to the fabric, we draw around the contour, also draw a contour at a distance of 4 mm from the edge of the cardboard. Then cut out a pattern from the fabric.
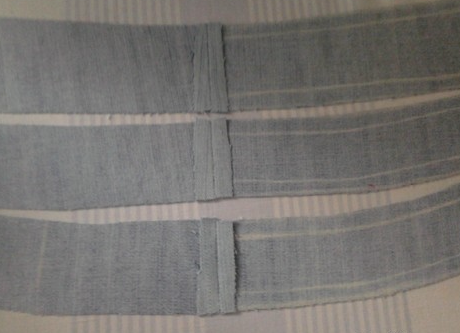
- Now that our collar is made up of parts, we sew some of them.
- To one of the halves we glue the fleece.
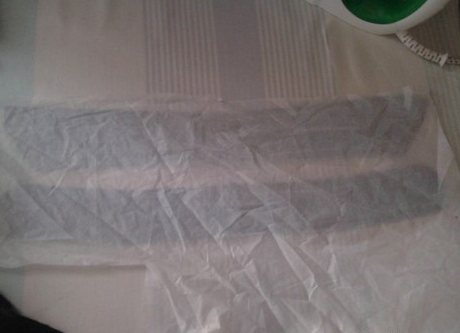
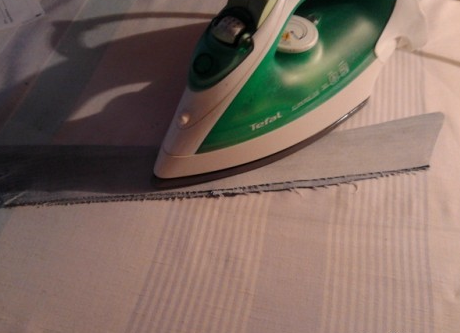
- We steam everything off with an iron.
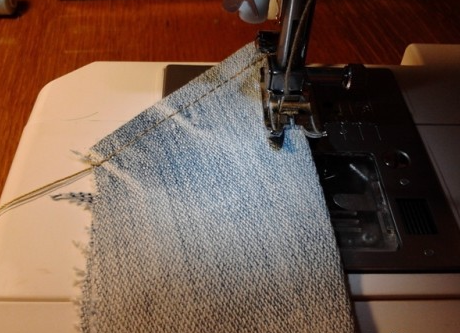
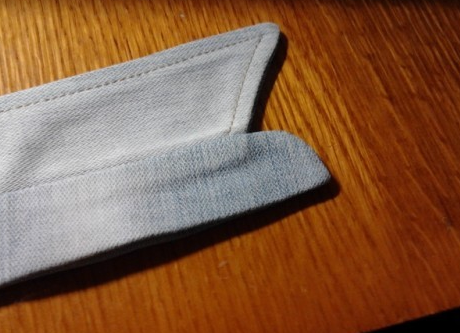
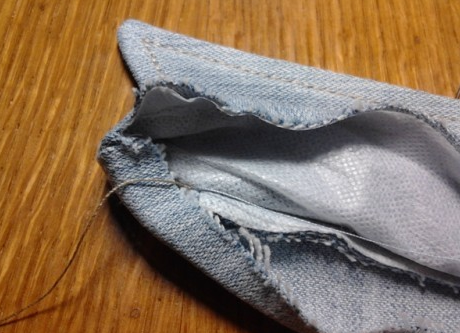
- First we sew the collar along the previously outlined line.
- Crop the corners and turn them around.
- And again we steam out.
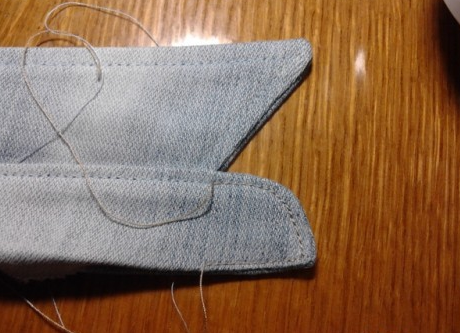
- A dense orange thread makes a respite.
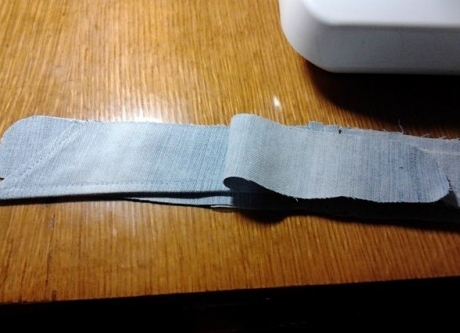
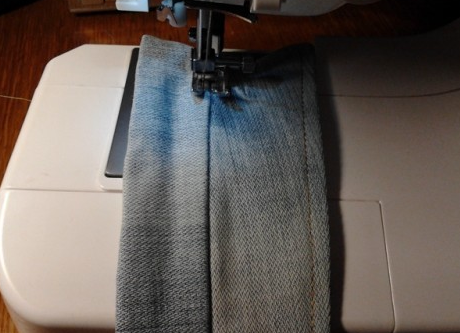
- Then we cover the collar with a stand and sew it.
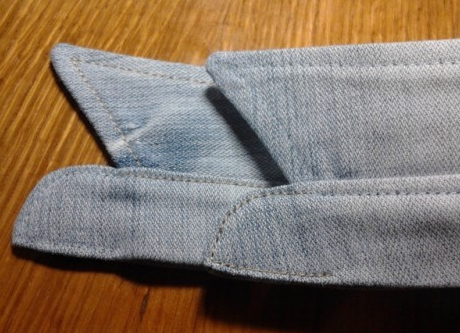
- Slightly cut off and do notches on the semicircle of the rack, after it is turned out.
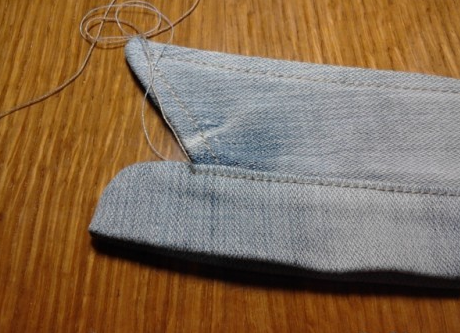
- Now bend the edges of the rack, again steam off with an iron, and our collar is almost ready.
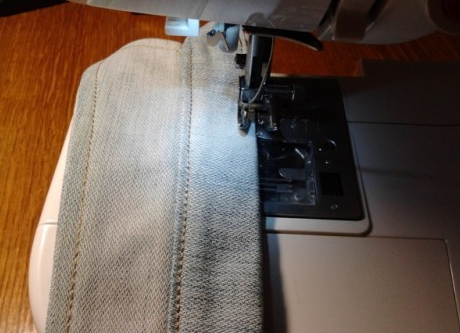
- Dense orange thread, we impose a rack, but not all.
- We drag in the middle of the rack of the tail of the thread, there we cut it, then we process it with the same thread of the semicircle on the other side.
- Just again, we turn everything over and process it, hide the sticking threads.
- Orange strings do not completely stop the rack.
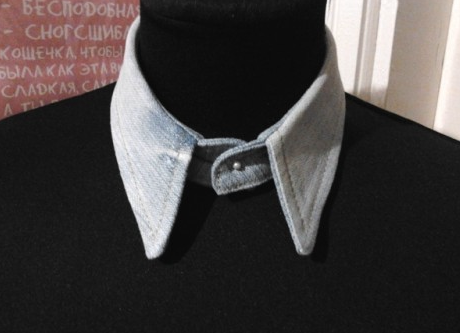
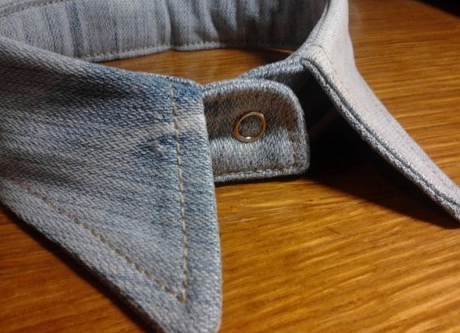
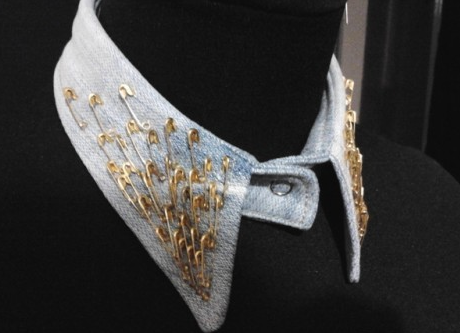
- Here's what we got:
- We showed you how to sew a collar, now we show how it can be transformed.
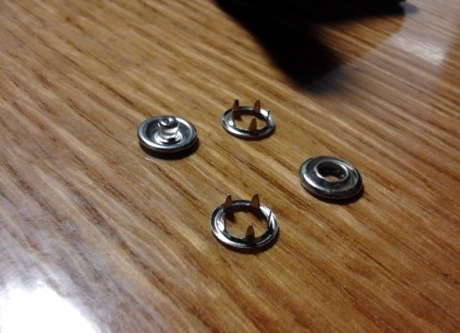
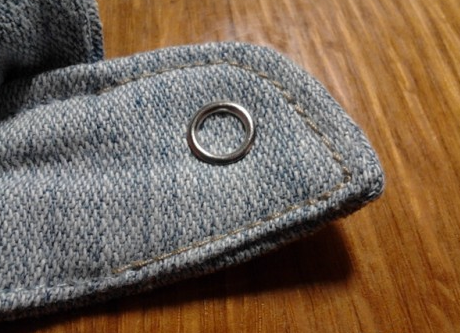
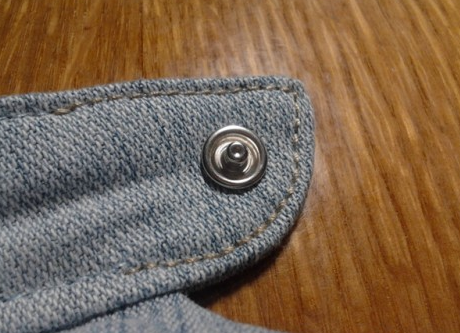
- We need to fasten the rivets, so that the collar can be fastened.
- For this bottom part of the rivet pierce through the rack.
- We cover with the second part from the back of the counter and we squeeze all the pliers.
- In the same way we act on the other side, the rivet is ready.
- Let's see what happened:
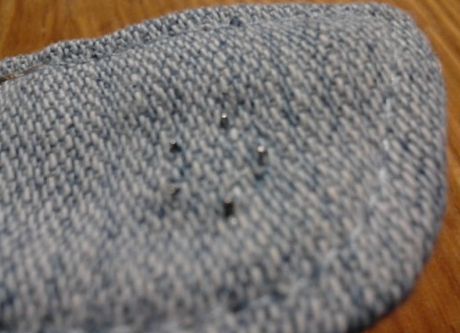
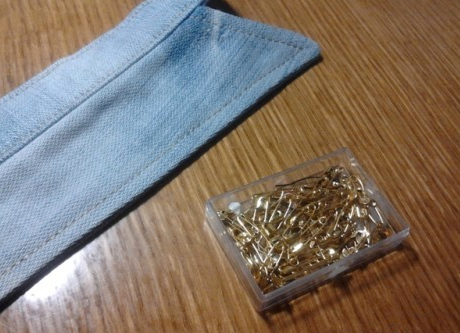
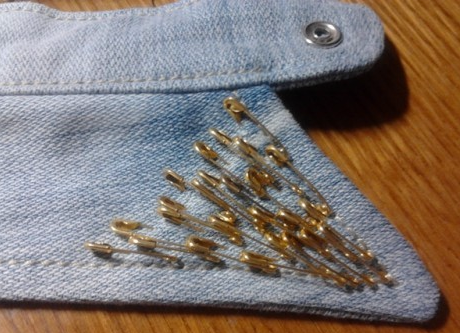
- When our collar is sewn, let's start the most interesting - to its decoration. You can use different beads, patches, make a brooch made of beads , embroidery , etc. We chose a very original way of decorating. To do this we will need ordinary pins of a small golden color.
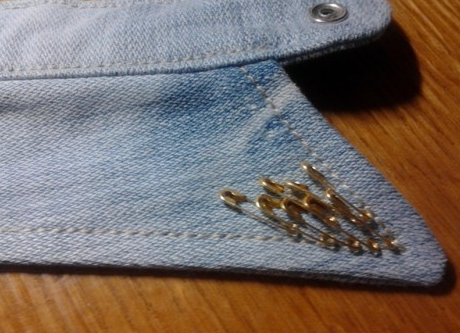
- Pin pins one by one like a flower, in each row reducing their number. Here is the beauty we got:
Now you yourself saw that it is not difficult to sew a collar with your own hands. We are sure that you will not be any worse.