The universality of the laminate lies in the fact that it can be laid on a base of different types: concrete, cement screed, self-leveling floors, linoleum, glued parquet and even ceramic tiles. The main requirement is that the floor must be clean, dry and even.
How to lay the laminate yourself - practical recommendations
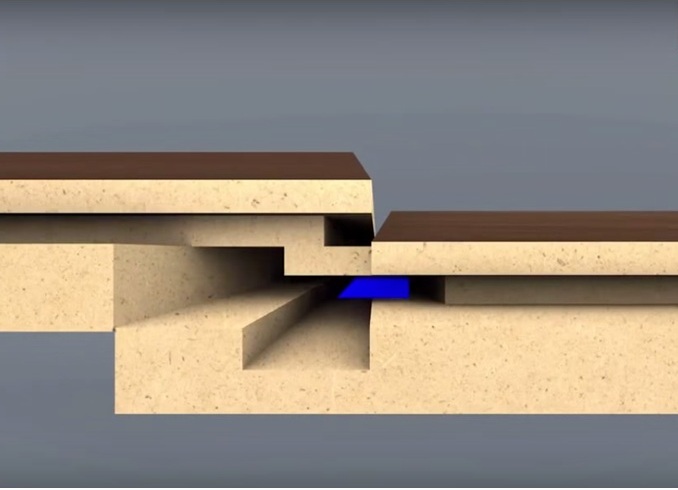
Easy installation of the laminate is largely due to the way the panels are connected together. In our case, we will use a simple click type lock.
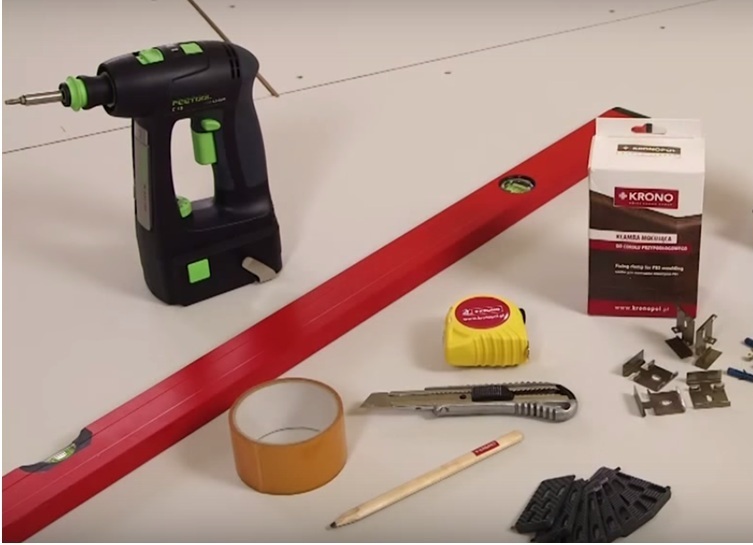
That's why the set of tools is minimal: a minimum level of 1.5, a jigsaw, a drill, a tape measure, a knife, a self-adhesive tape, wedges and staples.
In addition to laminate panels, a vapor barrier film with a thickness of 0.2 mm and a substrate of at least 2 mm are required.
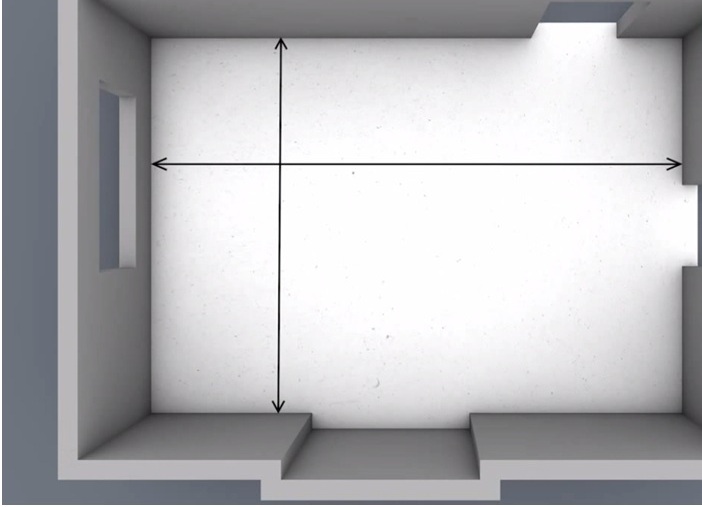
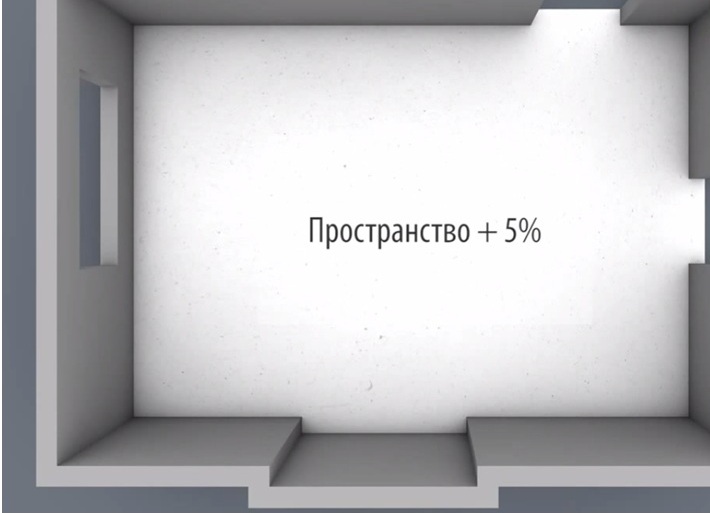
Before starting the installation, remember that when purchasing material you need to take into account the niche areas, 5% of the total area is added to the pruning.
| | |
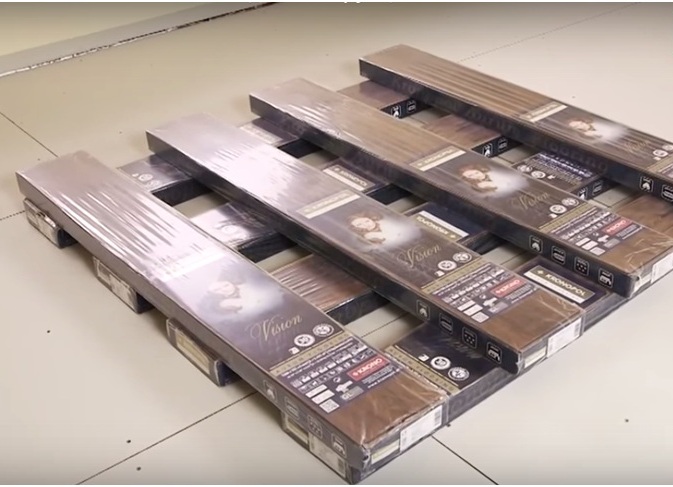
After the purchase of products, they must pass acclimatization, that is, the temperature and humidity level should be equal to the indices of the room where the work will be conducted. To do this, leave the laminate in this room for two days. Optimum parameters for the work - humidity 40-65%, temperature 18-22 degrees. In rooms with high humidity (more than 70%), this floor finish can not be done. we proceed to how to properly lay the laminate floor.
How to properly lay the laminate with your own hands?
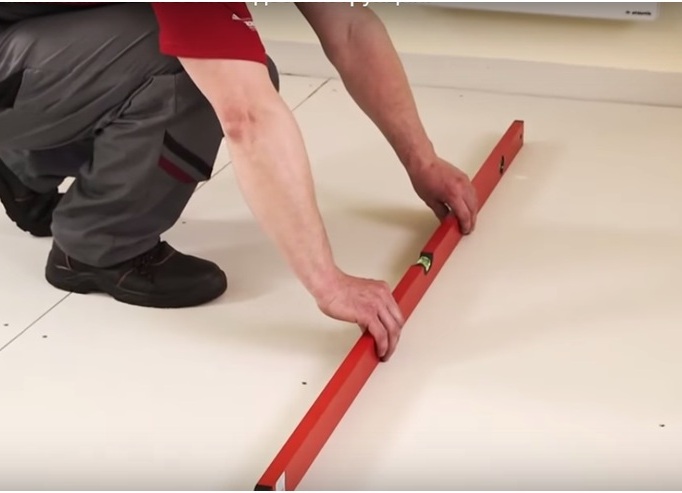
- We check the horizontality of the existing floor with a minimum length of 1.5 m. The permissible error is 2 mm / m.
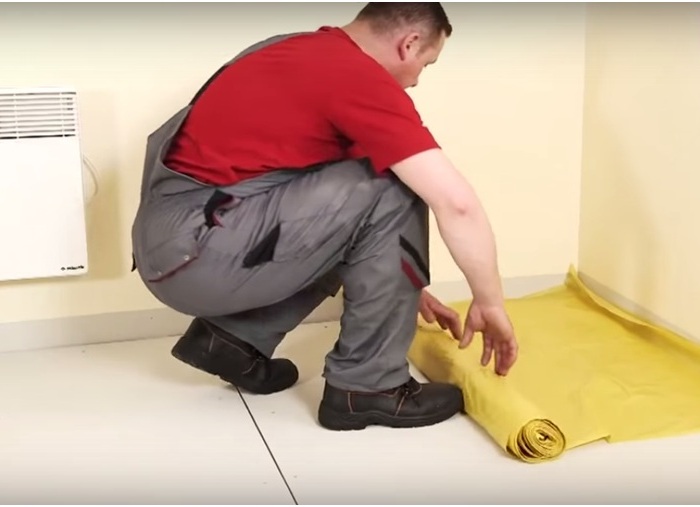
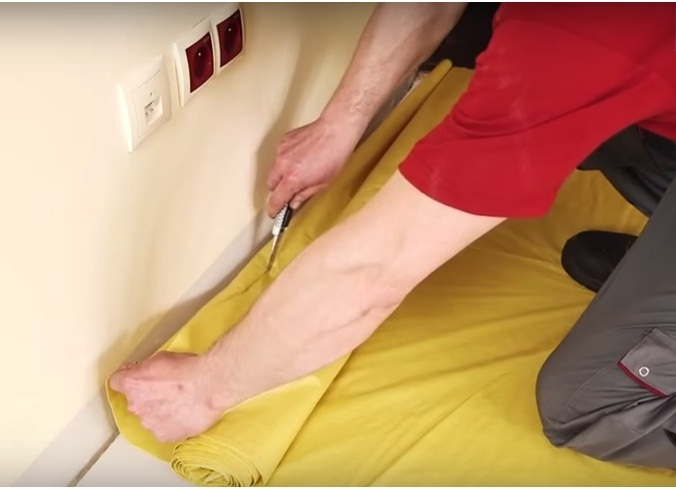
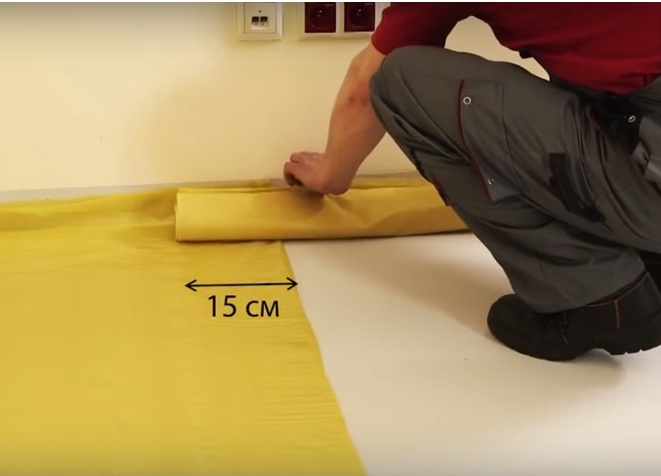
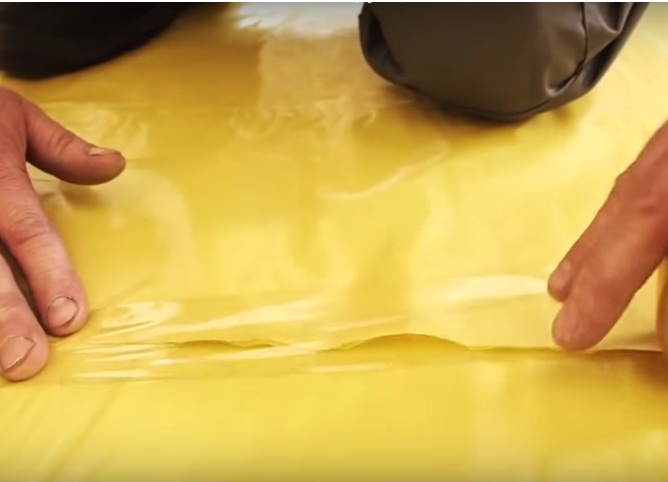
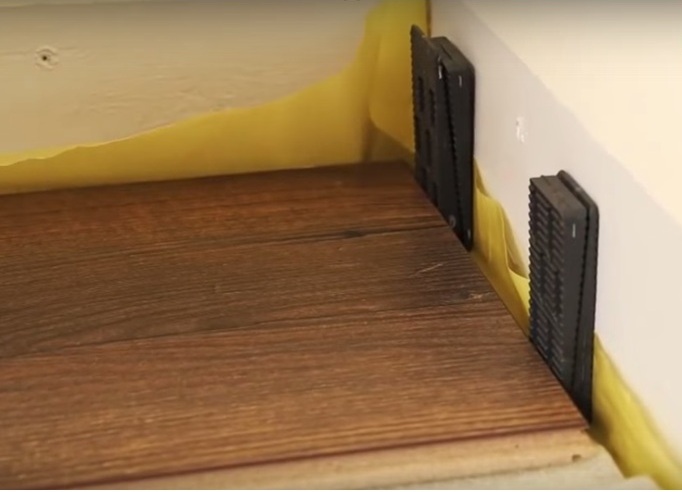
- Protection from moisture will serve as a vapor barrier film, which is laid on the entire surface, where there will be a laminate. Also tuck the film on the walls with a clearance designed for the plinth. It is necessary to make a film overlap of 15 cm and fix the position with a moisture-resistant tape.
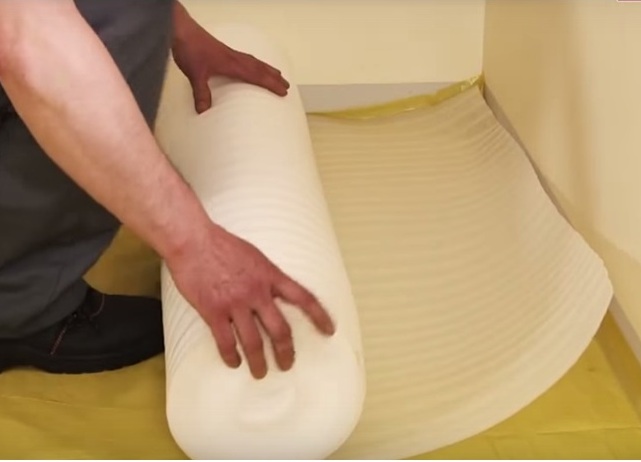
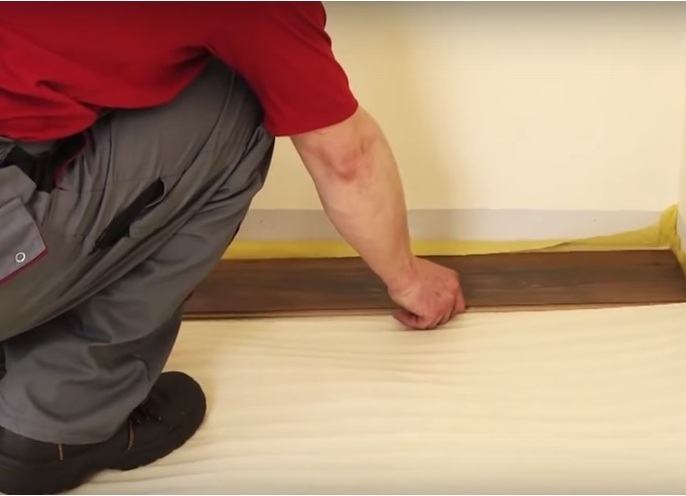
- The next layer is the substrate.
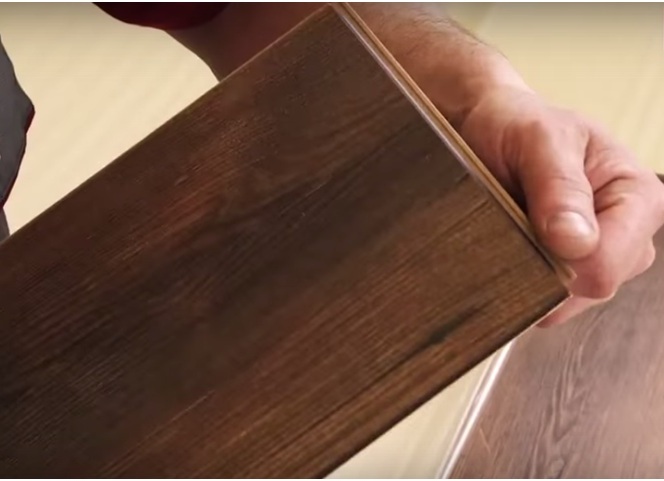
- Before installing the panel directly, inspect it for defects.
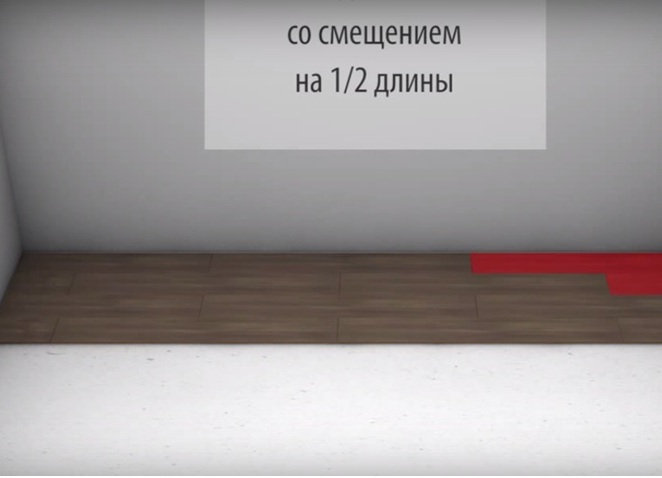
- Next, you need to determine the way the items are laid. There are several options. With an offset of ½ the length - the first row starts with a solid panel, the next one - with the cut to half, and so in turn.
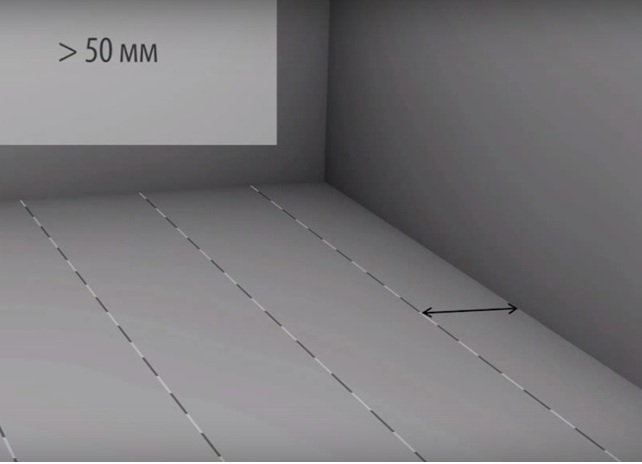
- Calculate the width of the last row, if the figure is below 50 mm, the first row should be reduced in width.
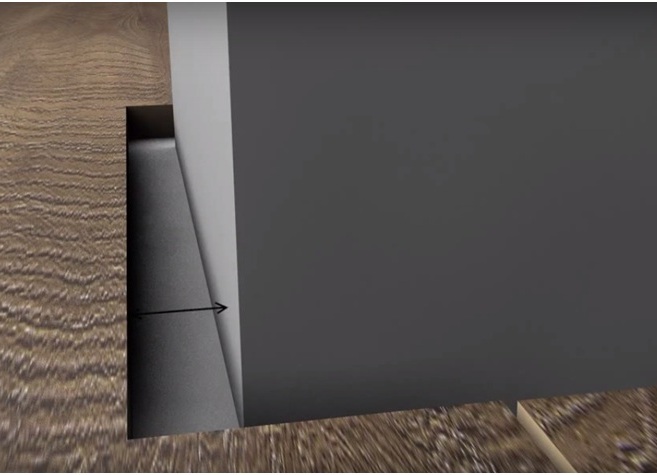
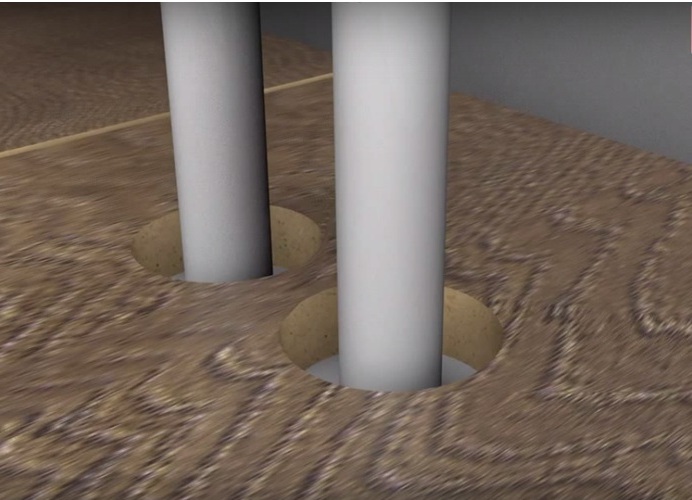
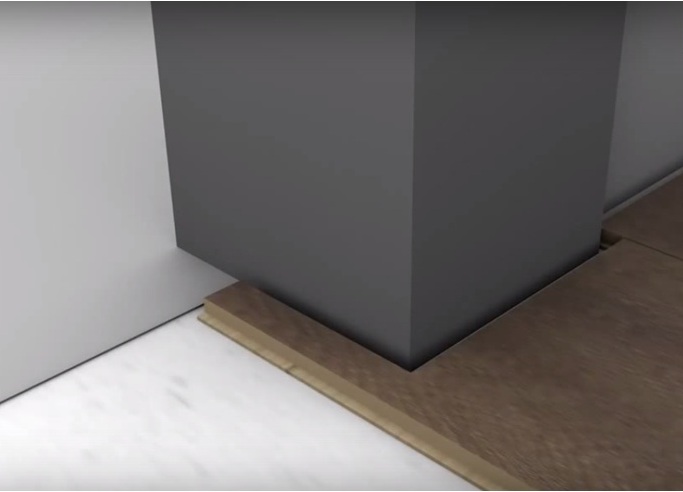
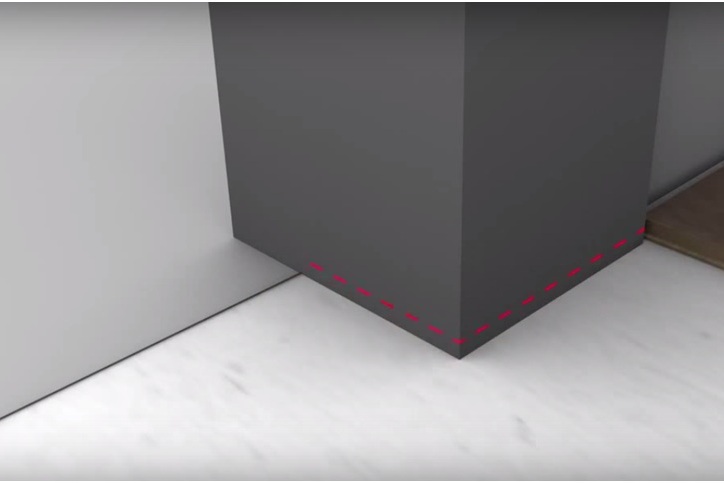
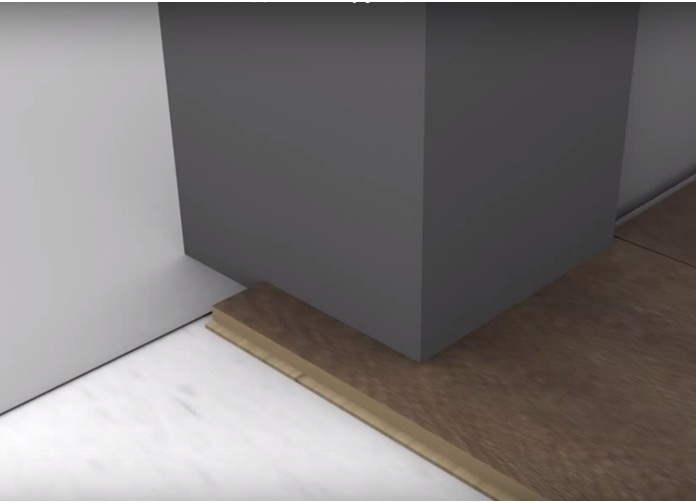
- When it comes to the column , flaps, niches, walls, leave a gap between the element and the lining material of 10 mm. As for the door frame, it can be cut.
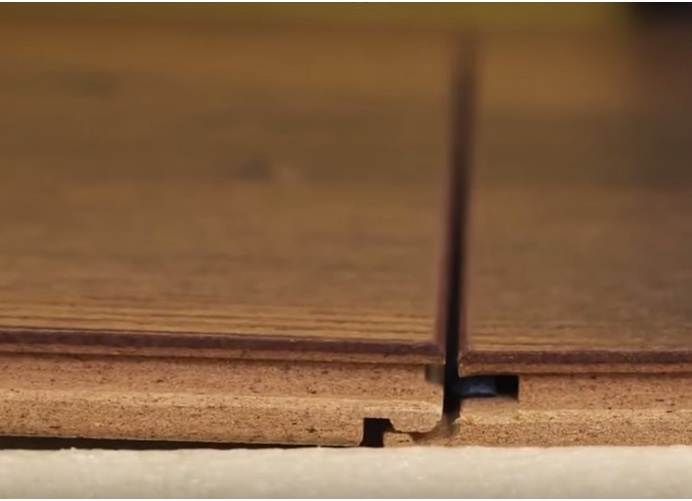
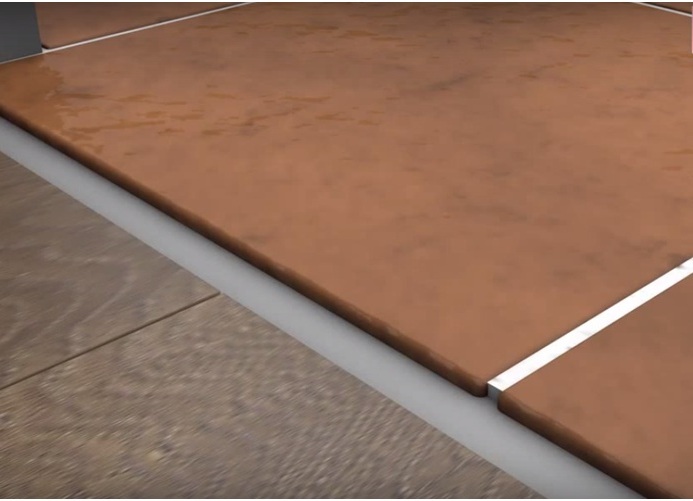
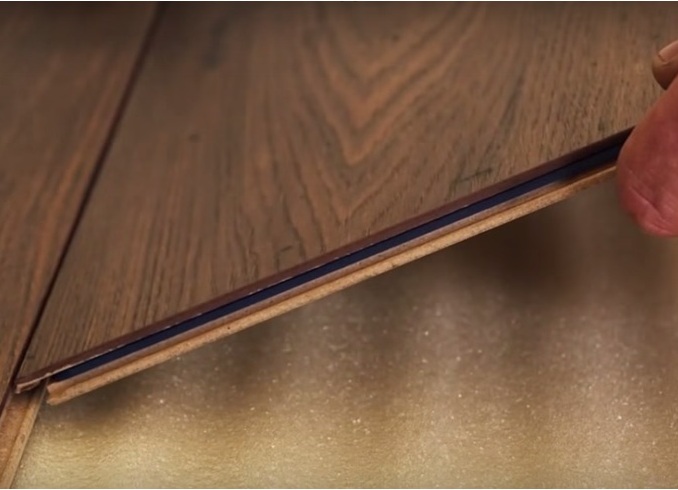
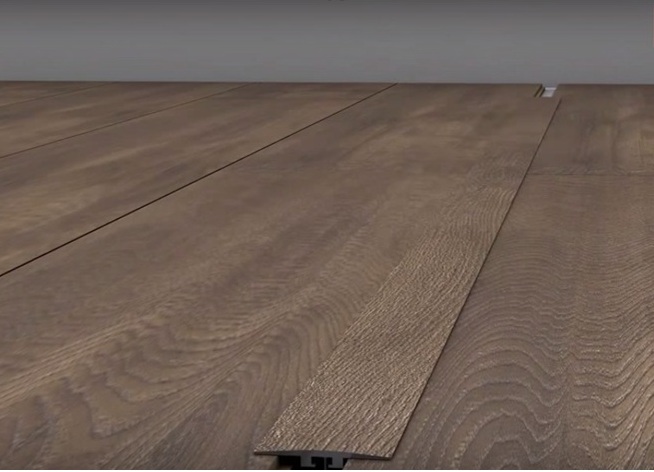
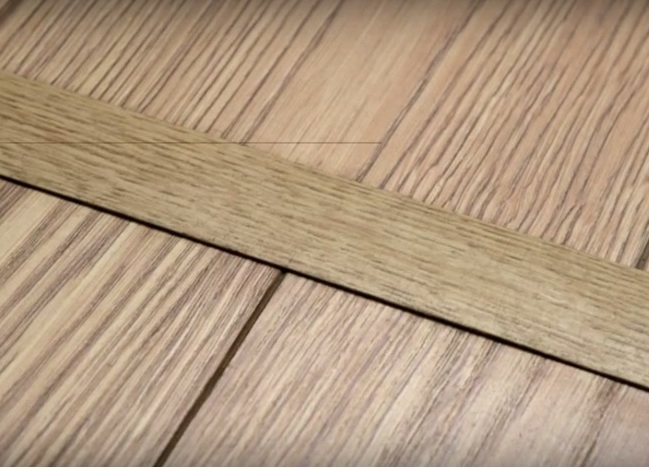
- The next row on the long side is placed at 20 degrees in the crest and is laid horizontally. Shift at the seams - not less than 40 cm.
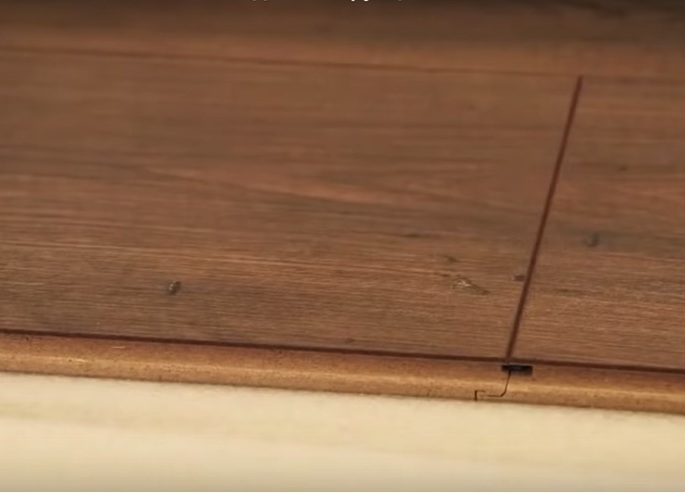
- The seam is sealed with a strap, which is fastened as follows:
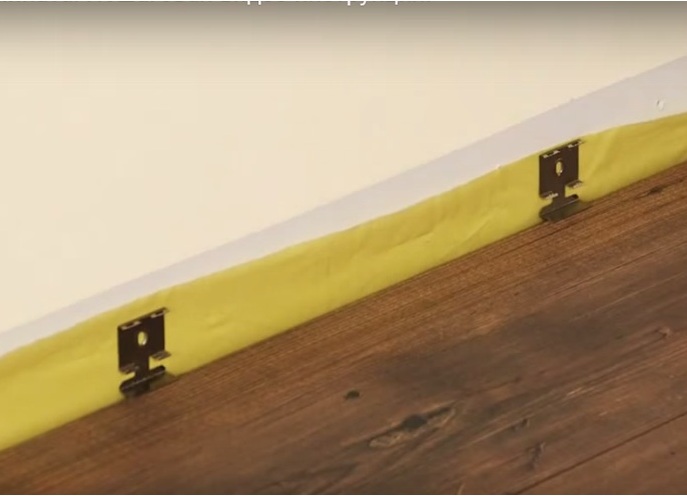
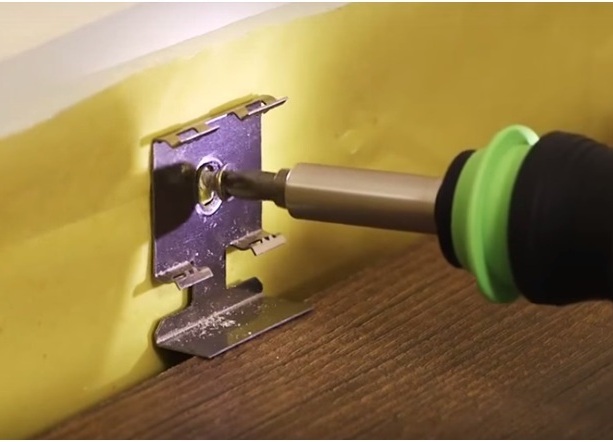
- Now start fixing the plinth.
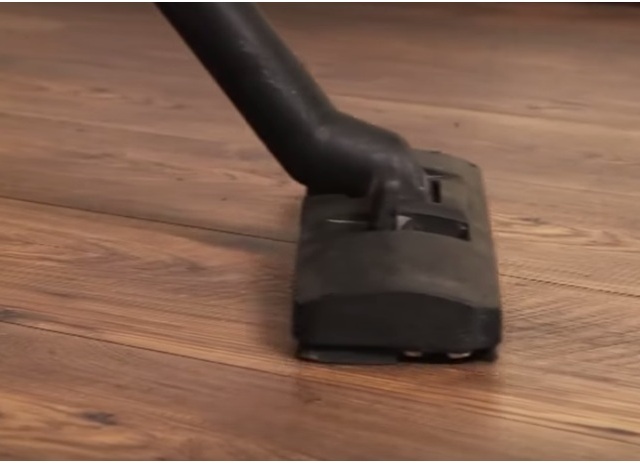
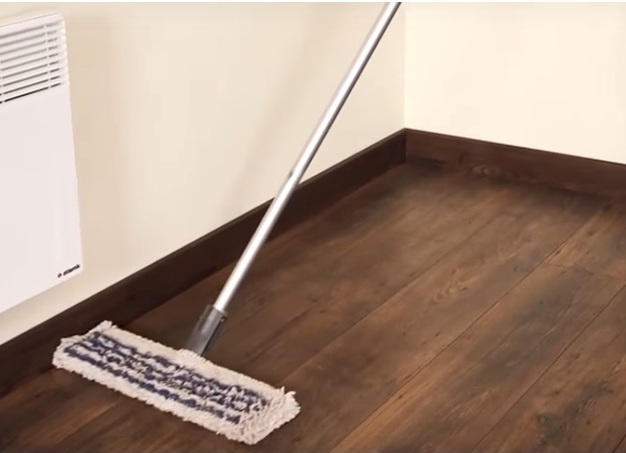
- It is necessary to remove dirt with a vacuum cleaner and a damp cloth.
| | | |
| | |
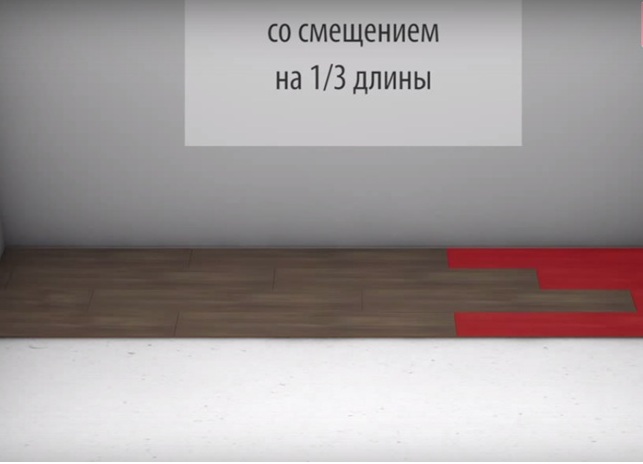
With an offset of 1/3, that is, the first row is a solid panel, the second one is cut by 1/3, the third by 2/3.
The method "on the cut off element" is possible.
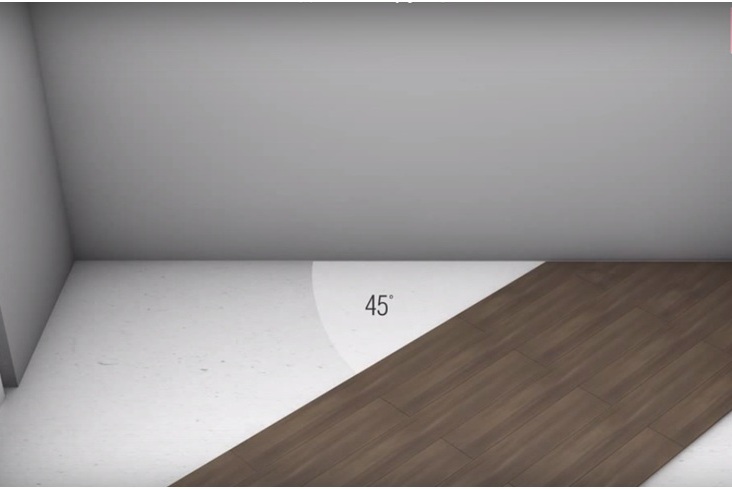
Determine the angle of the laminate to the wall. A slope of 45 degrees is possible.
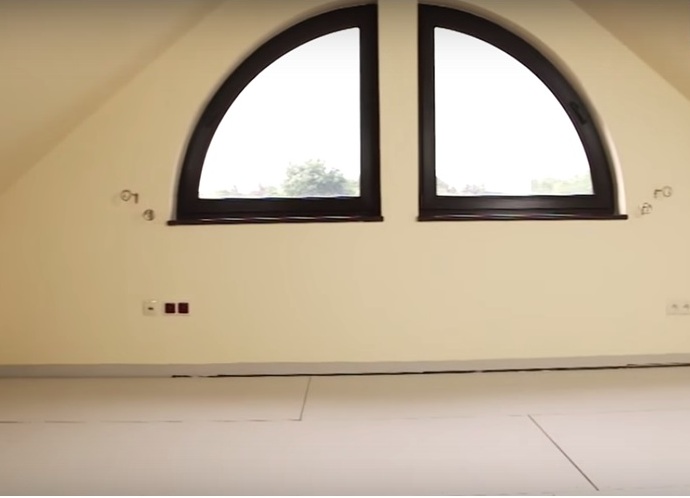
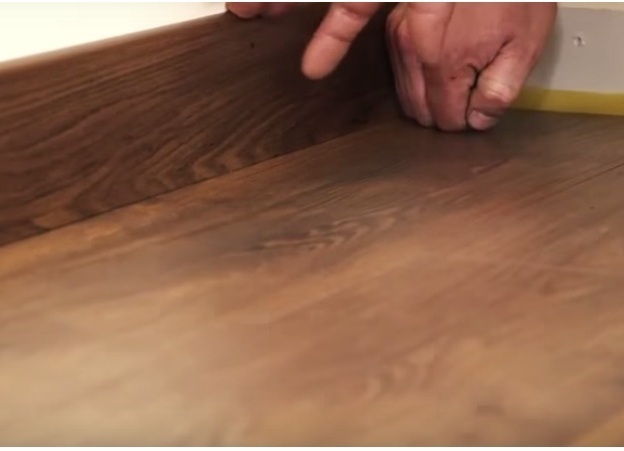
In our case, the installation is perpendicular to the window. The fastening of the panels is extremely primitive: put their groove in the groove and strike with a fist or a rubber mallet over the joint.
| | | |
| | |
| | |
| | | |
| | |
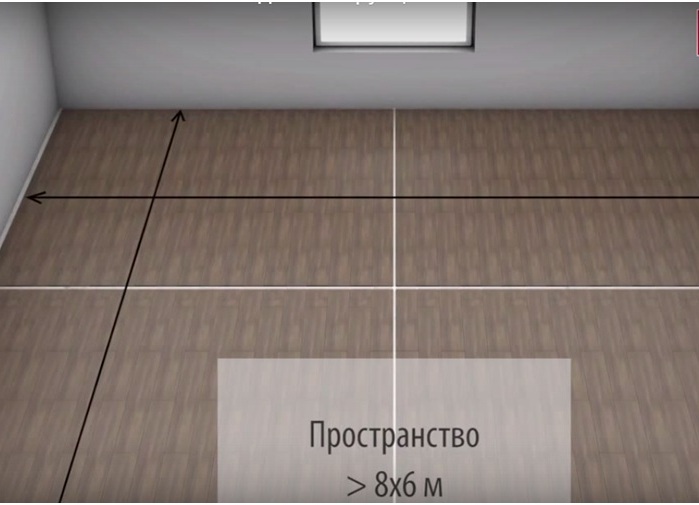
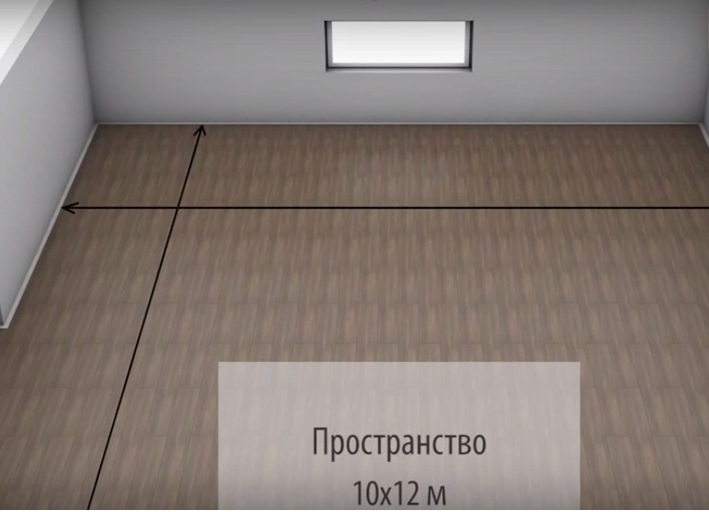
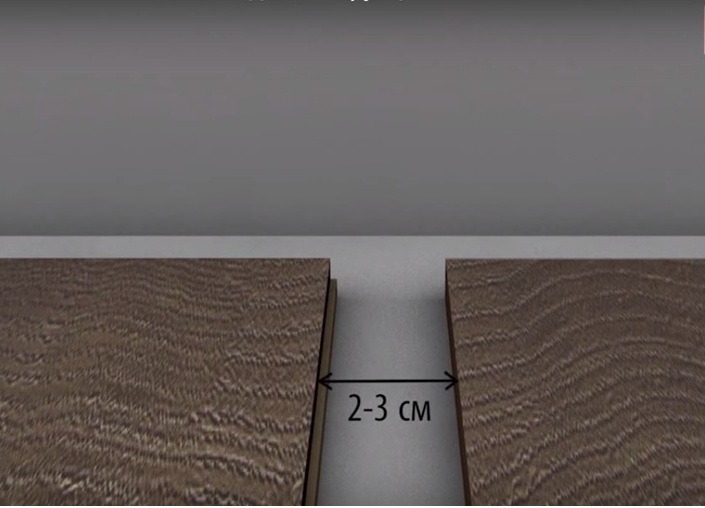
Another feature for those who want to know how to lay laminate in a room. With a room size exceeding 8x6 m and a plate thickness of 7-10 mm, a compensation seam of 2-3 cm is required. The same applies to spaces above 10x12 m with a product thickness of 10 mm.
| | | |
| | | |
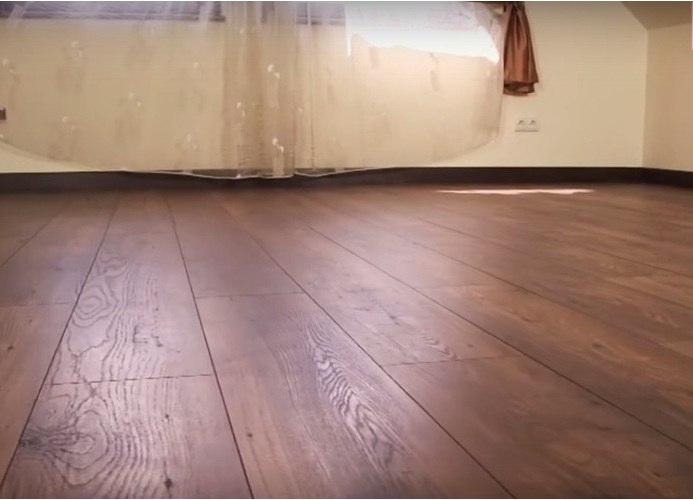
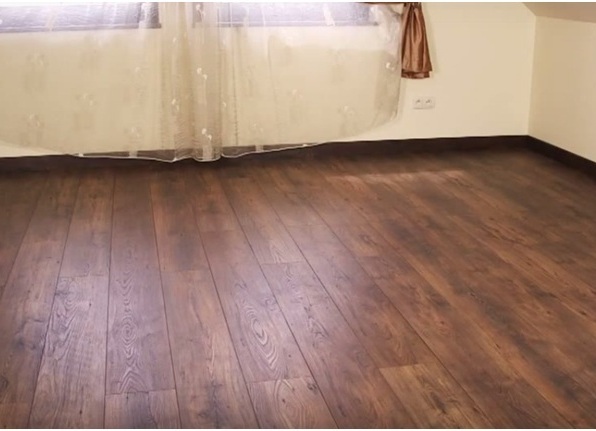
Laying of the laminate is finished.
| | | |
| | |
Got:
| | |
To protect the laminate from damage, under the chairs it is better to put special rugs, and on the legs of the furniture to paste felt pads.
| | |