Learning how to lay a laminate is very simple. The algorithm is extremely simple, but it's worth taking into account some nuances.
Methods of installing a laminate
Laminate can be fastened in several ways: glued, due to the locking connection "Lock" or "Click". Adhesive type on the basis of the system "spike-groove" has much in common with the method of mounting a conventional parquet board. Panels are pulled together, glue is applied to the edges. This is a profitable approach in case of heavy loads on the coating and for protection against moisture. The disadvantages are obvious: it is impossible to disassemble the panels and to use them again, the glue dries up, the service life is lower by an order of magnitude.
| | |
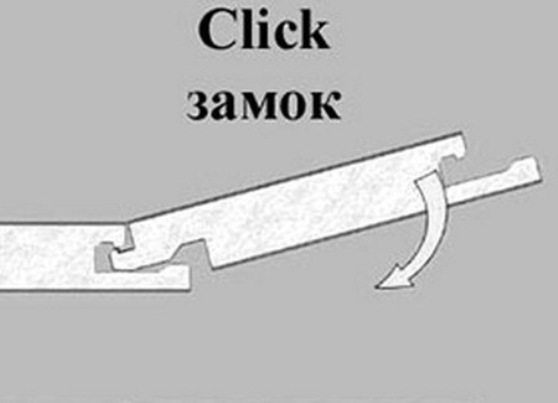
The most common is the laminate with a Click lock, the fixing is made "spike-groove" at an angle of 30-45 degrees. Joints are barely noticeable. Lock - it is more difficult to connect and disassemble, it is easier to damage them. When installing, you need a hammer. When checking the horizontality, the permissible deviation is 1 mm by 2 m.
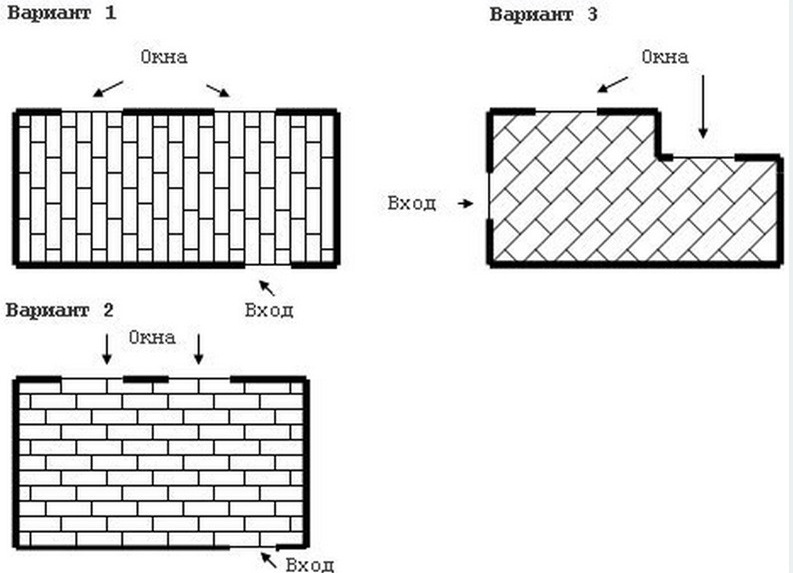
How to put laminate in a room? Experts recommend that the material be laid in the direction of the light flux, it can be laid both perpendicularly and diagonally.
Classical masonry (parallel or perpendicular to the walls) is usually used for household purposes, in offices. Leaving is 5% of the total area of the room. The chess arrangement consists in shifting the next row by ½, the coating strength is maximal, the waste will be 10-15%.
The diagonal method looks presentable, it is a classic installation with a slope of 45 degrees. Waste of 15-20%.
How to properly lay the laminate floor?
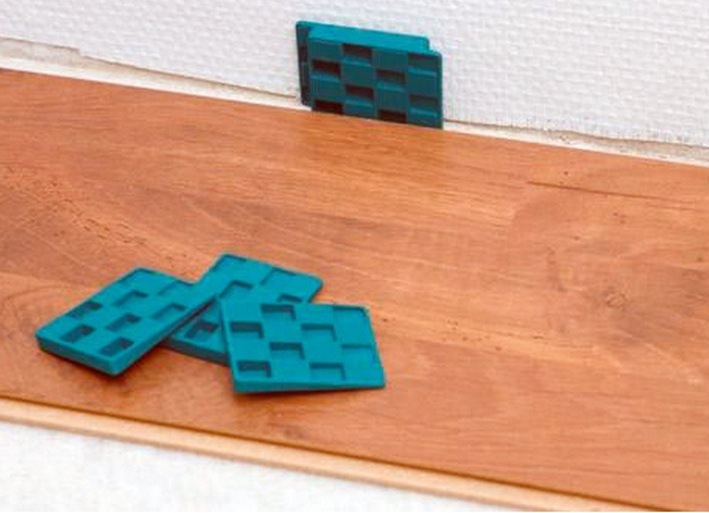
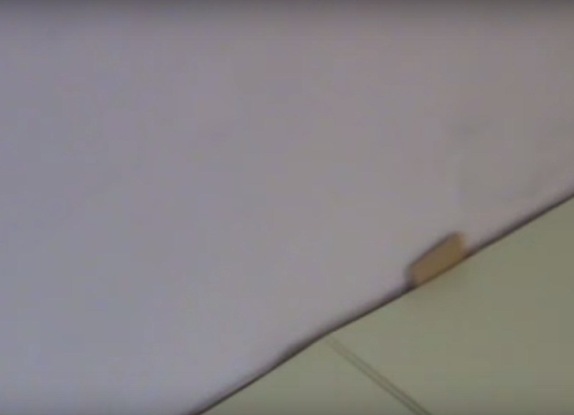
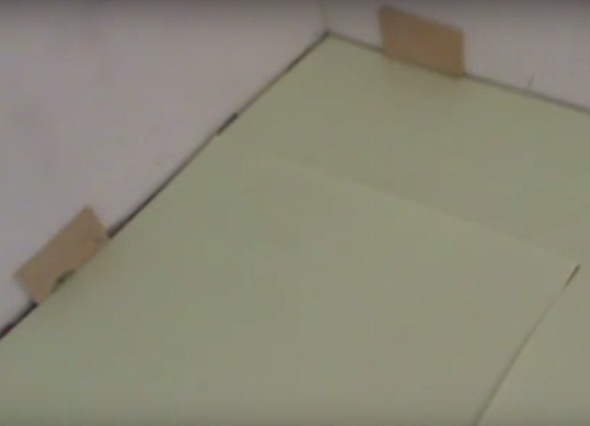
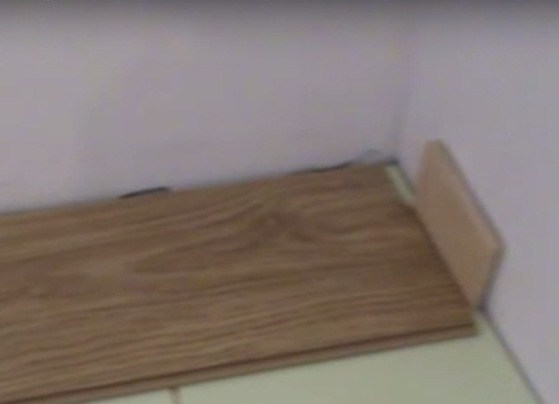
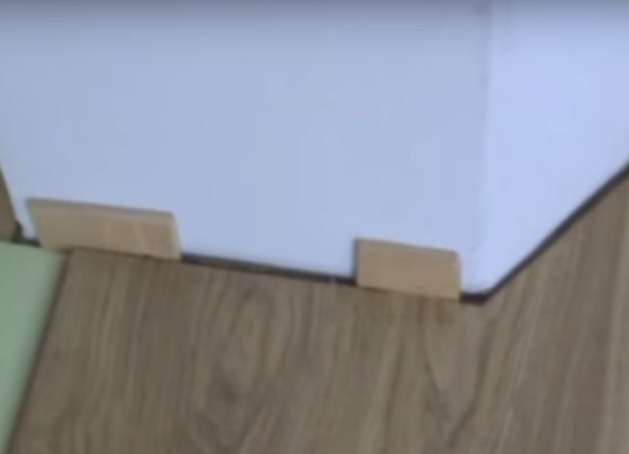
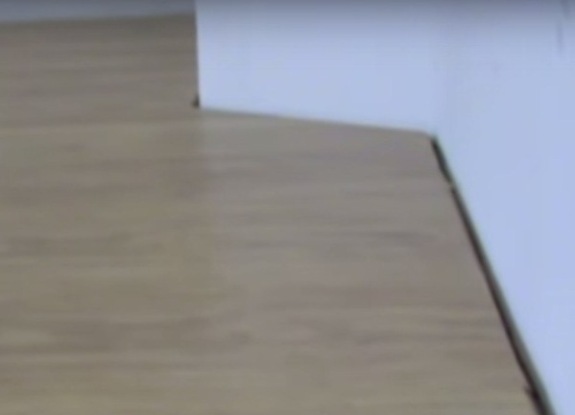
How to start laying a laminate? First of all, decide on the method of laying. It is worth remembering that there should be a gap of about 1 cm between the walls, pipes, and nuts. The free distance is calculated for expansion / contraction of the laminate at temperature differences. To fix the gap during installation, wedges are installed, which are removed after completion of work.
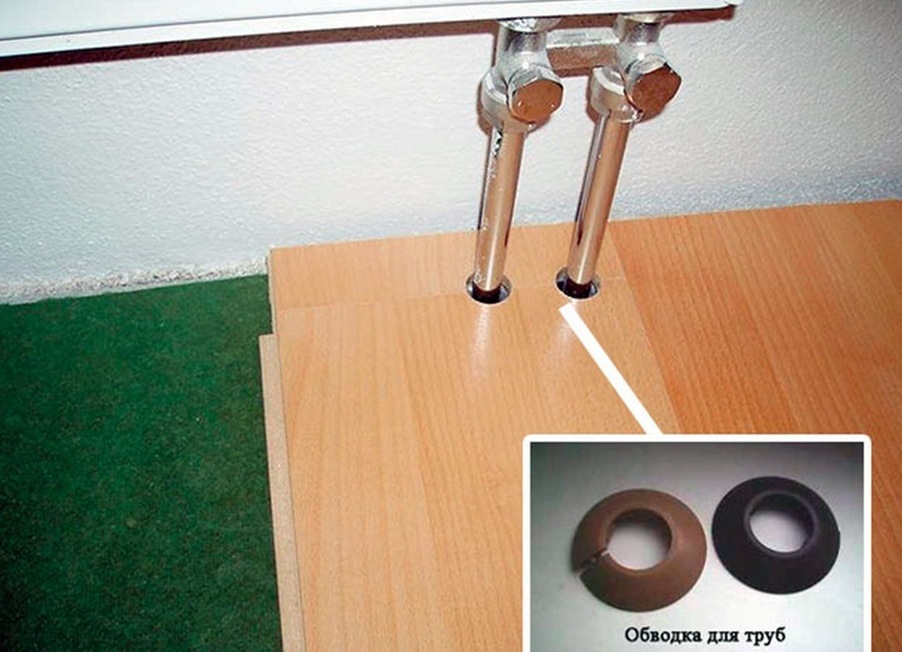
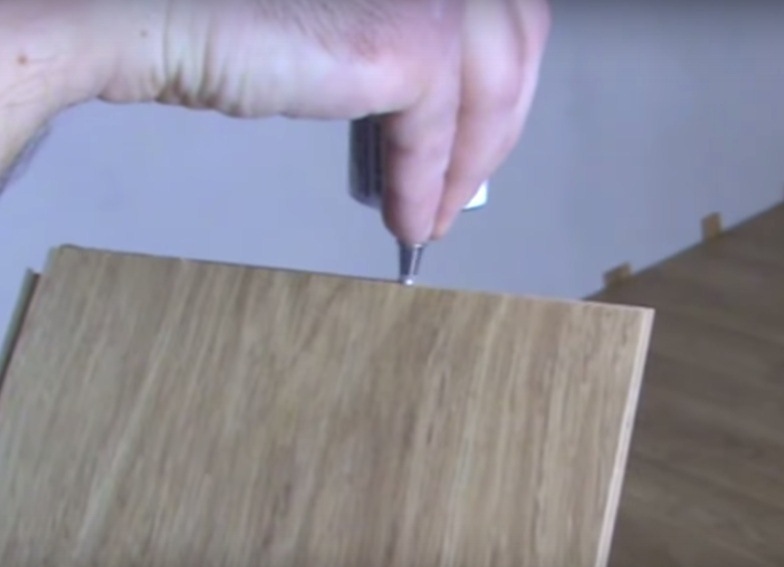
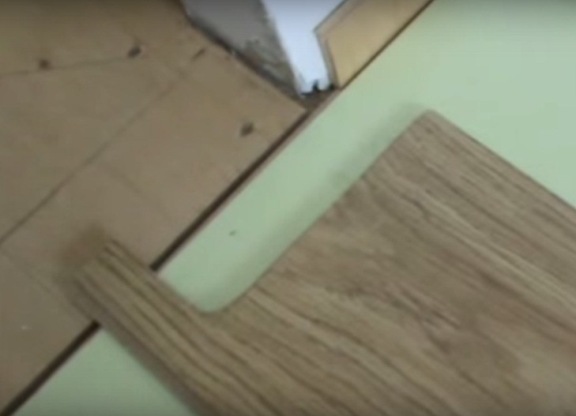
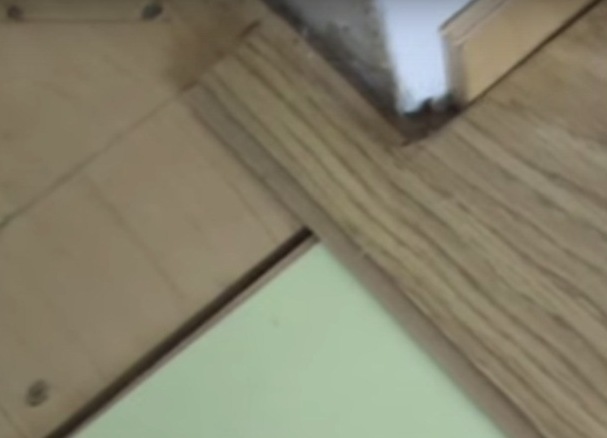
Pipes are provided with a special stroke.
If the door opens inward, the laminate is placed from the door . The finishing stage for finishing the floor is the installation of skirting boards. The simplest are fastened to the wall by screwing on screws and dowels. Models are more expensive "planted" on special fasteners. Convenient in the use of plinth with a cable channel, that is, it is convenient to hide the wires.
We proceed to laying laminated boards:
- Laminate should be in a room where there will be work for at least 48 hours.
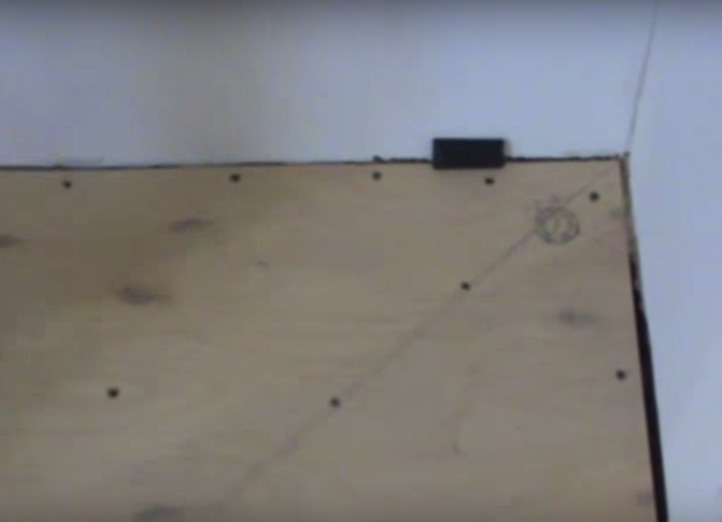
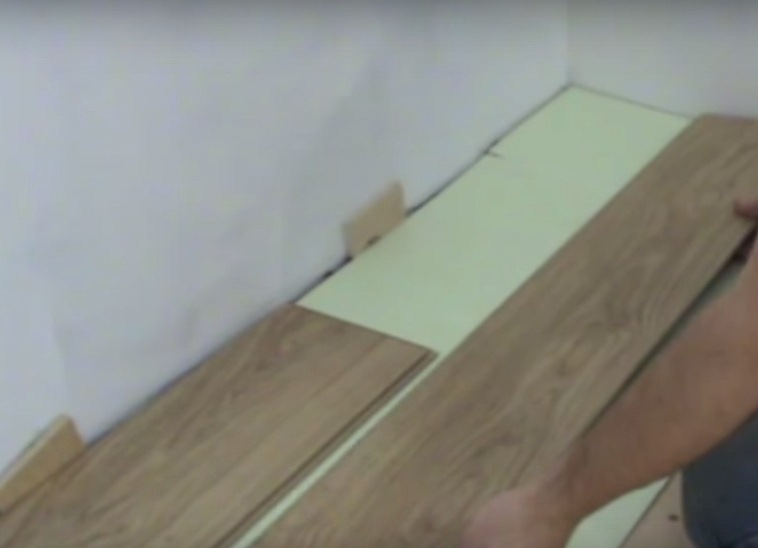
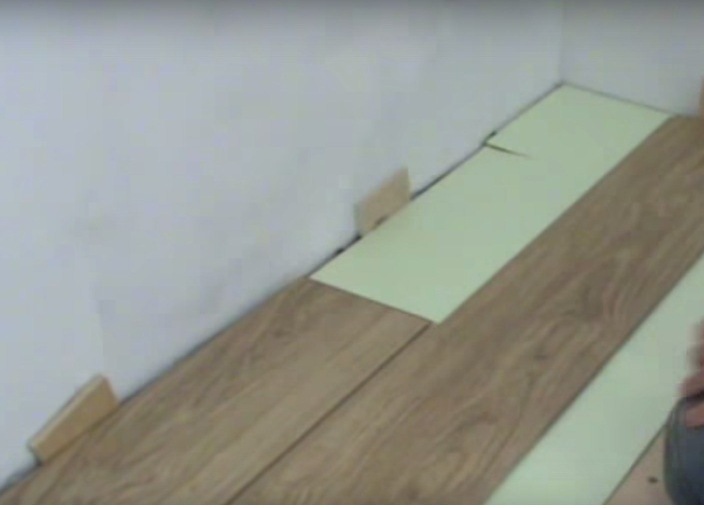
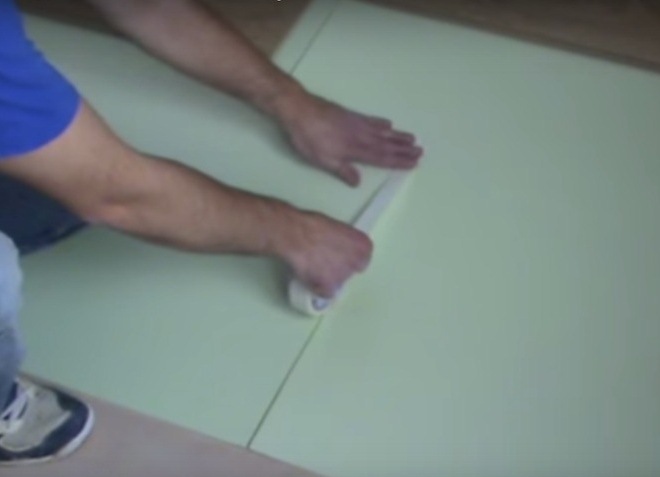
- As preparation of the foundation, multilayer plywood was used, waterproofing is not required, a film is needed for cement screed. At the wall we put wedges or supports from plywood 12-15 mm.
- Then the polystyrene pillow is laid. We will have a 3-mm set-up substrate.
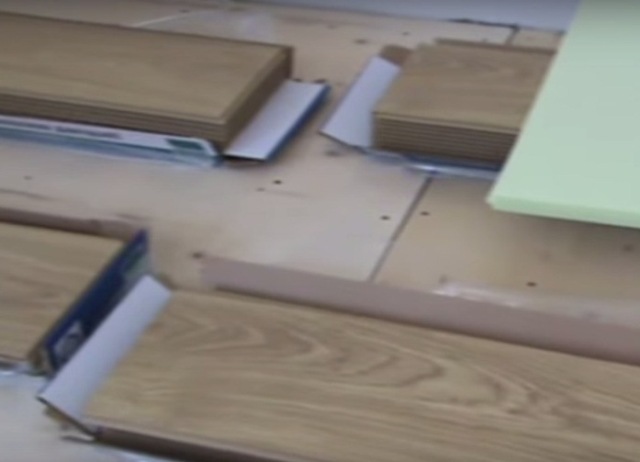
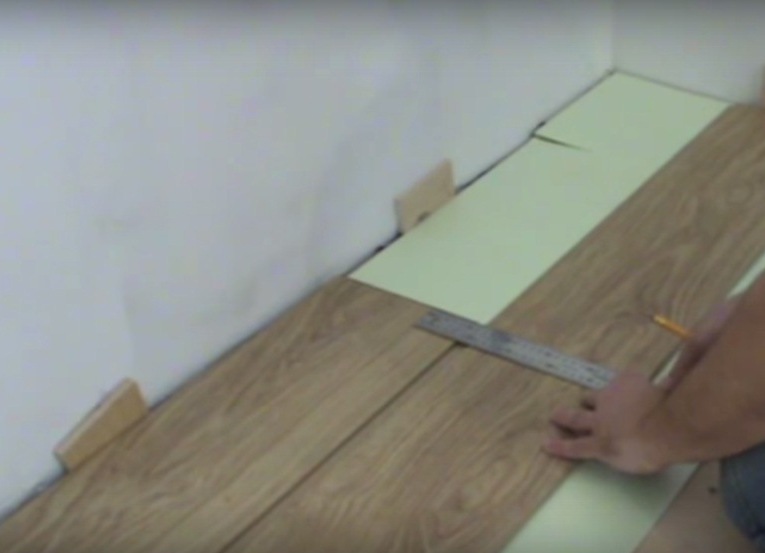
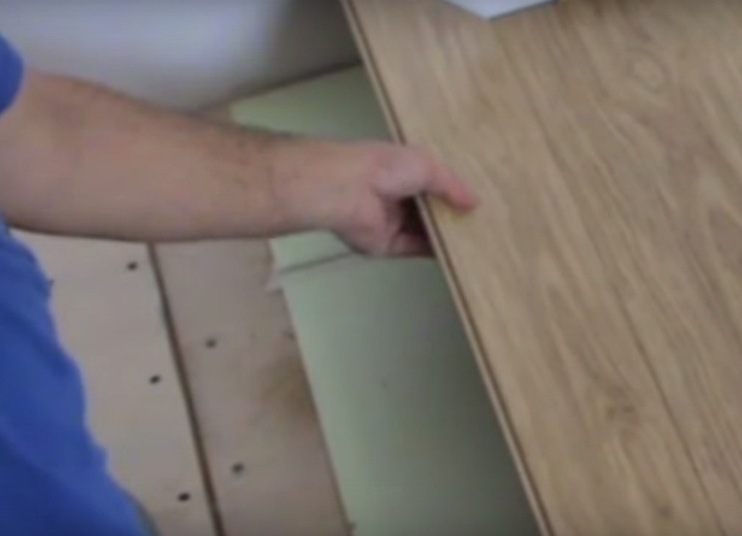
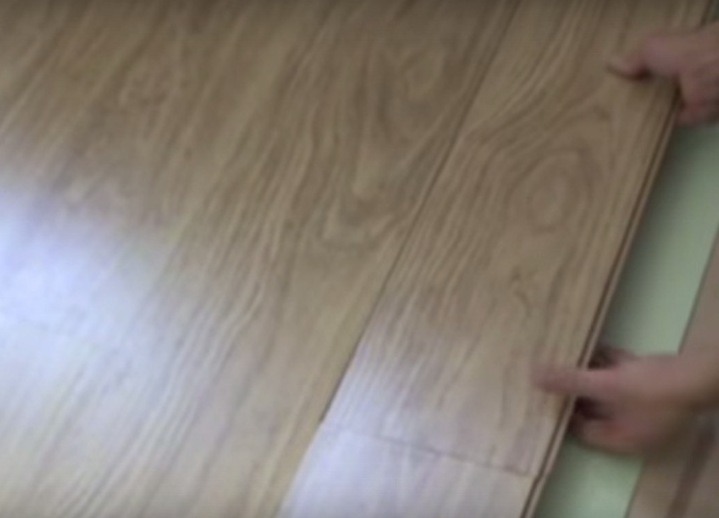
- The first row is placed from left to right by a side lock to the previous board. The rightmost element needs pruning. Turn it by the end crest to the side wall, do not forget about the stop. With a triangle, draw a line clearly at the level of the top board. Cut the jigsaw by the line. This residue will be the beginning of the next series. This approach will ensure the chess layout of the boards.
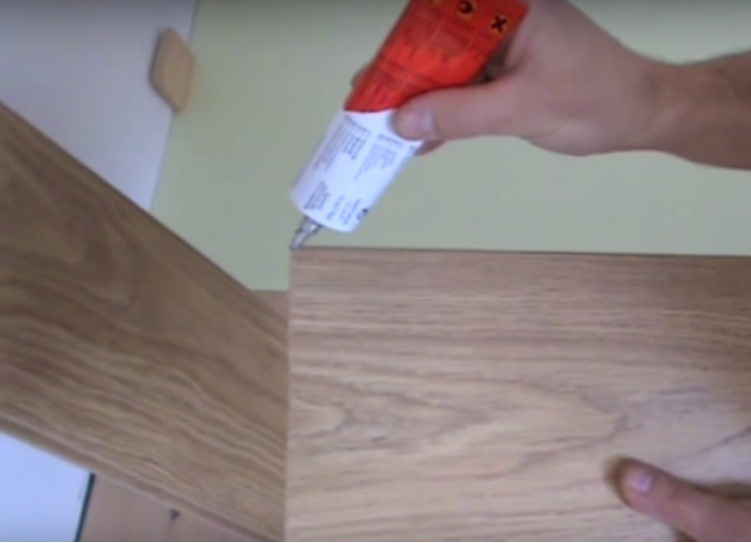
- Sometimes a special paste is used for the joints, applied to the upper crest and to the longitudinal part. The sealant will harden after 10 minutes.
- The next row is inserted into the original side at an angle. The second element of the second row enters the butt, then along the longitudinal part.
- At the door frame the corner is made semi-circular. Wedges "go" and on walls with a bias.
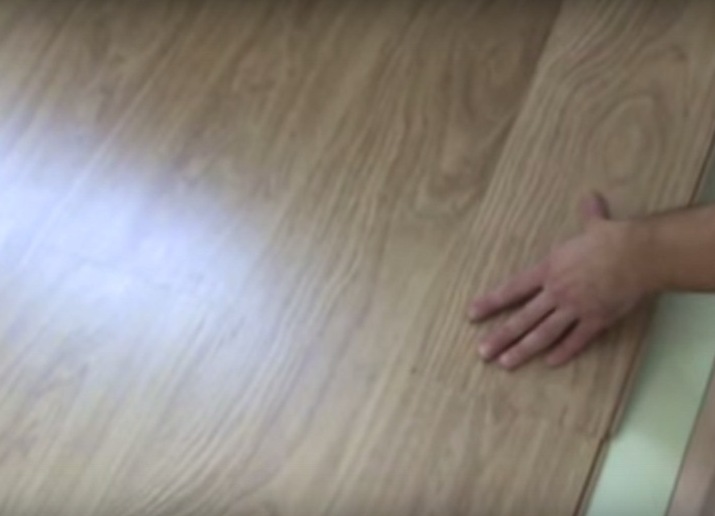
- On the entire surface of the floor should be a substrate, fix it among themselves with a conventional paint tape.
- When the masonry is finished, remove all wedges. The floor is ready!
| | | |
| | |
| | |
| | |
| | | |
| | | |