Today, even babies know that the moon is a satellite that rotates in its orbit around the Earth and illuminates the night sky. With the development of scientific and technological progress, people managed to get a lot of information about our mysterious companion, for example, why the moon changes its shape, it's long ago no secret even for first-graders and the fact that we actually see only one side of it - also a long-established fact. But that's why, she captivates and bewitches with her beauty, still remains an inexplicable mystery. However, it may be for the better, and since we still can not solve all the mysteries of the universe, we will admire the night luminary and learn how to draw it.
We bring to your attention several master classes, how to draw a beautiful moon in pencil step by step.
Example 1
If we take into account the fact that our children see sweet dreams at night, but do not consider the starry sky and the moon, therefore, the first acquaintance of the kids with the mysterious companion takes place through fairy tales and cartoons. Based on these considerations, the first thing we will learn is to draw a fairy moon.
So, we will prepare everything you need: a sheet of paper, a simple pencil, an eraser, and paint, and proceed.
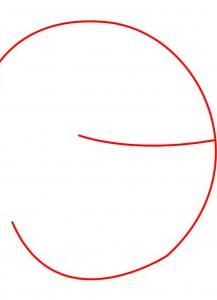
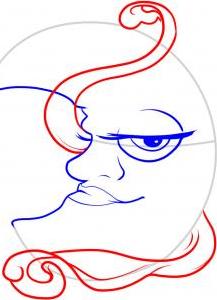
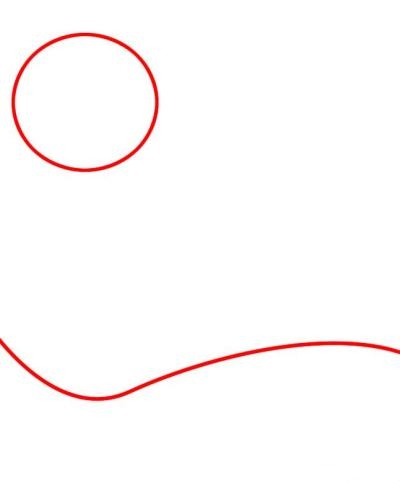
- First, we draw a crescent shape and add a horizontal line in the middle, so that we have a figure in the likeness of the letter "E".
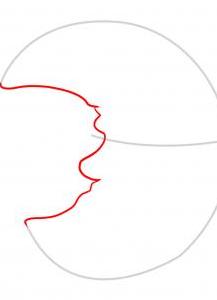
- Then carefully look at the picture and draw the outline of the face.
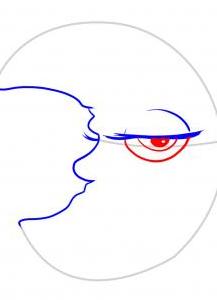
- Let us dwell on the details: draw a glazik and long cilia.
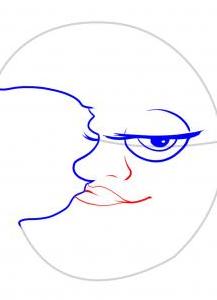
- After that, we will finish the nose and mouth.
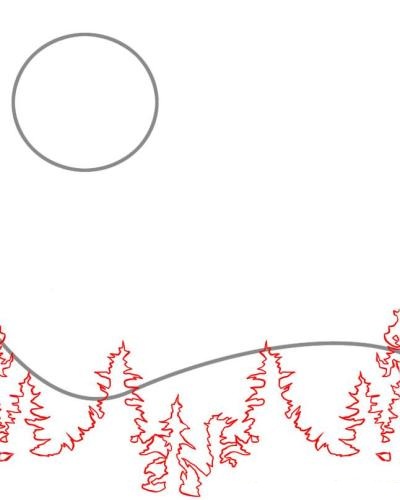
- Now imagine that our moon was in the gentle embrace of a thin cloud.
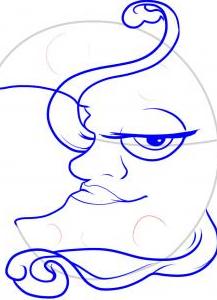
- Next, make the surface of the satellite more realistic: we will finish the barely noticeable circles.
- Wipe off the auxiliary lines and you can consider our sketch ready.
| | |
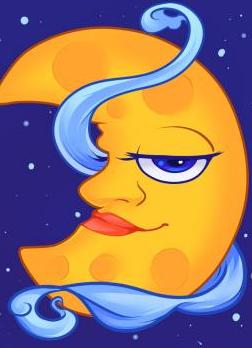
As you can see, it was very easy to draw a beautiful cartoon moon with a pencil. Now add bright colors and fantasize with the background.
Example 2
If you want to learn how to draw a real moon in pencil step by step, then follow our next step-by-step instruction.
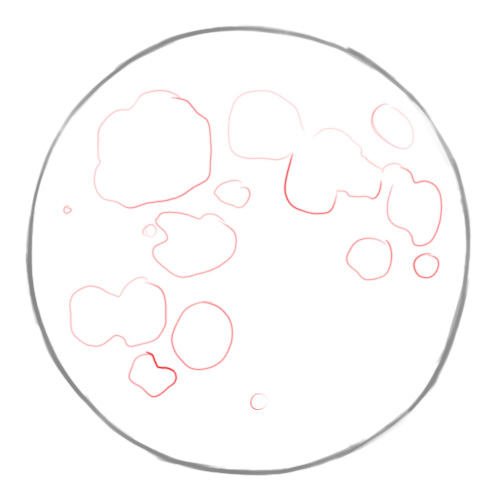
- First, take a look at the night sky or just imagine our companion in all its glory. Now, on a sheet of paper, draw a circle.
- Now we have the most important thing to do: draw craters. You can repeat the figures drawn in the picture, but you can study the photo of this satellite and try to recreate a more realistic image.
- After the craters are drawn, once again circle the main contours, wipe the auxiliary lines.
- Here, in fact, our drawing is ready, left to decorate, add shadows and small details.
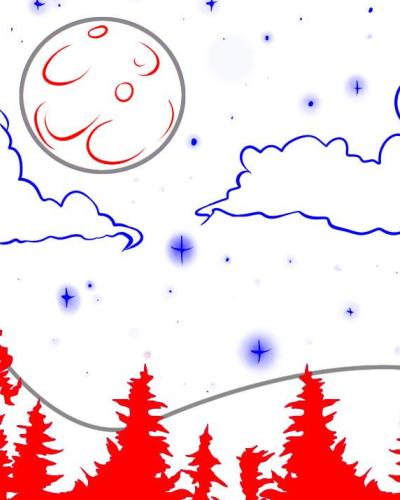
Example 3
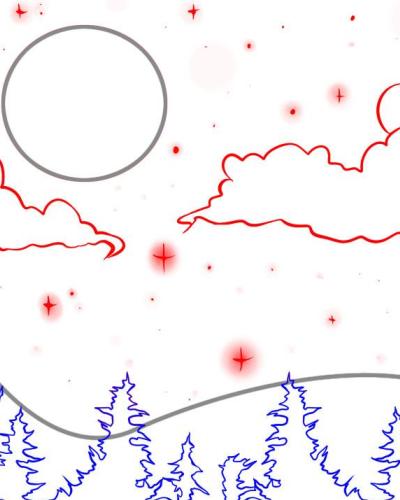
If your child is shown isotherapy, as a method of psychocorrection, try drawing a night landscape. Such an occupation will bring invaluable benefits, will present peace and tranquility. So, let's get started.