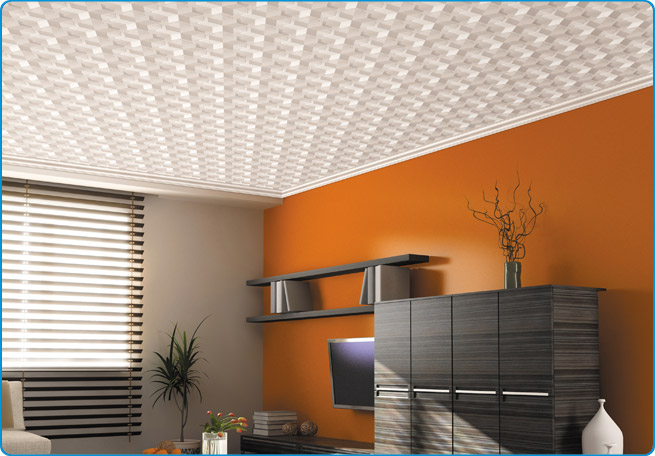
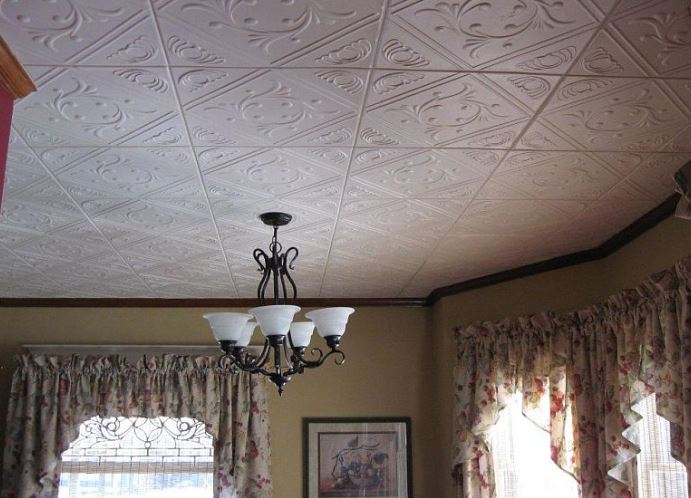
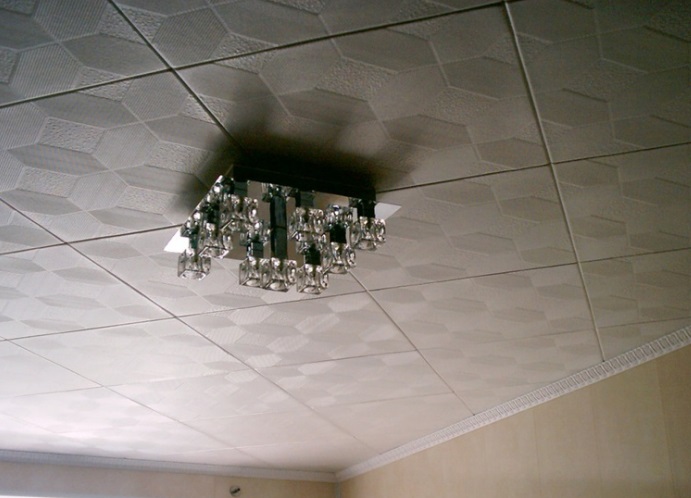
Despite the great popularity of newfangled stretch, gypsum plasterboard and suspended ceilings , expanded polystyrene tiles have been and still are one of the most practical and affordable ways of finishing ceilings. Ease of installation and repair (dismantling), attractive appearance, good compatibility with other types of coatings and the ability to hide from the eyes all the defects in the surface of the main ceiling, make the foam panels irreplaceable in the design of old houses and apartments.
Since the price of such material is quite affordable, almost everyone can afford it. In addition, to understand how to properly glue ceiling tiles on the ceiling is very simple, and having familiarized yourself with the basic principles of work, you can transform your ceiling without expensive specialists.
One of the important tasks is also the choice of the appropriate type of material. There are three types of tiles:
- Pressed tiles - pressed, least dense, light and thin (6-8 mm);
- extruded - pressed, dense, have a shiny surface and often imitates a marble, wooden or stone surface;
- Injection tiles are the most expensive, however, the most durable and durable material. Contains unique relief patterns and drawings.
- Ceiling tiles made of expanded polystyrene ;
- glue "Titan";
- Glue gun;
- knife stationery;
- napkins (rags) for wiping excess glue;
- maklovitsa;
- putty knife;
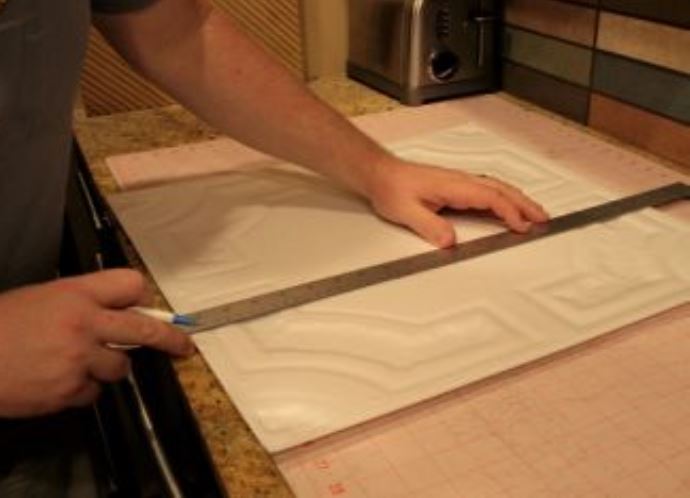
- pencil and ruler;
- marking cord.
When the material is defined, it is necessary to find out what is better to glue the ceiling tile. In building shops, you can find many different tools designed for mounting decorative trim from expanded polystyrene. As practice shows, when deciding which glue is best to glue the ceiling tile, it is worthwhile to dwell on such brands as "Titan", "Moment" or "Liquid nails".
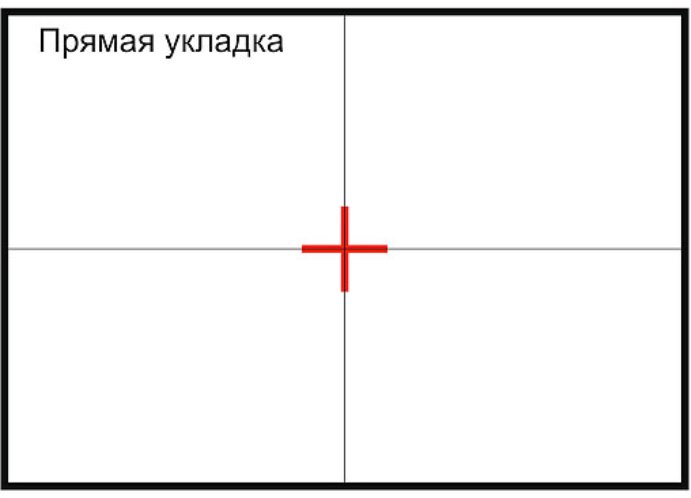
Equally important is the choice of stacking the plates themselves. There are different ways to glue the ceiling tiles. The simplest and most common option is straight laying. A more complicated method is to glue the plates diagonally across the room. For more clarity, in our master class we will show you how to properly glue the ceiling tiles in different ways. For this we need:
Ways how to glue the ceiling tiles with your own hands
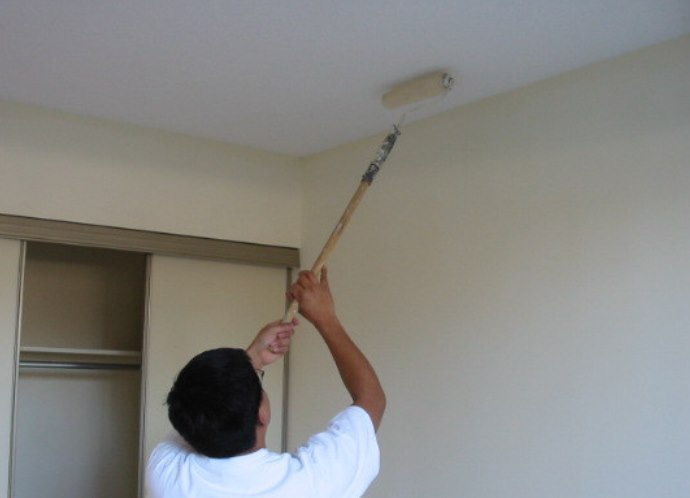
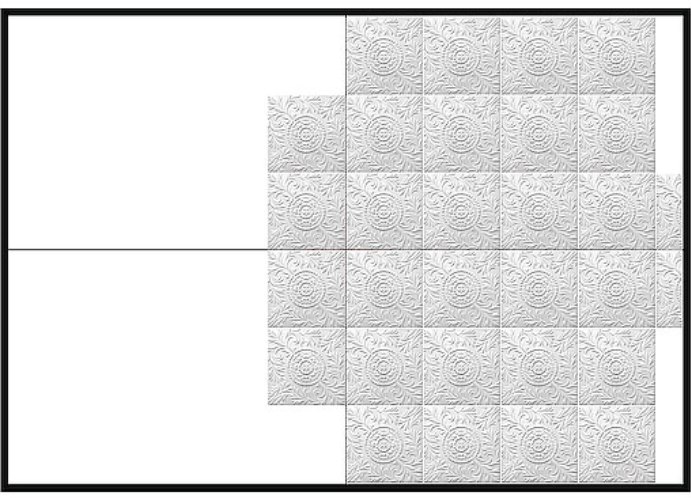
- Consider the method of straight laying. With a spatula we clean the surface of the old finish.
- We apply a primer to the clean ceiling with the help of a mackerel and let it dry out.
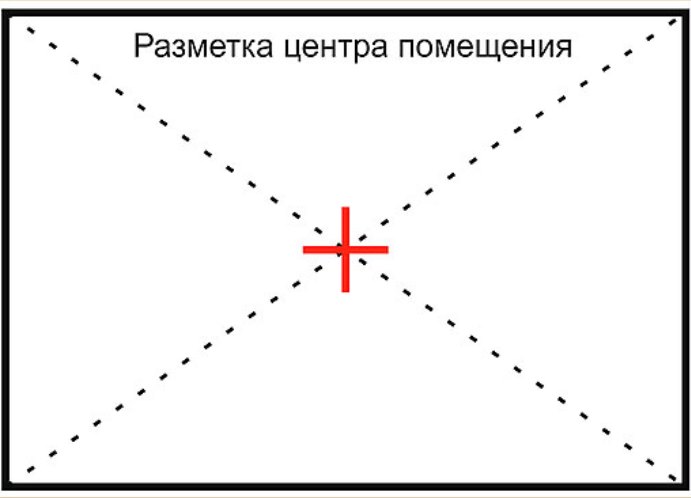
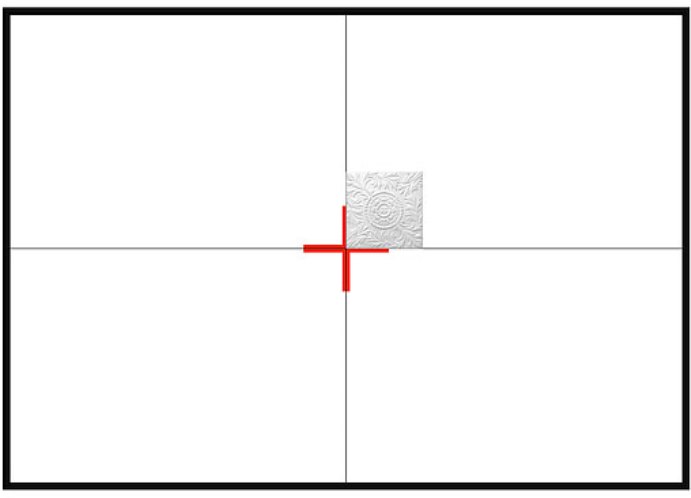
- Using a check mark, make a mark in the center of the ceiling by crossing two lines diagonally. We will start from the planned center.
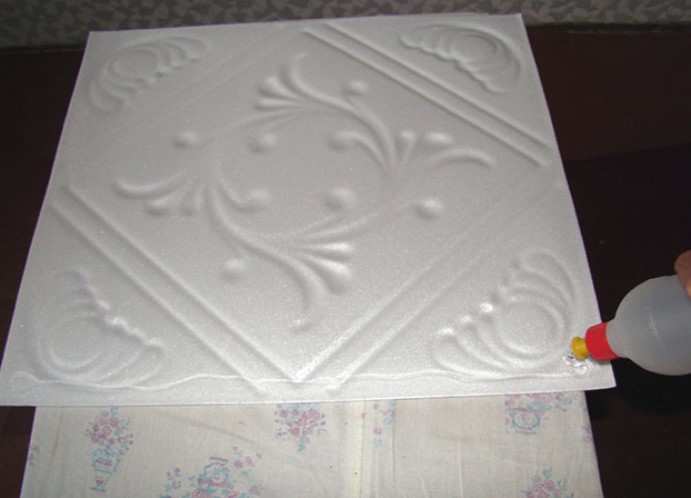
- We take one tile, put on it a layer of glue, according to the instructions on its packaging, and wait 3 - 5 minutes.
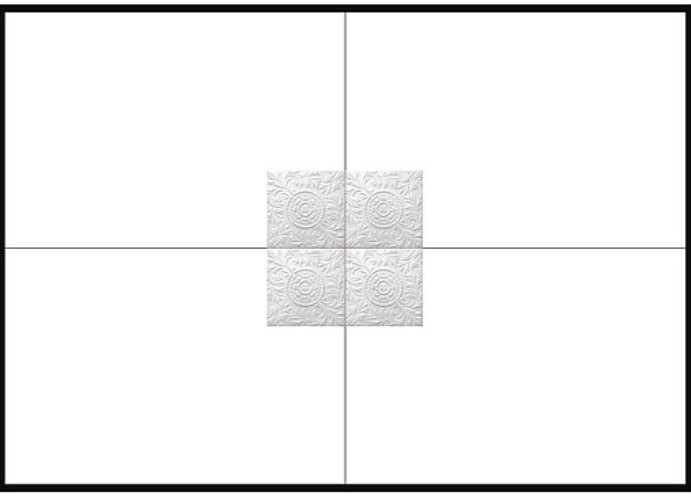
- We arrange the tiles so that one corner clearly falls into the center of our mark. On the lines crossed before, we level the sides. The same is done with the other three tiles, laying them with corners in one center.
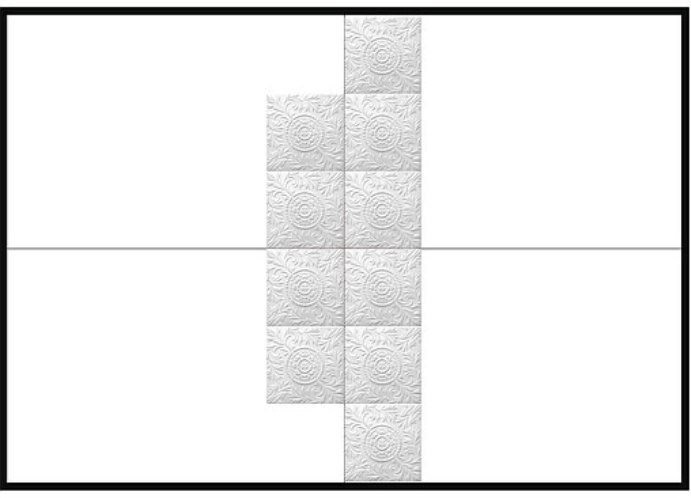
- Further we move along the established number, parallel to the walls in any convenient direction. Wipe out excess excess adhesive with a cloth or napkin.
- After reaching the walls, we cut off the extra edges of the tile and glue it tightly to the ceiling. That's what we got.
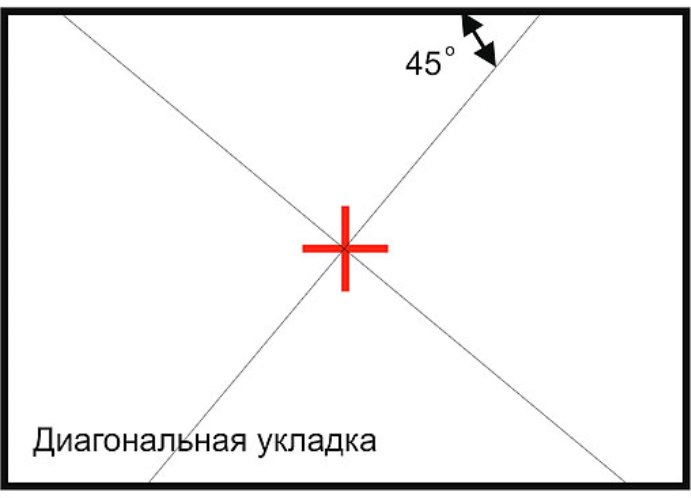
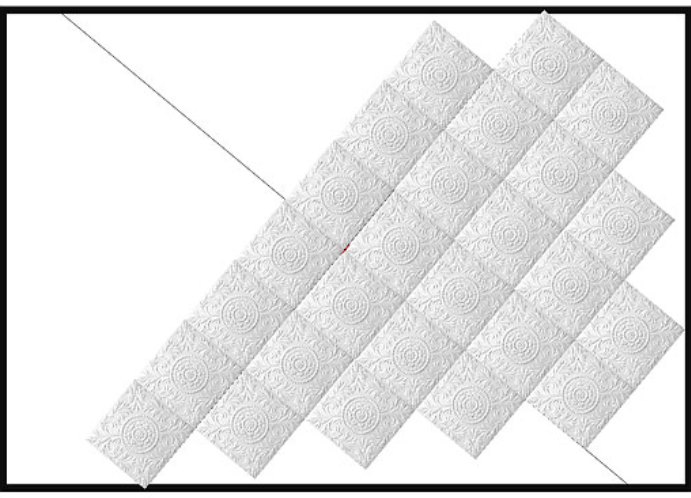
- Now consider how to properly glue the ceiling tile diagonally. Using the marking strip on the prepared ceiling, we put the lines in such a way that the angle of intersection between the wall and the mark is 45 °.
- On the first tile, apply glue and lay it at one angle in the intended center, aligning the sides along the diagonal lines.
- Then we move in the same way as described above.
| | |
| | | |
| | | |
| | |
In order for the ceiling to look like a single composition in both cases, fill the gap between the tiles with acrylic sealant and allow the interior to dry, closing all windows and doors tightly.