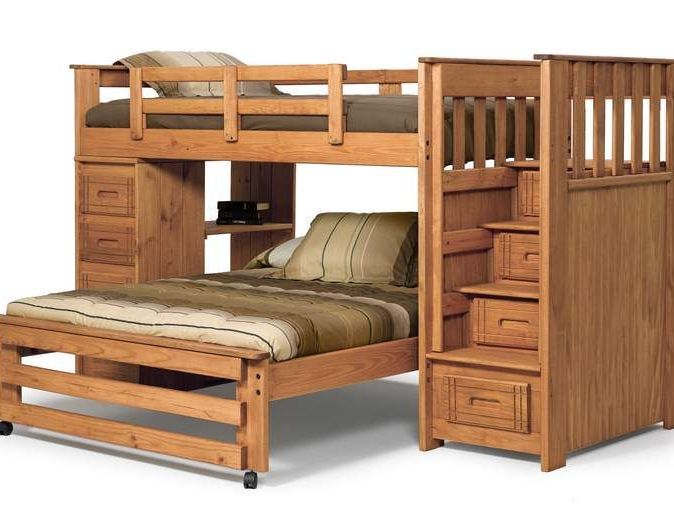
Time passes and our children grow into adolescents. A cozy bedroom and small cribs become more and more tight. I want to find such furniture, which takes up little space, but at the same time is the most convenient. You can put two standard beds, but then there is no free space for games or other activities at all. That is why more often people began to pay attention to bunk furniture.
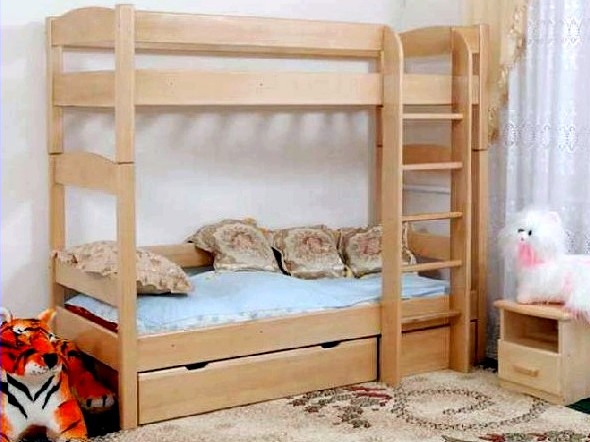
Making a bunk bed with your own hands
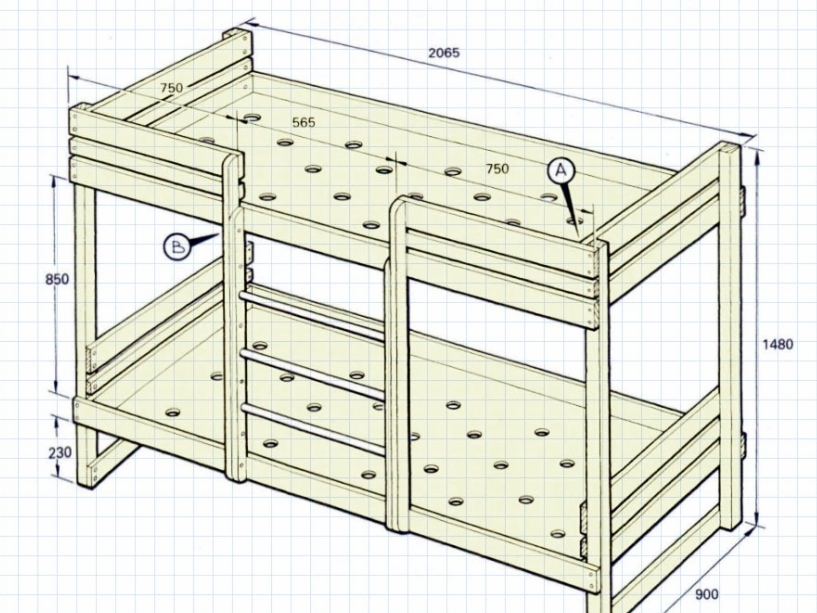
- At the very beginning you need to draw a draft of our design. In many respects, it will depend on where you want to arrange the future bed, what the size of the room. The dimensions of the product must be calculated so that you do not have to rework it in a year. When you come up with a scheme for a bunk bed, which you will collect with your own hands, try to calculate all possible nuances. For example, the lower tier should not turn out very tight, restricting the movement of the one who will live here.
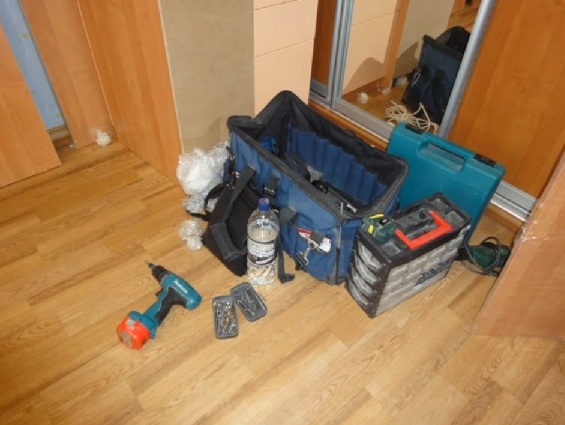
- Without a good quality tool you can not do. Well, if there is a circular machine in the garage or at the dacha, a hand-held circular saw, a drill, a hammer, a set of keys, a set of screwdrivers, pliers, electric jigsaw, hacksaw, level, tape measure, screwdriver. You can order and buy ready-made cut billets, but in this case, the final cost of the bed for you will come out much more expensive.
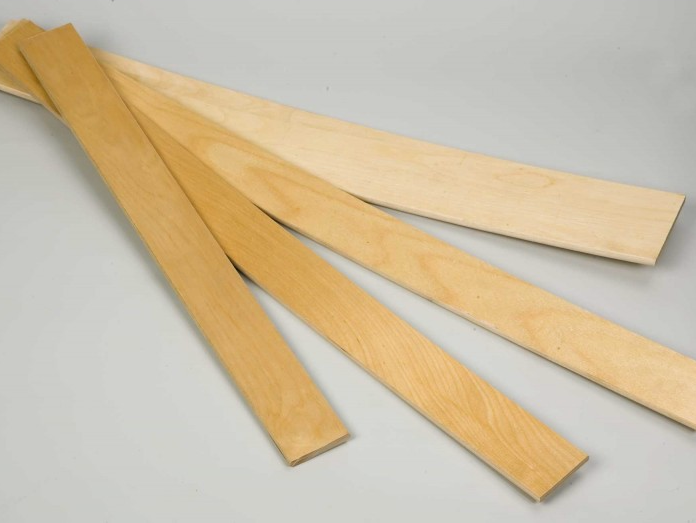
- Which material to choose? If you have the opportunity to make a frame made of metal, then buy a profile or a corner. Such a product will be very durable, made for ages, but quite heavy. Other people prefer to collect similar structures from laminated chipboard. We also took for our bed a board and a bar from natural wood.
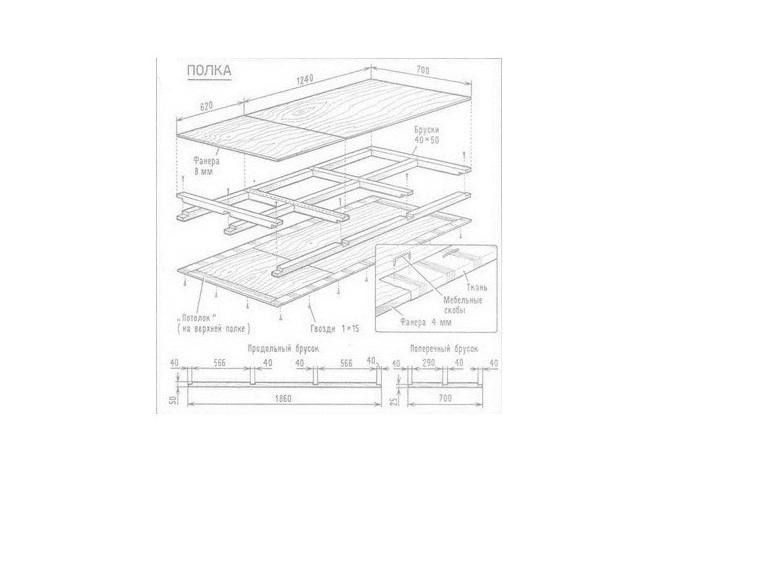
- We have the general drawing, now it is necessary to make a detail of the future bunk bed. This will help the master to determine the amount of material and fasteners that will need to be purchased. Draw a drawing of the upper and lower shelves, racks, wooden stairs, other components.
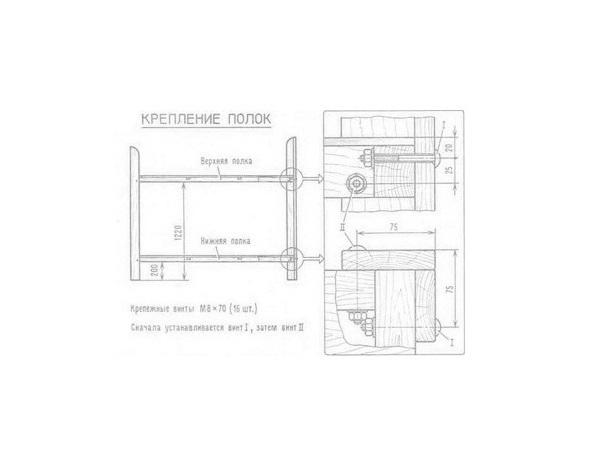
- Immediately determine what to choose a fastening for the shelves. We chose a bolted connection. This work will help to calculate the number of screws, bolts, nuts and washers necessary for the assembly of the structure.
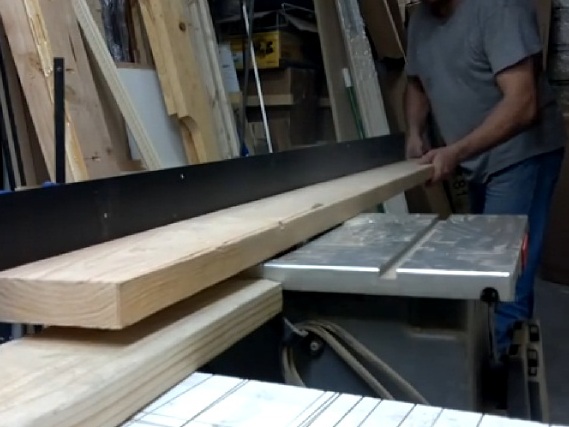
- If you have a circular saw, you can not overpay money, and dissolve the boards on the blanks of the desired width yourself.
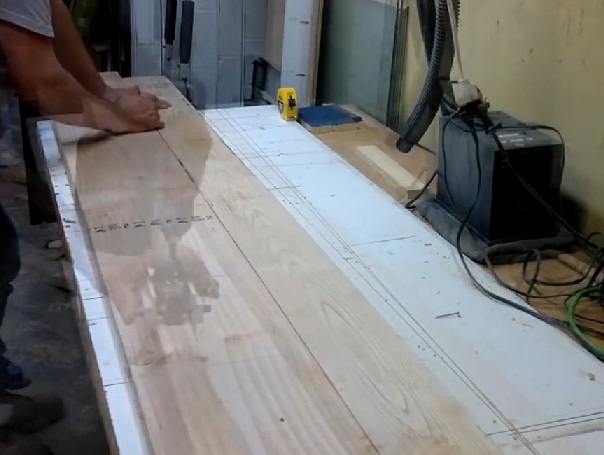
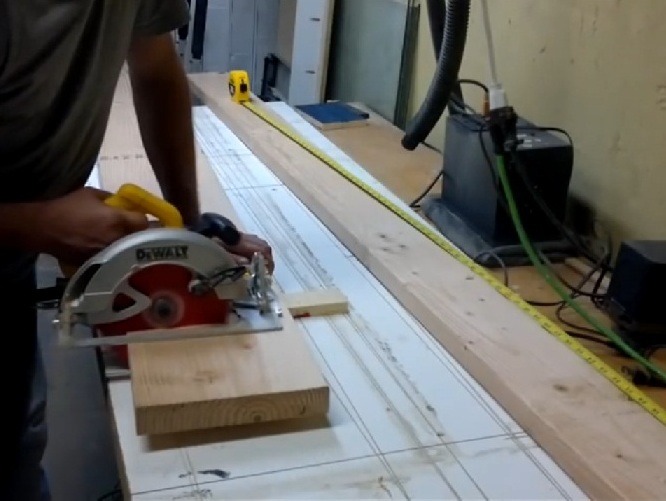
- With a well-designed drawing to work much faster. We make the marking and cut the boards on the blanks of the required length, using a manual circular saw, electric jigsaw or a regular hacksaw.
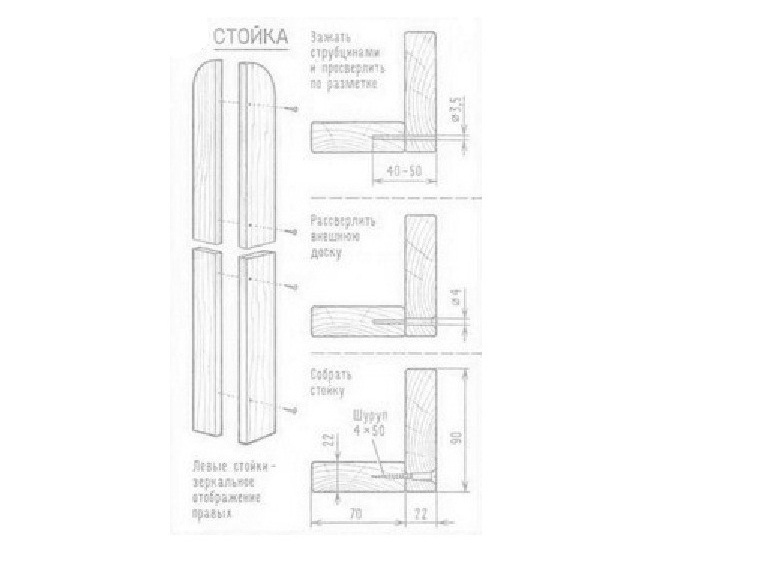
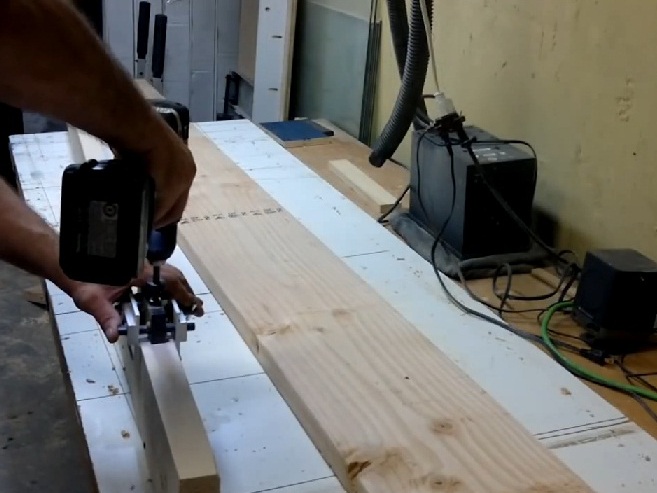
- With the help of a drill or a malware, we immediately perform screw holes in the planned locations for bolts or dowels.
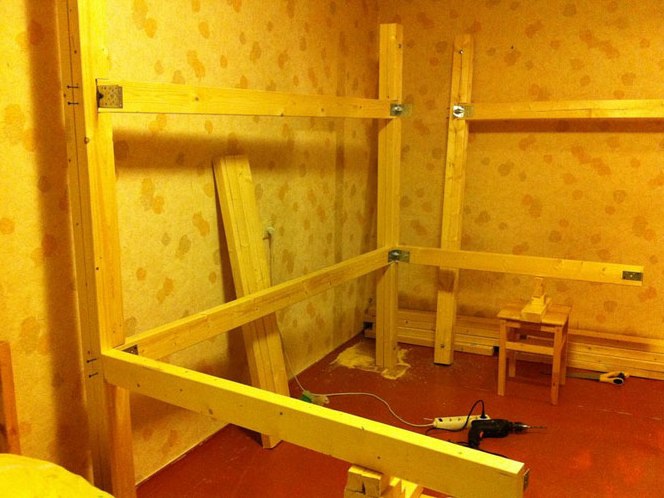
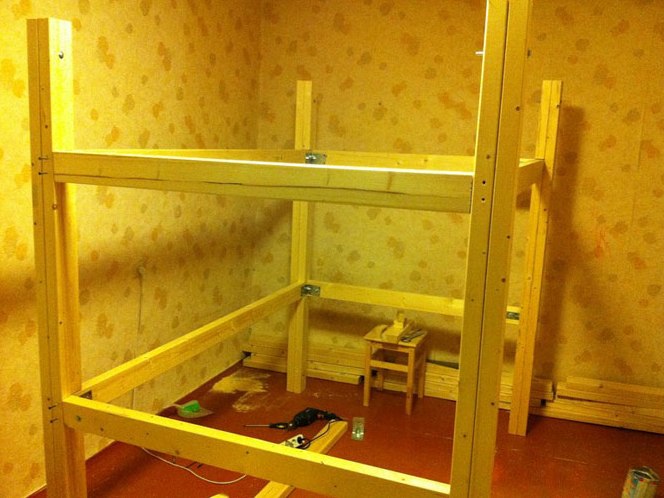
- Having finished the work with the workpieces, proceed to the assembly of the frame of our two-story bed . We collect convenient shelves and connect them to the racks.
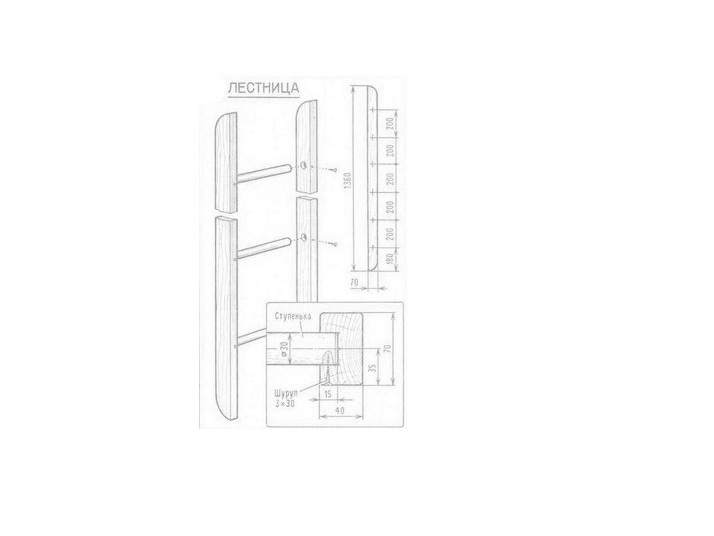
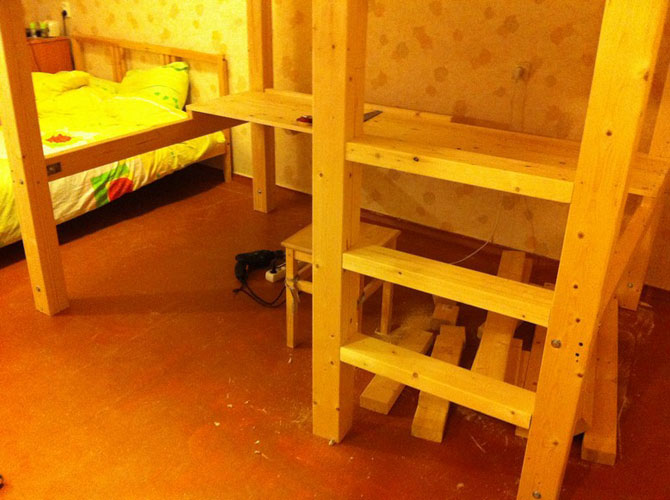
- Be sure to make and attach a ladder to the bed. It should be located in a convenient place, so as not to interfere with the tenant of the first tier.
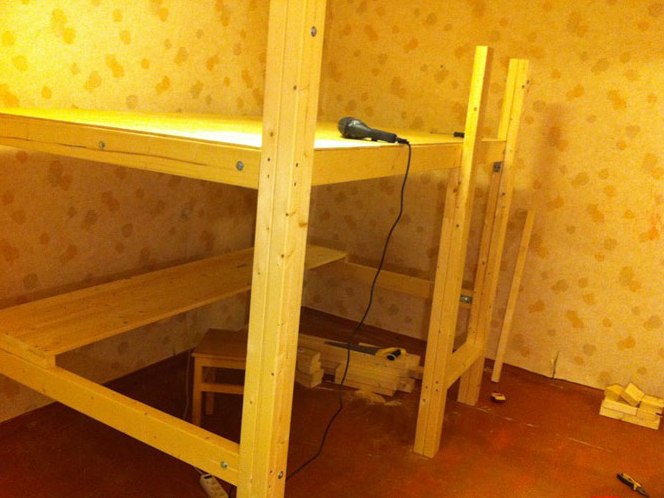
- We proceed to finishing works - a board or chipboard frame frame, which provides additional rigidity of the structure, we paint the product or coat the wood with varnish. The heads of bolts or screws can be hidden under the plastic pads. When we make a bunk bed with our own hands, do not forget about the fence. Our product should not only be beautiful, but as safe as possible for babies. For reliability, we attach it to the wall using dowels or other devices. It remains to dry the paint, and the bed will be ready for use.
It is not necessary to put a bed above the bed. Our craftsmen invent such original designs, in which the first floor is used as a working table or a convenient closet . We gave an example of how you can make a bunk bed with your own hands. You see that if a person has the skills of working with a carpenter's tool, then for him such work will not be incomprehensible or complex. In addition, such a product will be much more convenient and better than Chinese hand-made articles made from tin, and breaking down a couple of days after the start of operation.