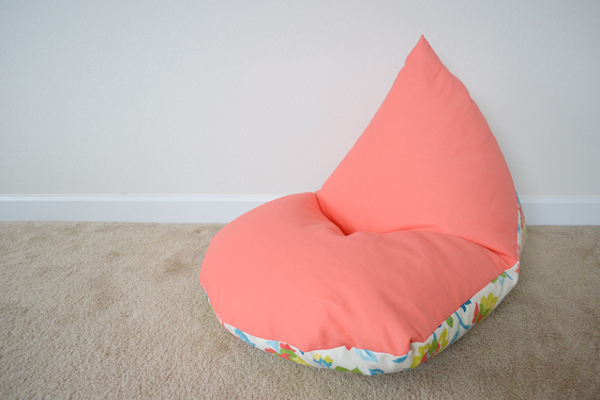
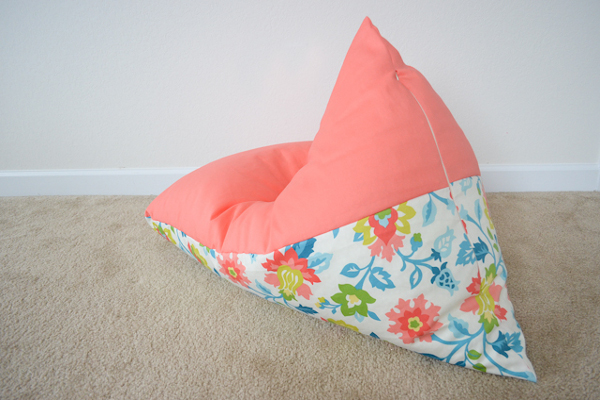
Frameless furniture is good in that it can be particularly comfortable to get settled and any member of the family in the chair is equally comfortable. The armchair in the form of a bag became very fashionable a few years ago. Buy this could only be on foreign websites or in fashionable furniture salons. But now more and more needleworkers are trying themselves in the manufacture and restoration of furniture. So why not consider a couple of simple lessons on how to sew a soft seat bag yourself .
How to make a simple seat bag?
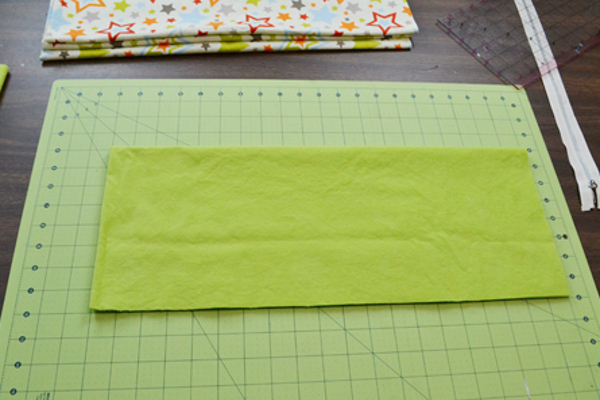
To make a bag in a simple version, we need two cuts of fabric of different colors, the most dense, snake and filler. As for the fabric, then you can choose different options, it is desirable to take a fairly strong and wear-resistant.
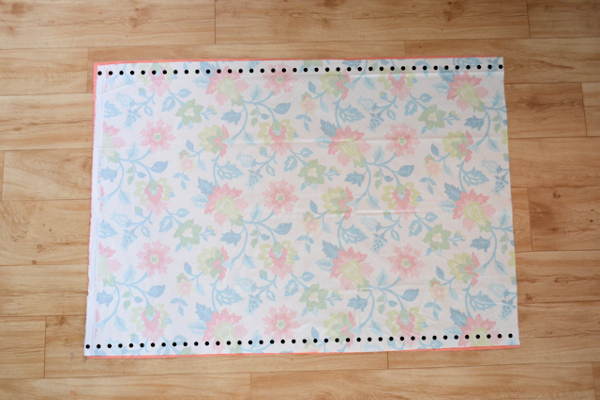
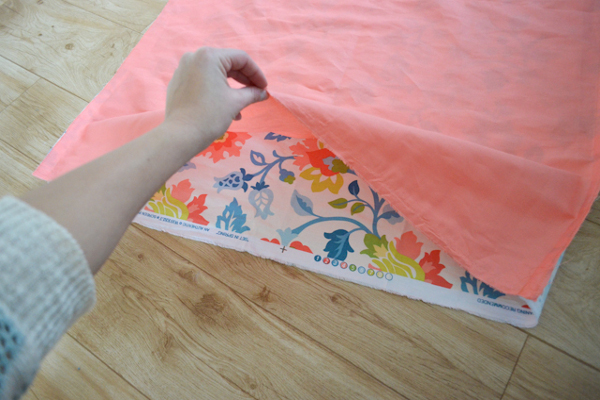
- We take two pieces of fabric and cut them out of billets in the form of rectangles. Then add them face to face.
- We lay lines along long sides. It is desirable to choose the shortest stitch and minimum step size, since the stitching should be very strong. Do not forget about the processing edge.
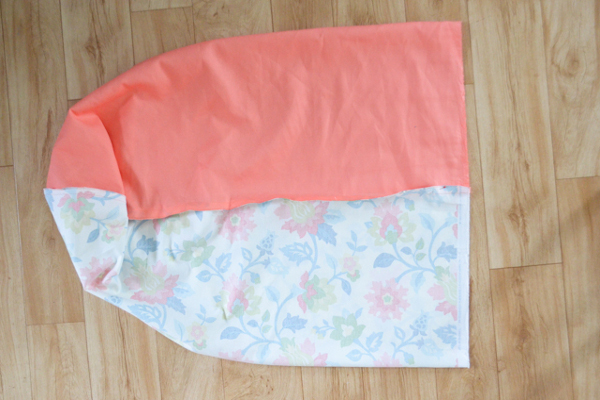
- They laid two lines along the long edge on both sides, but they did not turn out the product.
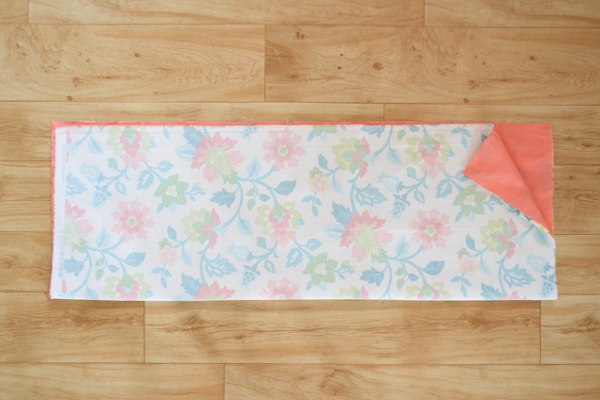
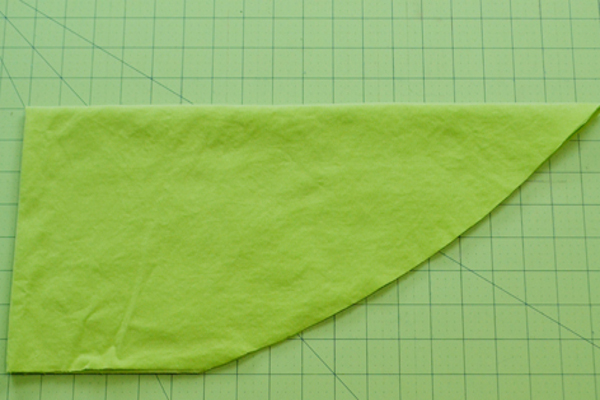
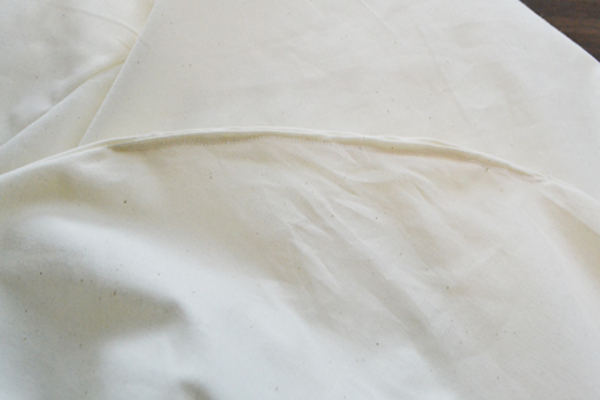
- Next, you need to fold the workpiece in half along the long edge, as shown in the figure.
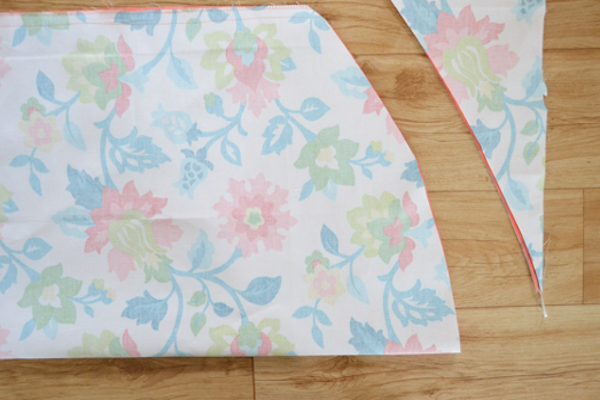
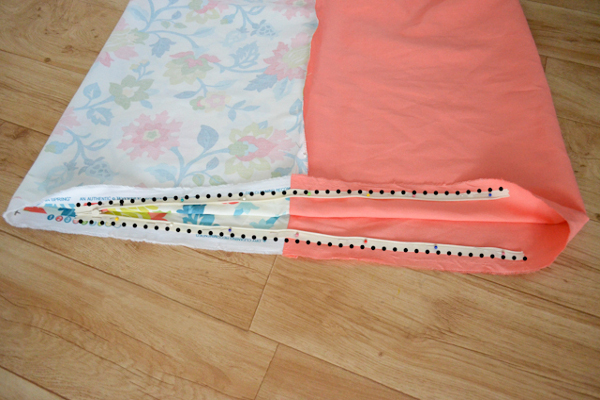
- Now retreat about 180 cm from the edge to the middle and set the point. From this point we will draw a fillet line. It will pass just near the fold.
- As a result, you should get a workpiece with a rounded flat edge. The cut line must be as flat and symmetrical as possible.
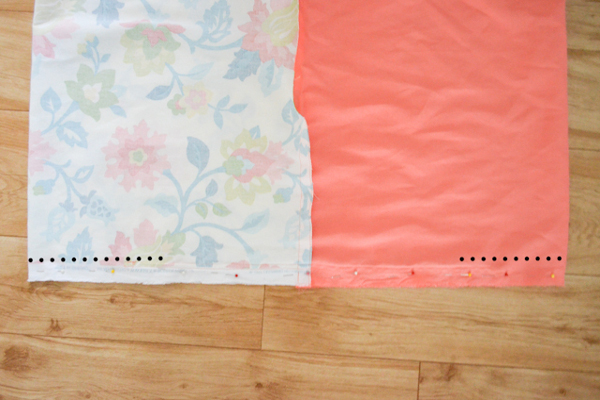
- The next stage of making a bag chair with your own hands is work on the frame. To do this, we just lay a line around the rounded edge.
- Straighten the resulting pouch, as shown in the picture.
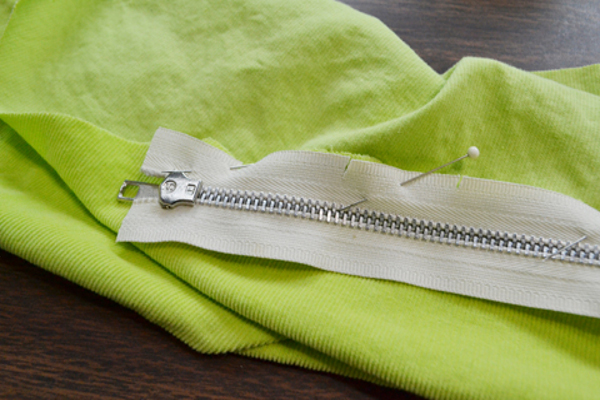
- On the bottom edge you need to fix the snake and stitch the cover. First we fix the snake itself.
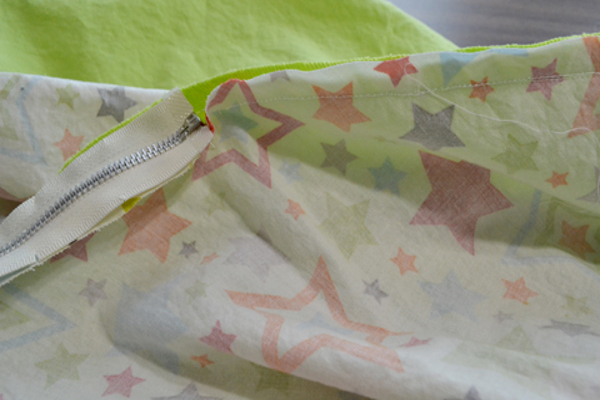
- Now we are stucking the edges of the bag. Also choose the shortest step for the stitch so that it is strong.
- Well, the last point of the instruction, how to make a bag chair yourself, is to fill our cover.
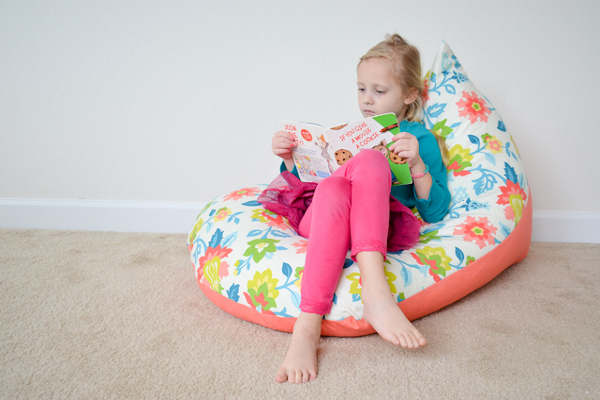
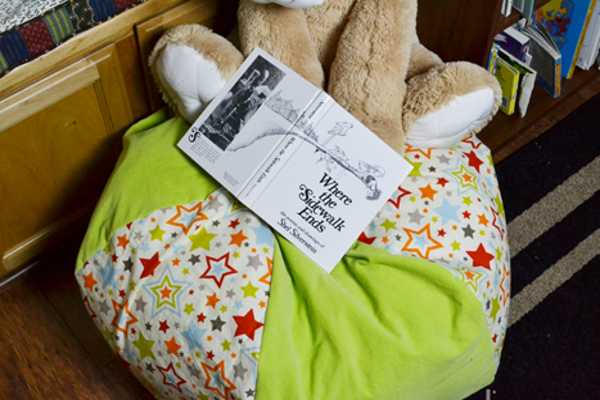
- An excellent comfortable armchair bag made by own hands will decorate any nursery.
How to make a seat-bag: a more complex option
If you plan to decorate the children's room with such an armchair, sooner or later spots will appear on it. In order not to pull out all the granules every time you wash and do not waste time, it's worth thinking about a double lined bag.
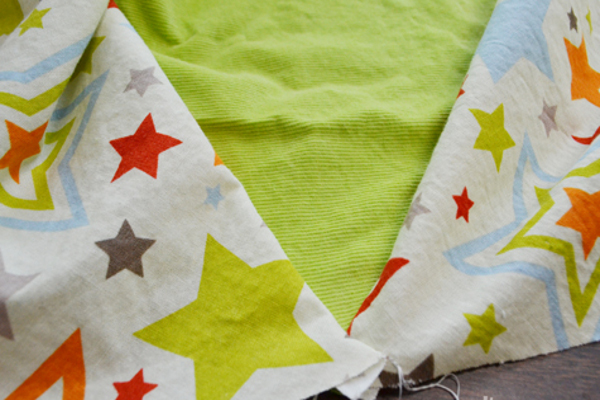
- We cut out the workpiece from the fabric in the form of a rectangle, as in the previous lesson. You can take a few such blanks. In our case, this is four, two from different tissues. You can take more, then the chair will turn out to be more voluminous.
- Then again one of the edges is slightly rounded. Only this time the cut is sharper. The top should be more acute. The fabric is folded four times this time, as a result you get something similar to a ball.
- We make several such blanks and put them face down, begin to squeeze from the top.
- In total, we need four such blanks. When we begin to squander the last two parts, we insert in parallel the snake.
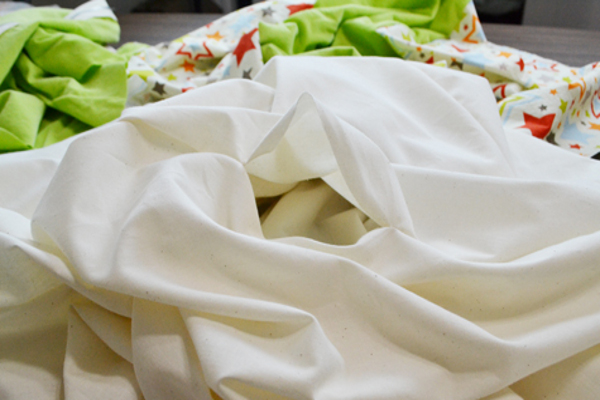
- To ensure that our armchair can be washed and updated at any time, we sew in the same way a cover made of cheaper cloth. In this case we fill out the filler, and from above we put on the frame of brighter fabrics.
- Here you can make such a bright and stylish chair-bag in one evening with your own hands. If necessary, the upper part is removed and it is not difficult to wash it. With colors and a number of sections, you can always experiment.