Watching movies with the projector will allow you to feel yourself in a real cinema. To get the desired image size and quality viewing, you need a screen for the projector . You can create it yourself or buy ready.
The self-manufacturing of the device has its advantages. These include low cost and the ability to make a surface in accordance with the desired size.
How to make a screen for the projector with your own hands
There are several ways to create the projector screen with your own hands. They depend on what the screen for the projector is made of:
- Using a free wall in a room, the area of which you are ready to take under the projection screen.
- Using a cloth for the screen of the projector with your own hands. This method will allow you to get a device that can be installed or removed at the right time for you.
First of all, you will need material to create the screen of the projector with your own hands. Here is the list of necessary things and tools:
- cloth for the screen of the projector with your own hands. You can recommend textiles or vinyl. But you can also use an ordinary white sheet. You will need a fabric of 2600x1600 mm;
- felt fabric for litter size of 2600x1600 mm;
- 4 wooden beams measuring 2500x40x15 mm;
- 5 metal boxes in the size 2500х65 mm;
- 4 decorative sides;
- a stapler for furniture;
- scissors;
- paint;
- self-tapping screws;
- sandpaper;
- screwdriver;
- screwdriver or drill.
Instructions for creating a projector screen
The following actions will help you to make the projector screen independently:
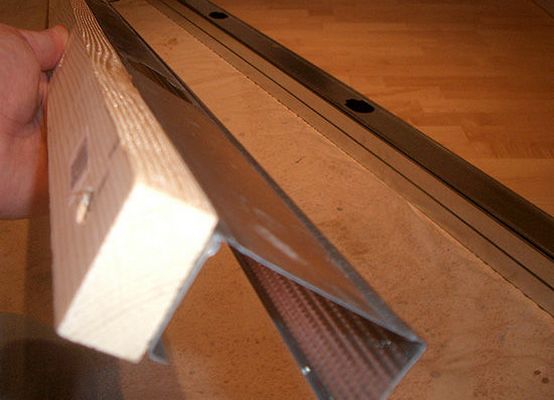
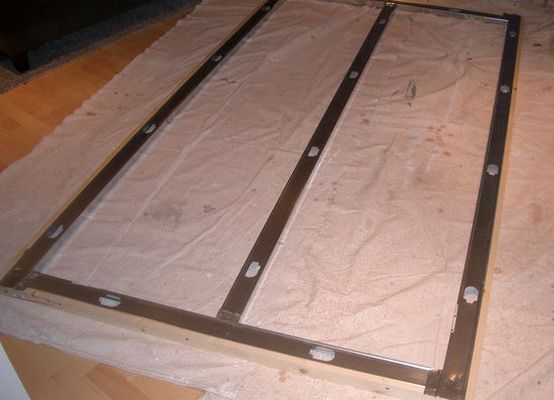
- Prepare two metal boxes 2500 mm long, which will be used for parties that are responsible for the width of the screen. For parties that take the height of the screen, saw off 1 m from the other two boxes and get lengths of 1500 mm. Another box is left as a spare. All four prepared boxes are covered with wooden blocks.
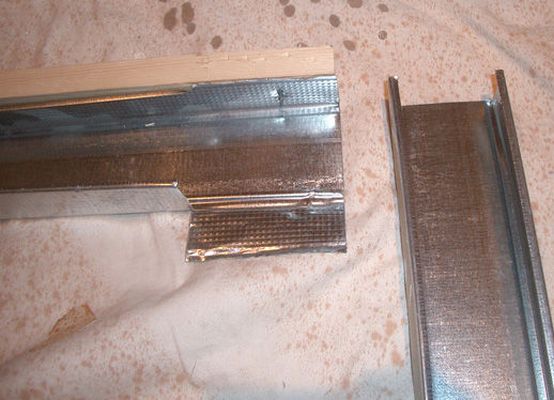
- From each edge of the longer box recede the distance equal to its width, make an incision on the wall, using scissors for metal. The metal is bent off with pliers and, if necessary, leveled with a kyanite.
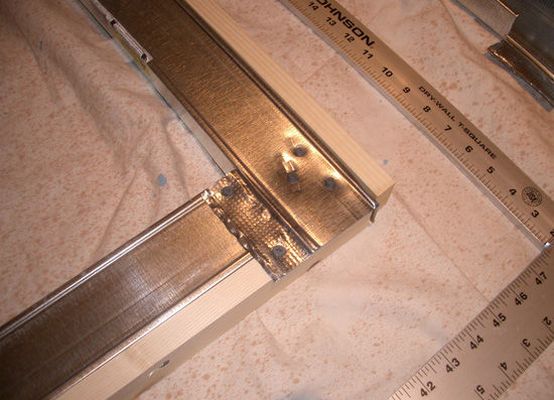
- The construction is connected by means of self-tapping screws.
- Similar actions are performed on the reverse side. The result is a frame.
- In the same way, the fifth transverse profile of the box is added along the center of the screen frame. In this case, the cuts are made on both sides. Then it is installed on the frame, holes are drilled along the edges. Screws are used to fasten the frame to the frame.
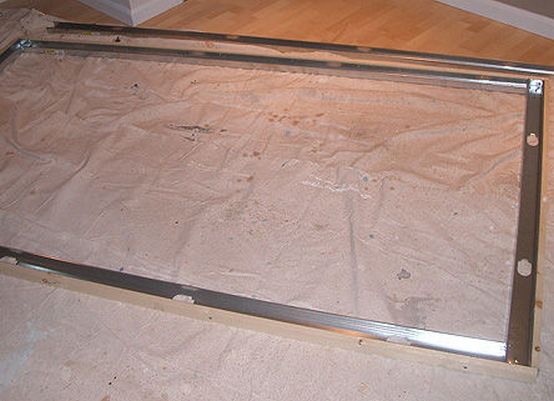
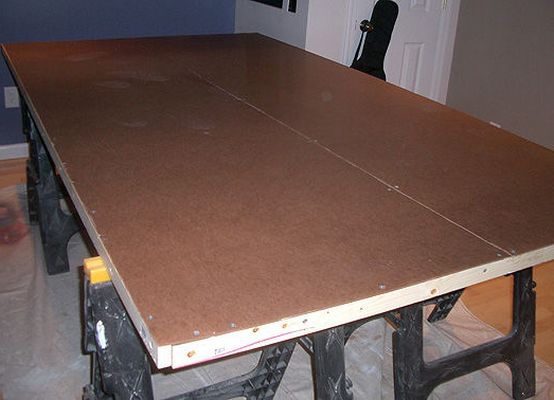
- The frame is covered with fiberboard. To do this, the frame is measured along the perimeter, making a cutting of the fiberboard and fixing it along the edges with screws or a stapler.
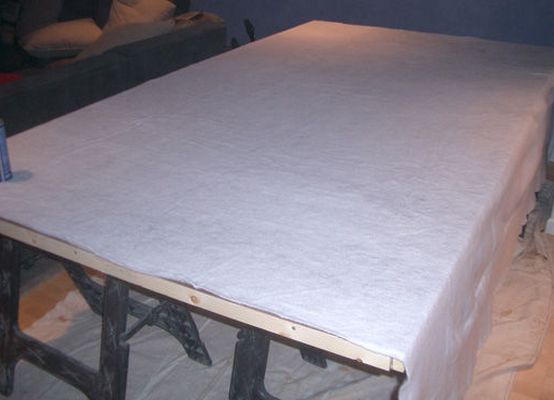
- A felt is made of felt. This is necessary to smooth the surface irregularities, which are formed due to the seams and heads of self-tapping screws.
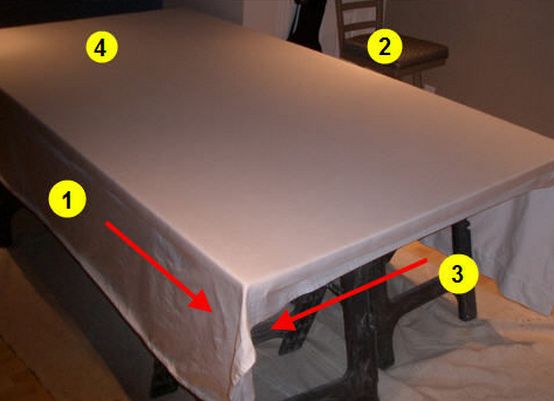
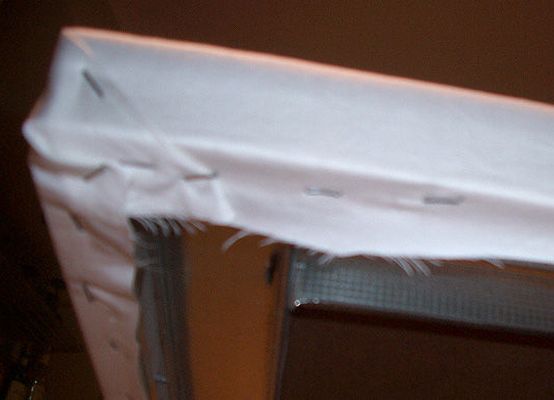
- A sheet or other cloth is spread on the surface of the shield shield. It is fixed by a stapler alternately in width and height of the screen.
- Trim excess tissue.
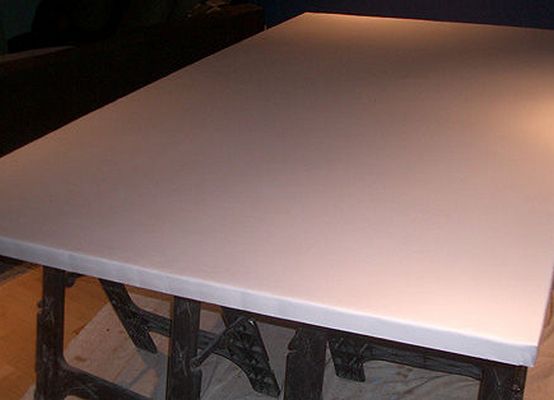
- The surface of the screen is covered with paint in two layers. To do this, use a paint roller.
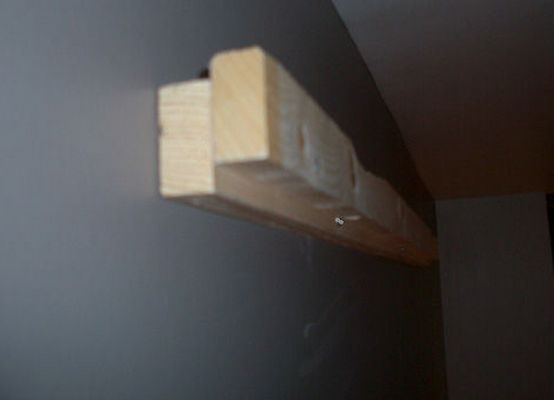
- In order to hang the screen on the wall, a wooden bar is screwed to it.
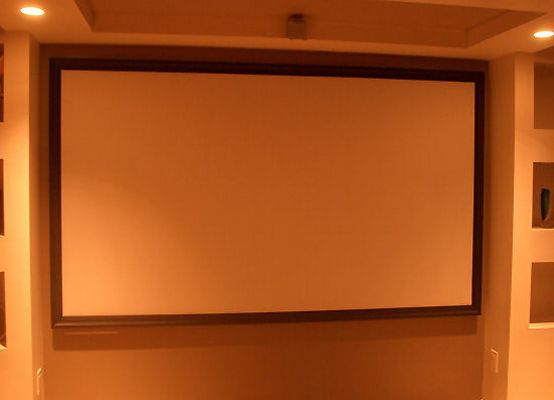
- If desired, you can make a decorative frame around the perimeter.
Black screen for projector
Some models of projectors have a certain amount of excess brightness. In this case, black distortion is possible during viewing. You can avoid this effect if you make a black screen for the projector. He will absorb part of any color that falls on him, including the one that is re-reflected from the walls.
With this screen you can achieve a deeper black color, reduce the effect of external light and excessive brightness.
Thus, you can choose the most suitable way of making the screen of the projector with your own hands.