Shards and sidewalks on the plot of land serve several important functions: they delimit parts of the plot, allocate space for passage, and give the yard a well-groomed and neat appearance. Laying paving tiles with their own hands consists of several mandatory stages, the implementation of which will create beautiful and durable paths.
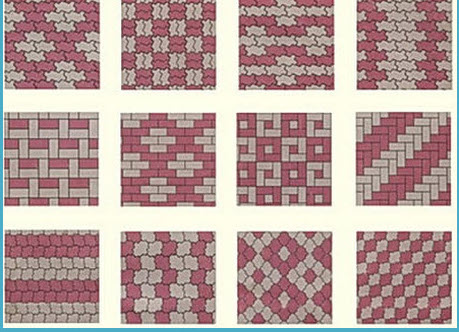
Laying options for paving slabs
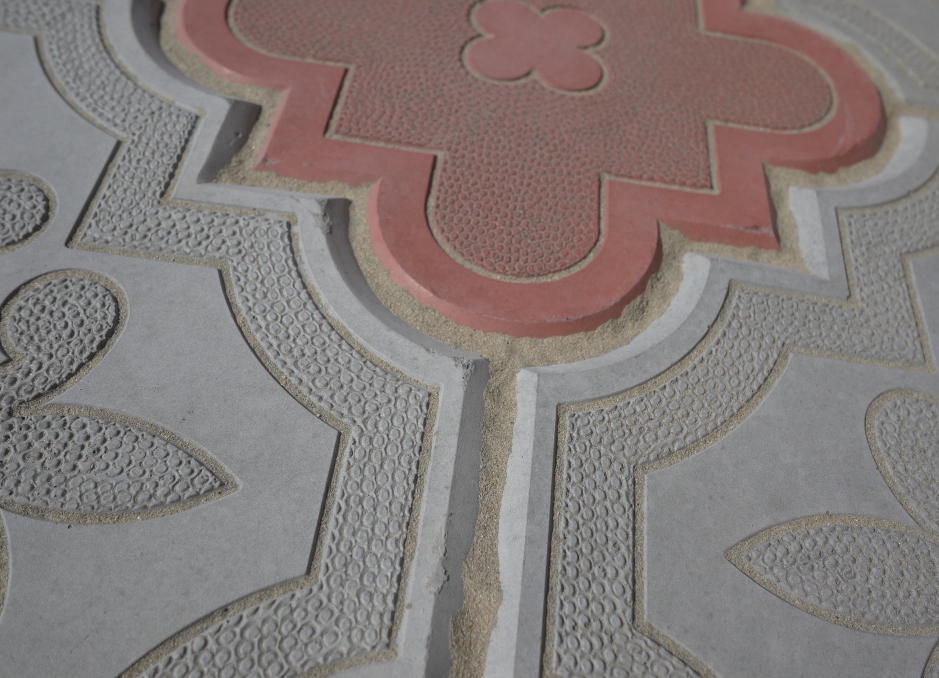
Before you buy materials and make the necessary calculations, you need to decide what kind of design you want to get the tracks. After all, paving slabs can be not only square, but also rectangular, trapezoidal and even complex geometric shapes. Also important is the scheme for laying paving slabs. They can also be the most unusual, depending on the chosen form of material, as well as on what kind of configuration the resulting track will be. It can surround the flower bed , lead straight from the house or have a curved shape. It is worthwhile to carefully consider ready-made patterns of laying paving slabs or draw a diagram yourself. The most commonly used options can be considered below.
Step-by-step instruction for laying paving slabs
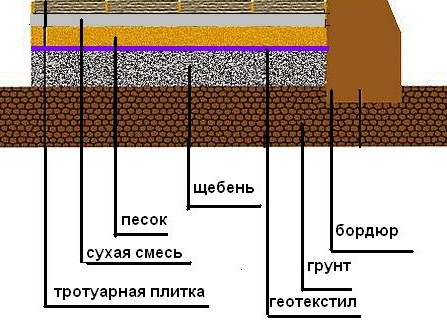
When laying sidewalk tiles, both square and other forms, it is important to follow the order of the layers so that the tracks turn out to be stiff and do not suffer from heavy rains or melting snow. There is a scheme of how a completed pavement should look like.
Depending on the properties of the soil, the layers can be reduced, for example, one sand pillow can be used. The order of actions is as follows:
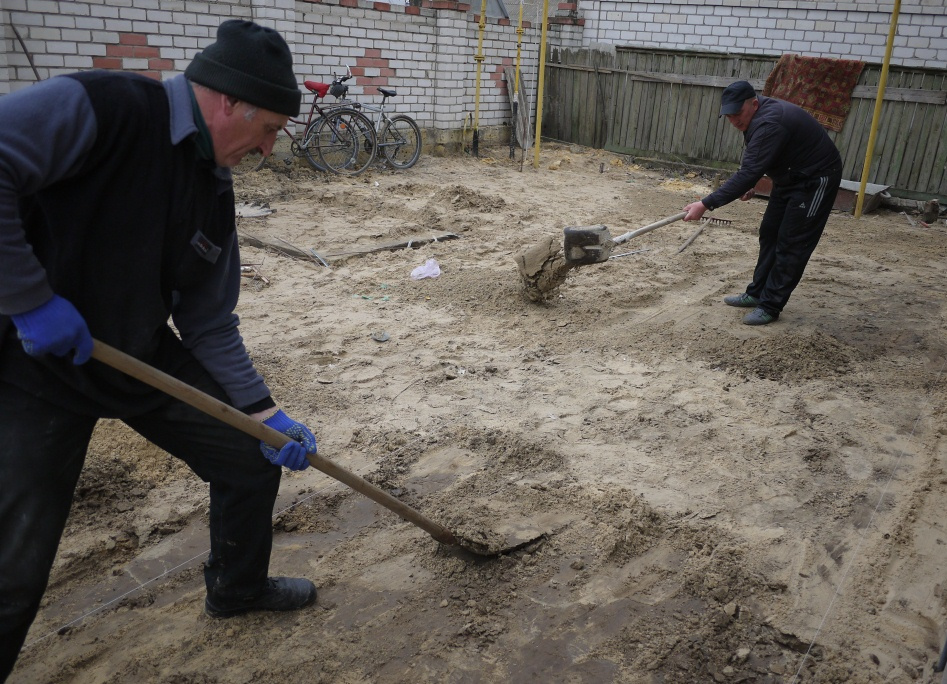
- We remove the soil layer on the site planned for laying the track and level the surface with sand. Where the hole is poured, where the hillock is cut off with a shovel.
- Check the height by level.
- We fall asleep a platform under a tile in advance spilled sand.
- Tamp the sand before leveling.
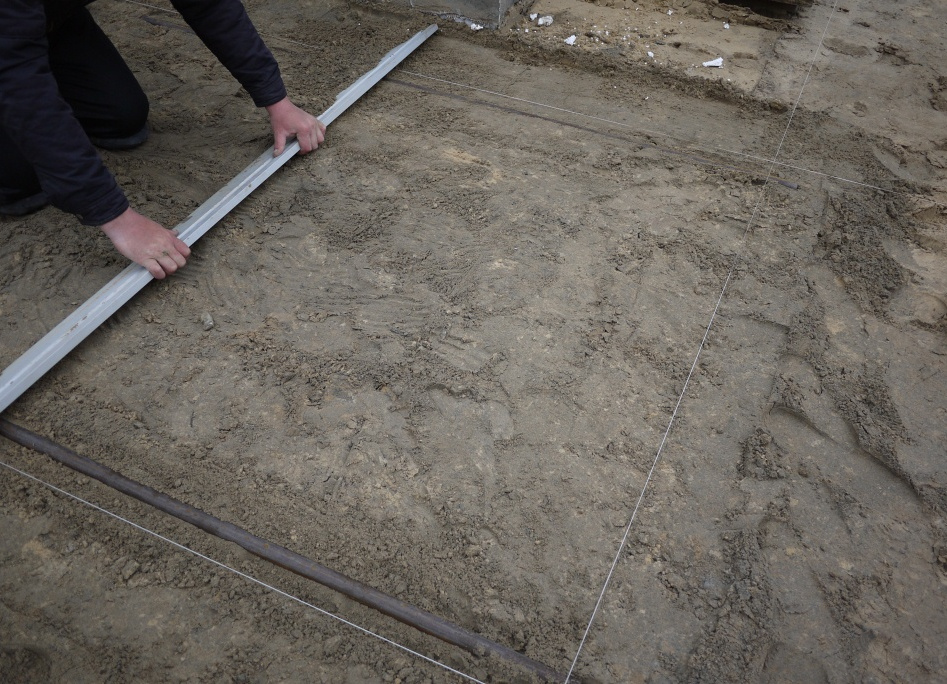
- Now you need to carefully level the area. To do this, we use metal pipes, which are laid in a sand layer, as well as a board, which we lead through the pipes perpendicularly, removing excess sand. Tram the sand. After this, the site needs to be watered so that the sand stops absorbing it and puddles start to form.
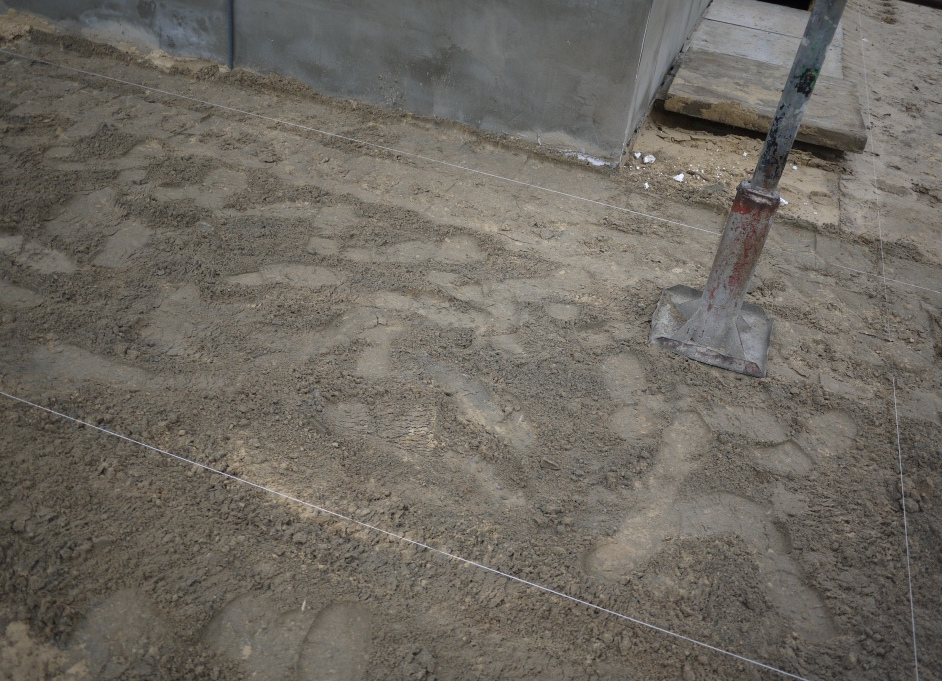
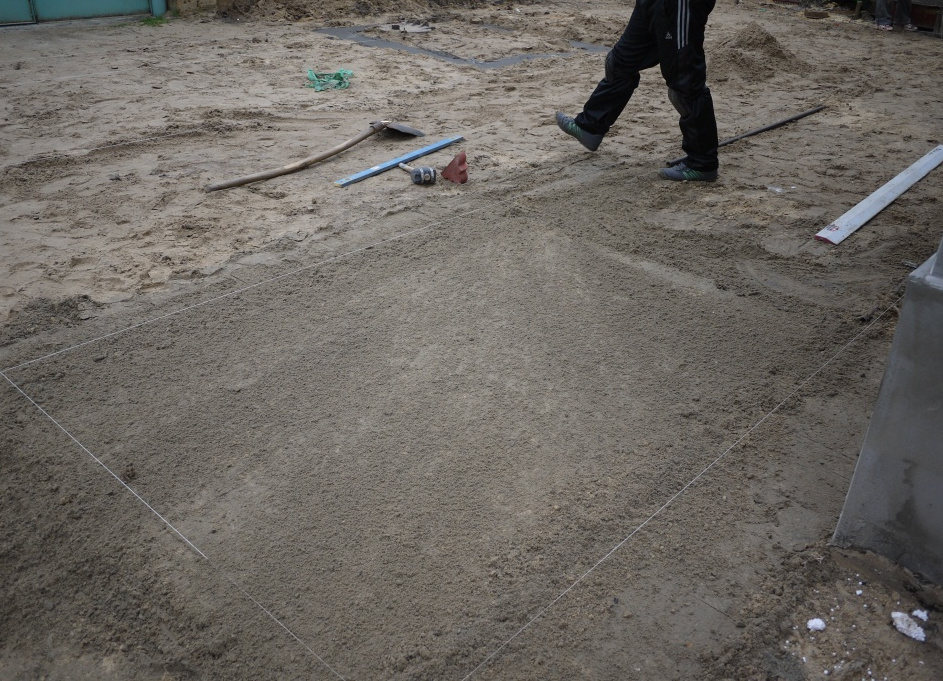
- We leave the prepared pillow to dry. It is necessary to wait until the compacted sand completely dries up and creates a reliable substrate under the future pavement.
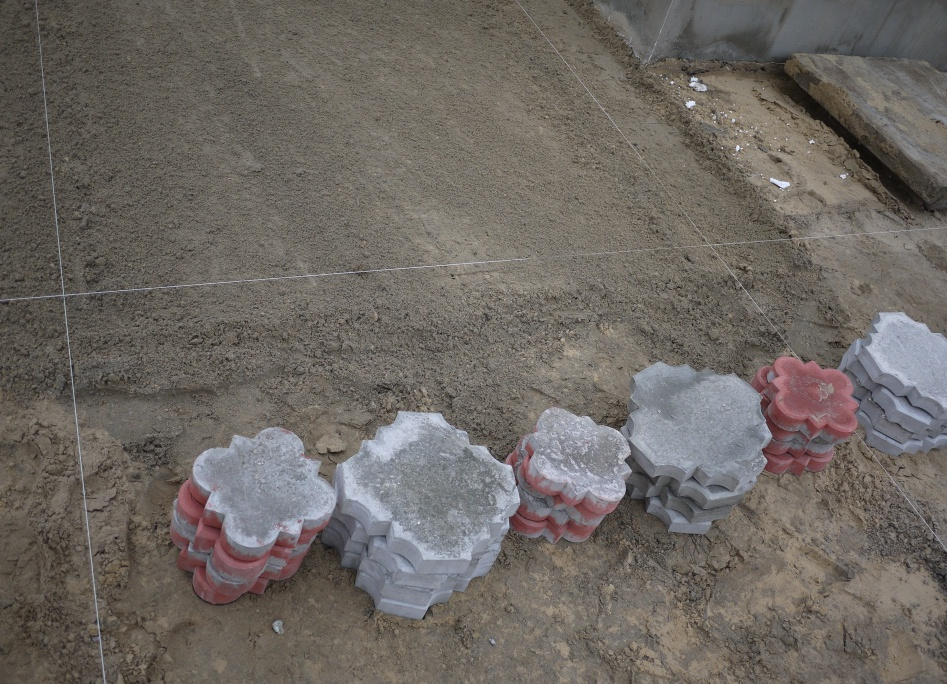
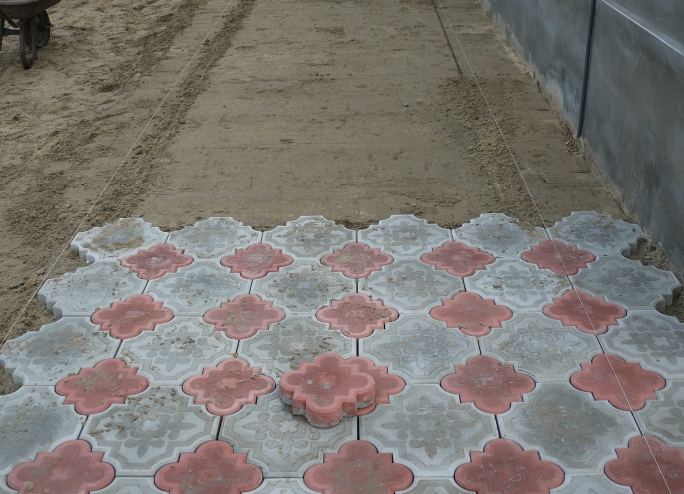
- Prepared tiles lay out near work. Mark the areas for laying with stretched perpendicularly to each other threads.
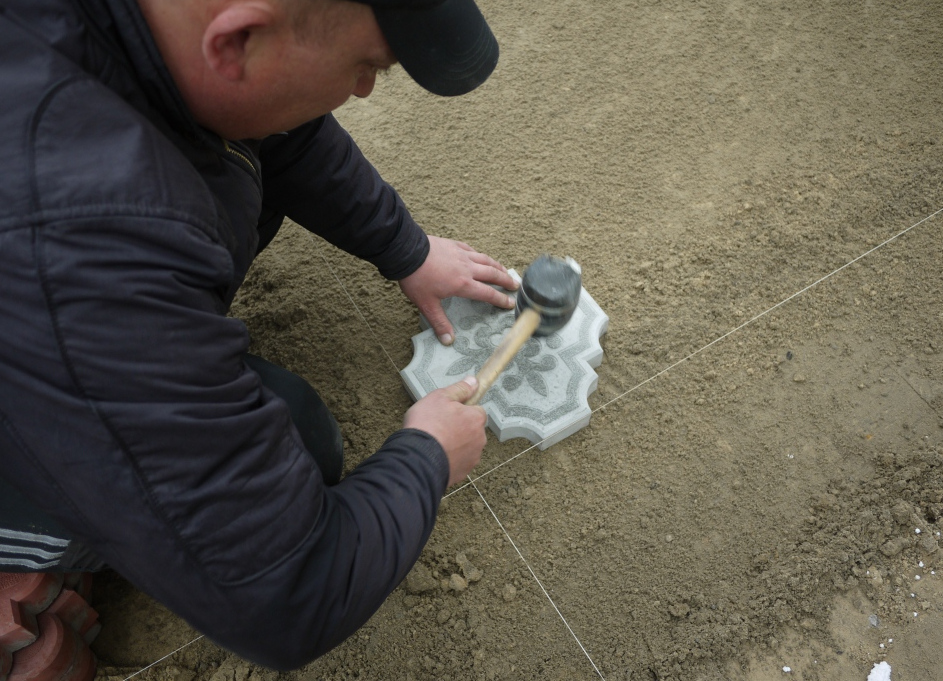
- We lay the first tile, carefully leveling it along the tightened threads. On how thoroughly it will be erased, the accuracy of laying the entire sidewalk will depend in the future. If the first time an even row will not work, then you can raise the tiles and put them back again.
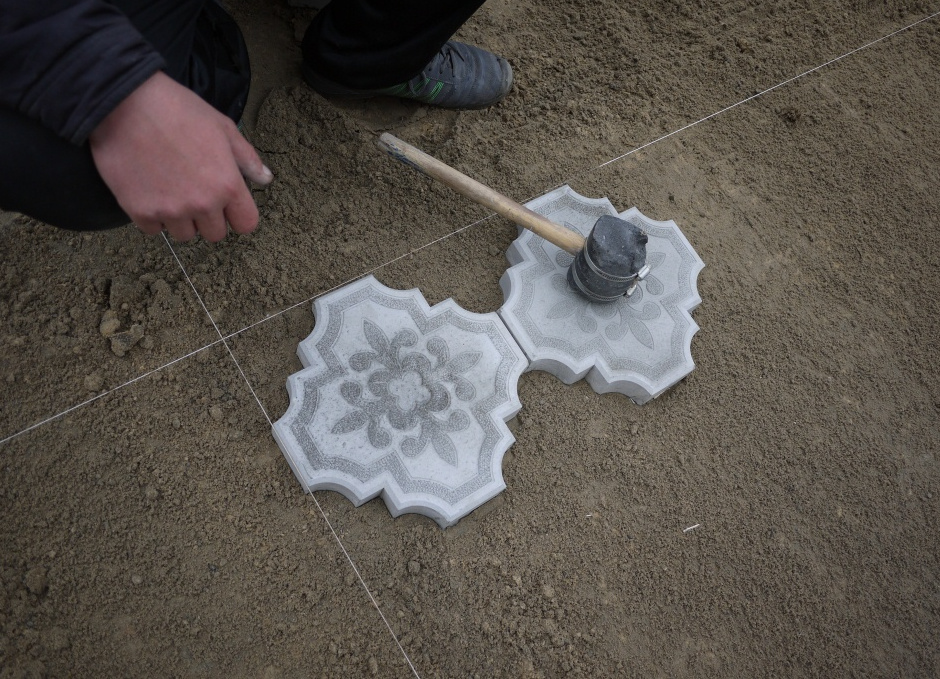
- Close to the first we lay also the second tile.
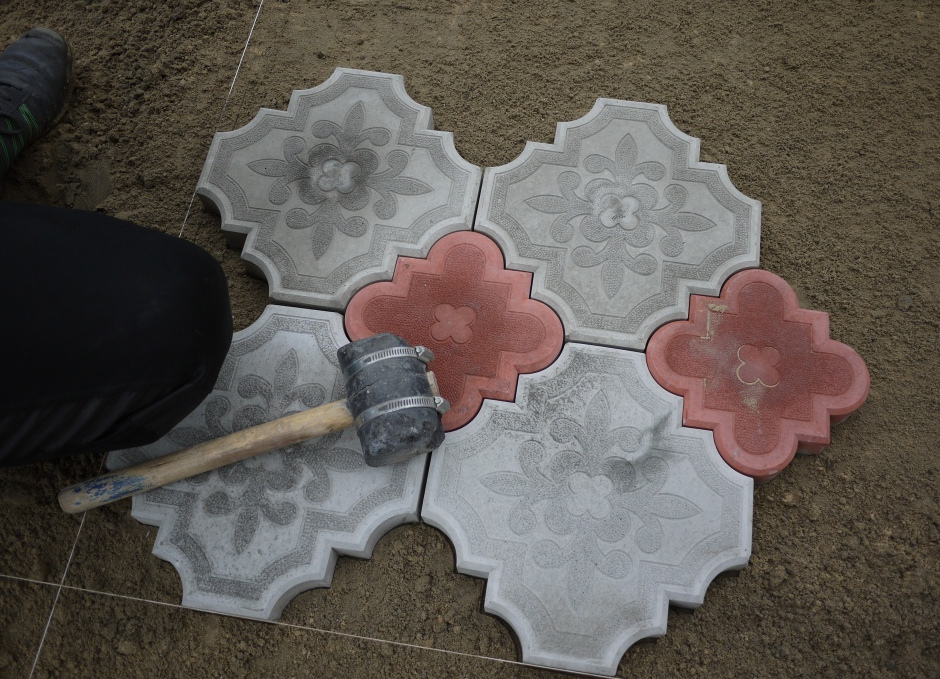
- So gradually lay other tiles.
- We lay that part of the sidewalk where whole tiles are used.
- BULGARIA cut the tiles in half and lay the edge of the path.
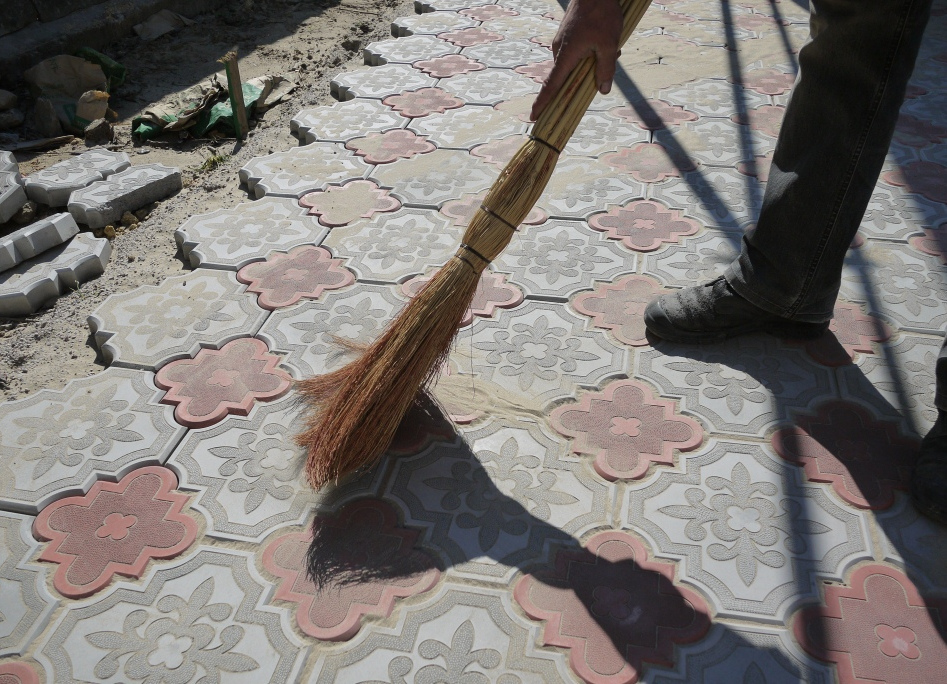
- We sweep the seams in the tile with a sand-cement mix. The ratio of sand and cement in this case should be taken 3 to 1.
- We remove excess sand.
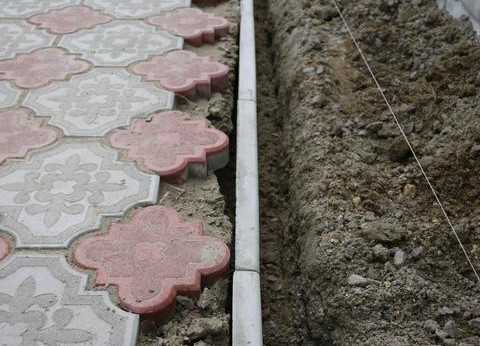
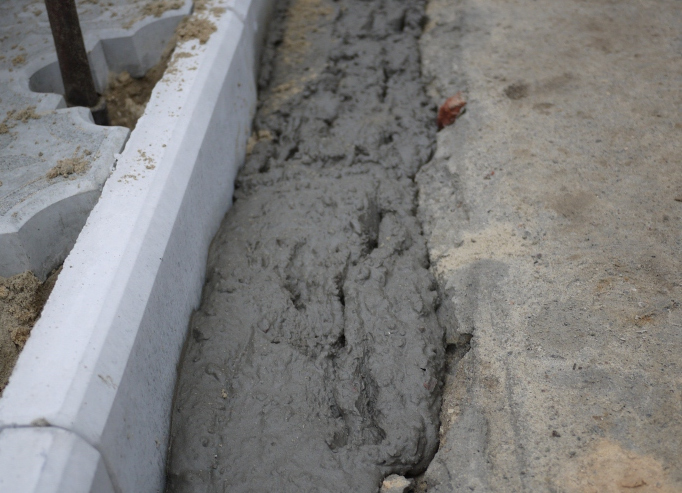
- At the edges of the path, we pull out a groove of the required depth under the curb.
- Install the border . Fill the base with a cement mixture.
| | |
Our curb is ready.