Recently, the methods of finishing the ceiling are taking on new forms, constantly improving. For example, lath ceilings today allow you to embody many design ideas through decorative inserts and modern design. There are a number of advantages with which we will become acquainted in this article, and also we will learn how to mount the structure independently.
Installation of suspended ceilings: what are the advantages?
There are several reasons why it is worth paying attention to this type of finish. The first and obvious - high resistance to temperature changes and high humidity. Due to these qualities, you can safely decorate the flow in the bathroom or in the kitchen.
Due to the suspended structure, you can even out the appearance of the ceiling, even if the swings of the slabs are very strong. Also, it eliminates the need to use filler or other methods of leveling the surface, which saves time and money.
The work is relatively simple and it is quite possible to cope with the installation yourself. You just get a few tools and save at work.
The design is environmentally safe, so you can install the ceiling in the nursery or bedroom. Due to a wide enough choice of design, it is possible to choose the color for any design. By itself, such a ceiling looks beautiful and fits perfectly into many style options for decorating the room.
Installation of plastic suspended ceilings
For work we need the following tools:
- conventional and laser level;
- drill and screwdriver;
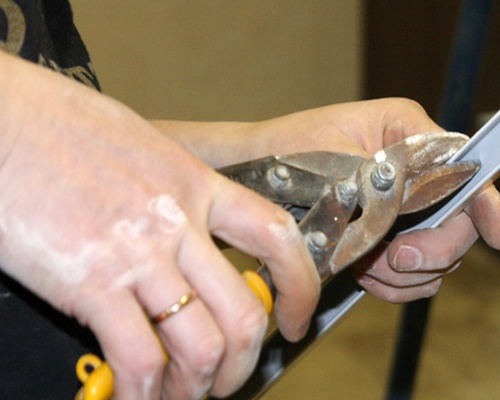
- Roulette with metal scissors.
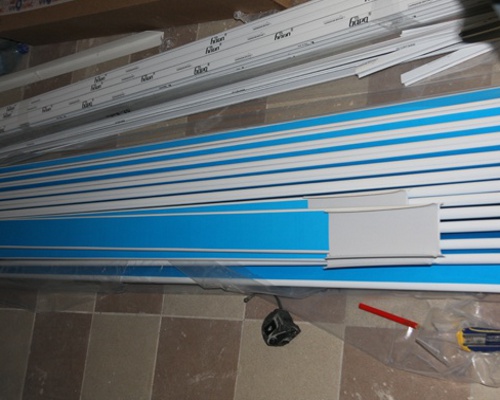
To install the suspended ceiling from the panels, you should prepare the ceiling panels, profile rails, load-bearing tires (traverses), screws with dowels and hangers.
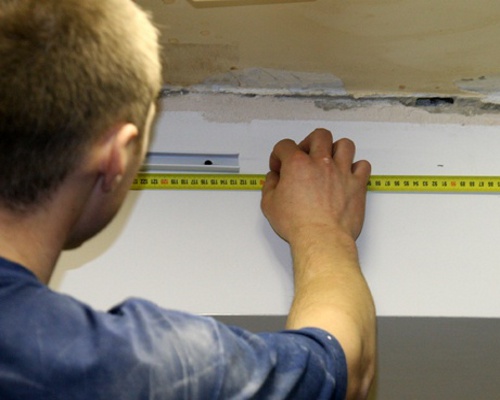
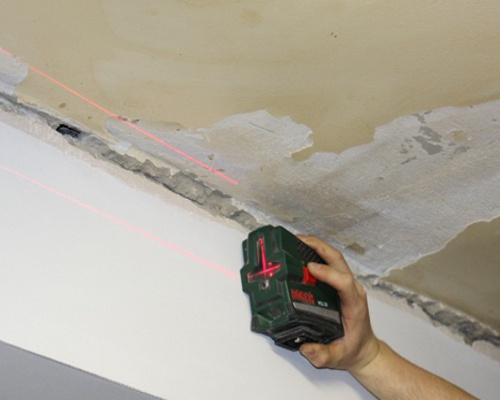
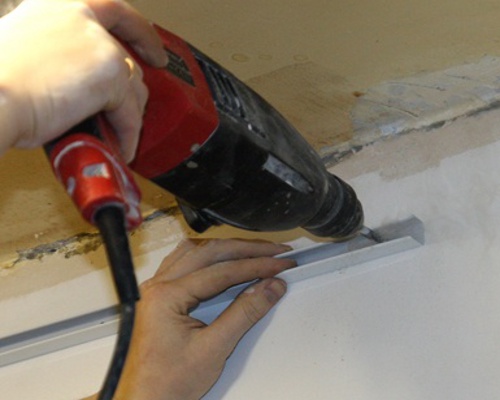
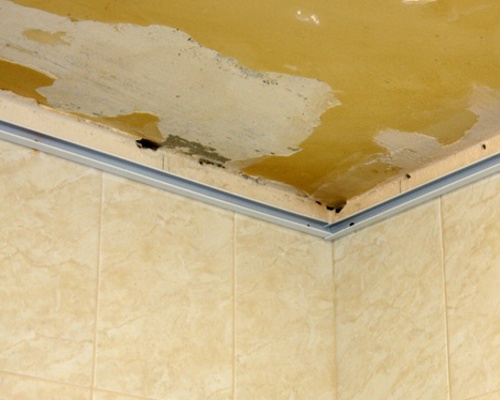
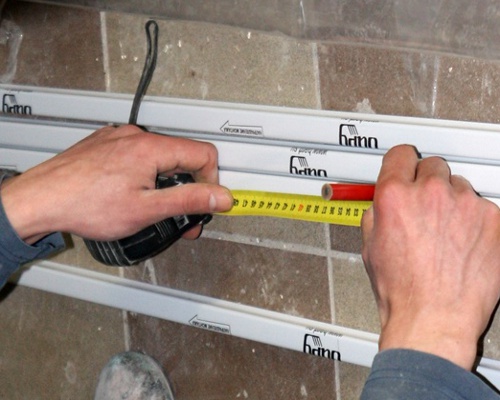
- The first stage of installation of a suspended rake ceiling will be installation along the perimeter of the guide room. The suspended ceiling will be located 20 cm below the old one. To work in a large room it is better to use the laser level. We draw a horizontal line of fastening.
- We begin installation of false ceilings from fastening of directing along the planned lines. We fix the construction on dowels. The fixing step is approximately 60 cm. During operation, be sure to check the position of the profile by level.
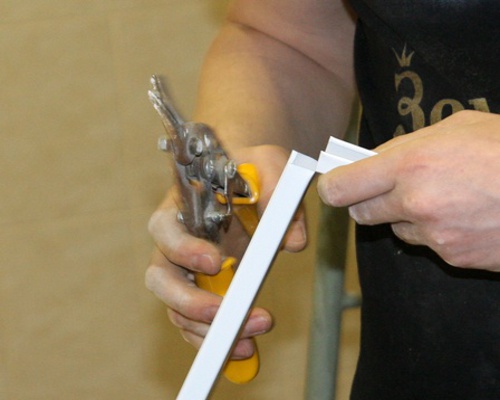
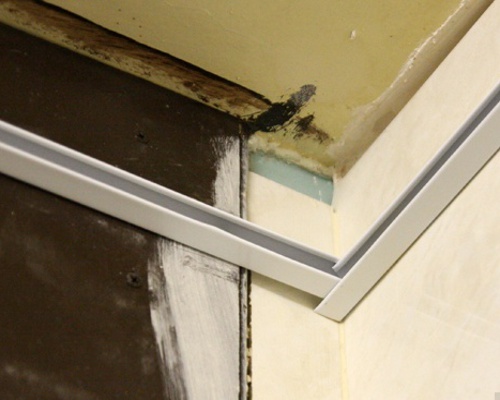
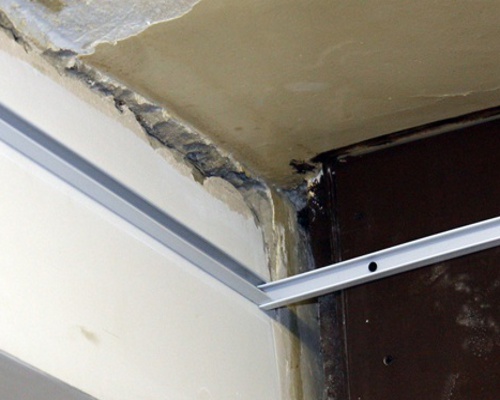
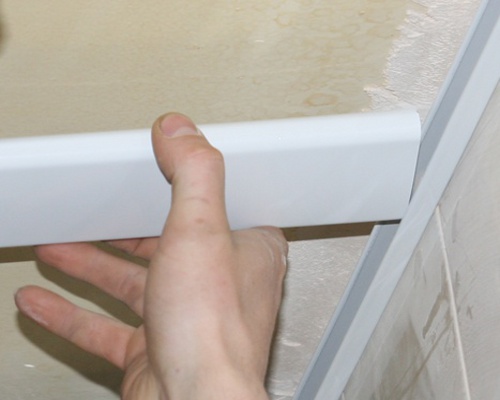
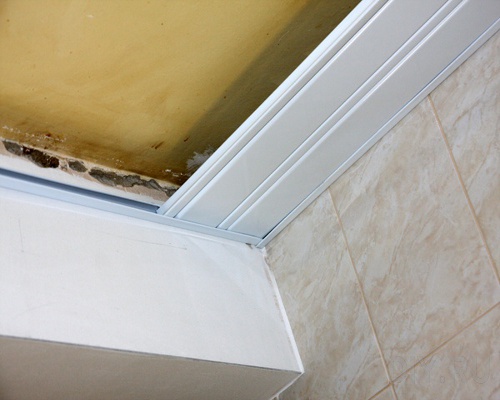
- Installation of a profile of a false ceiling from plastic in corners is made as follows.
- Especially carefully check the level should be in the corners.
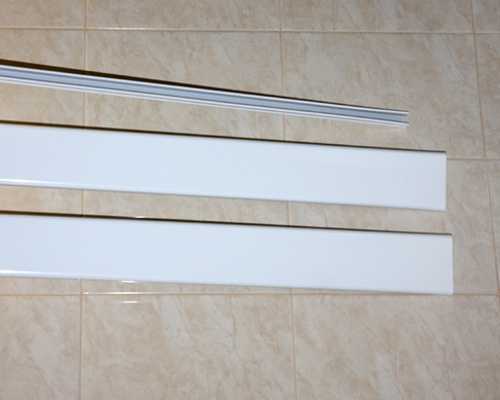
- The finished perimeter is as follows.
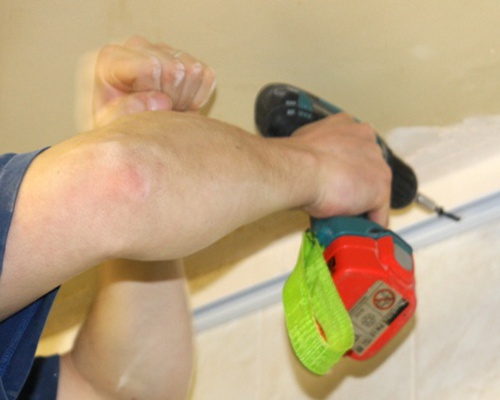
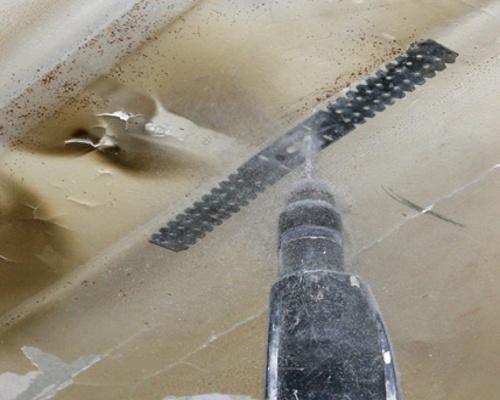
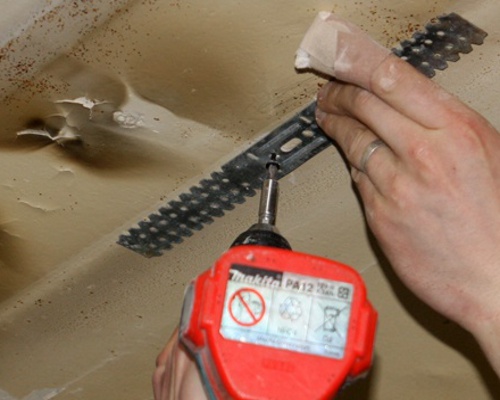
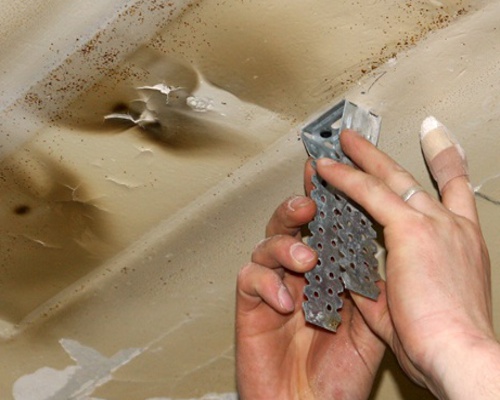
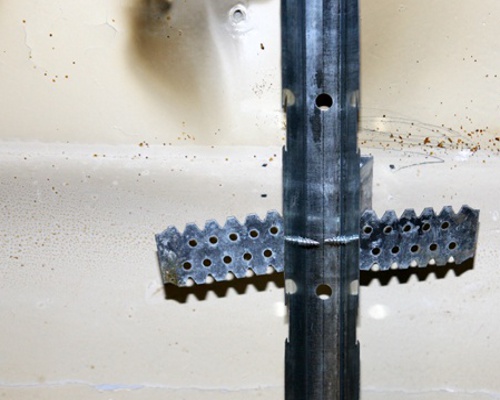
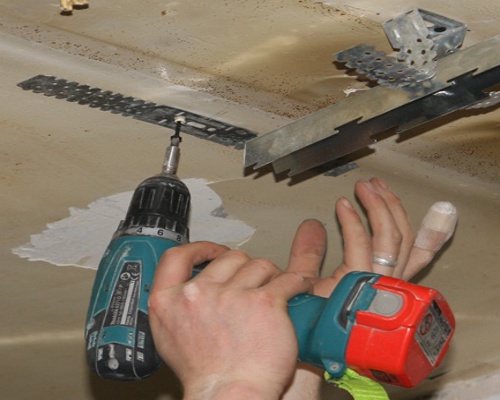
- Next is the second stage of installation of a suspended ceiling from panels - installation of suspensions. We make markings for fastenings with a step of 1 m.
- Drill drill holes for screws with dowels and fix the structure. Do not forget the control with the level.
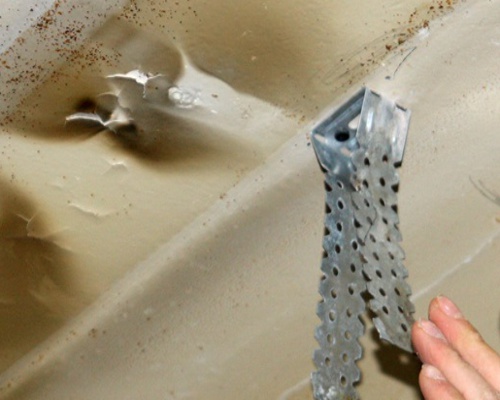
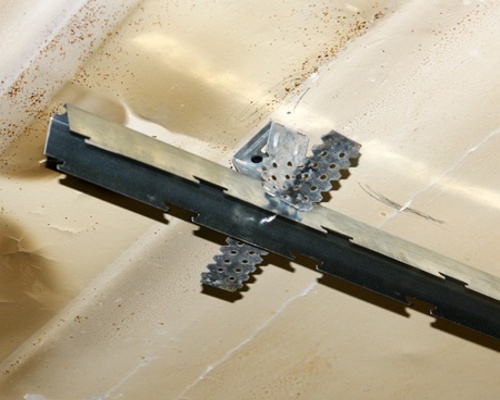
- Then attach the traverses to the suspensions. As in the previous case, the distance between the fasteners should not exceed 1 m.
- Traverses are installed in a perpendicular direction with respect to the slats. They must be flush with the perimeter profile. We fix by means of screwdrivers to suspensions.
- The stage of construction of the base for the installation of a suspended lath ceiling is the most painstaking and important, since it affects the overall appearance of the finished structure.
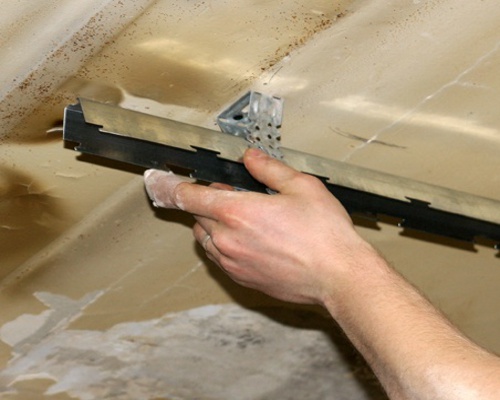
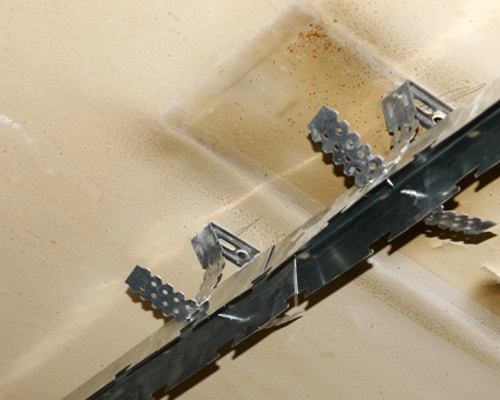
- There are times when the traverse is shorter than required. Then we proceed as follows: we mount the suspension at the beginning of the next traverse, as shown in the photo. Then, first and foremost, attach the second traverse.
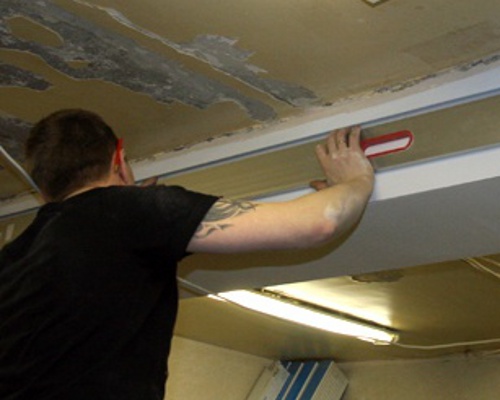
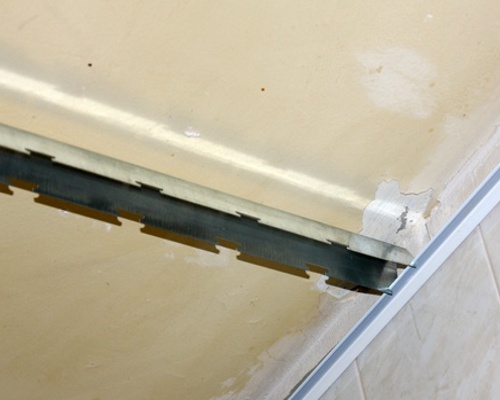
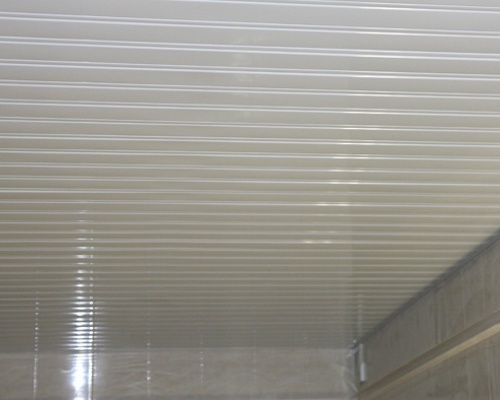
- Now we prepare the laths for fixation. We release them from the protective film. Crop according to the size of the room.
- We insert the slats into the guides and snap them along the entire length.
- As a result, we get such a ceiling.