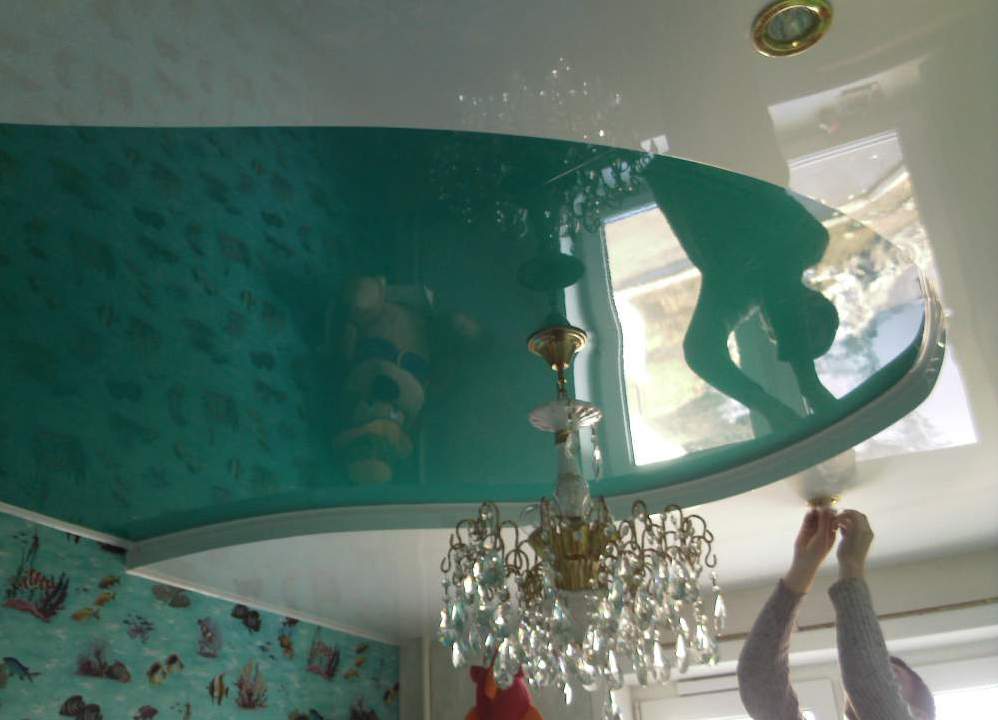
Installation of modern stretch ceilings is quite possible to produce by oneself, such decoration is more and more popular in apartments. They hide all the defects in the surface, do not require care and look spectacular. Ceilings can have several tiers, this makes it possible to realize any design fantasy.
Required Tools
The list of items for mounting two-level or single-level tension ceilings is as follows:
- stairs;
- perforator;
- gas cylinder;
- heat gun;
- laser level;
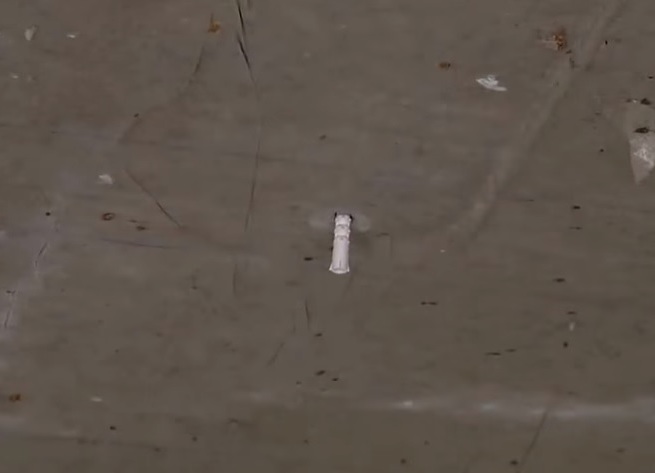
- dowels;
- a hammer;
- screwdriver;
- knife;
- putty knife;
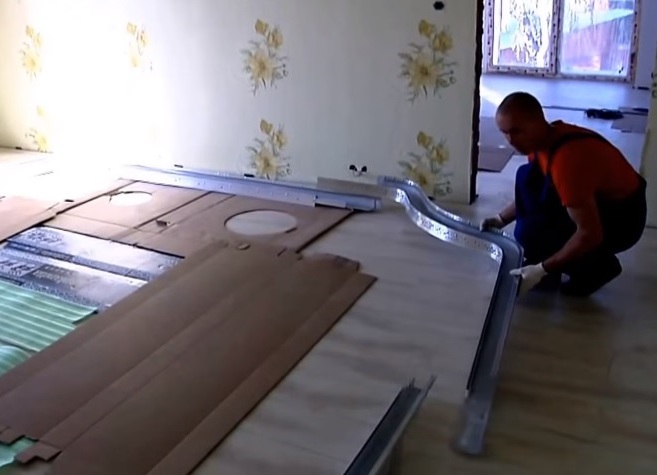
- fixing profile of wall and ceiling type;
- stretch ceiling fabric.
Technology of installation of stretch ceilings
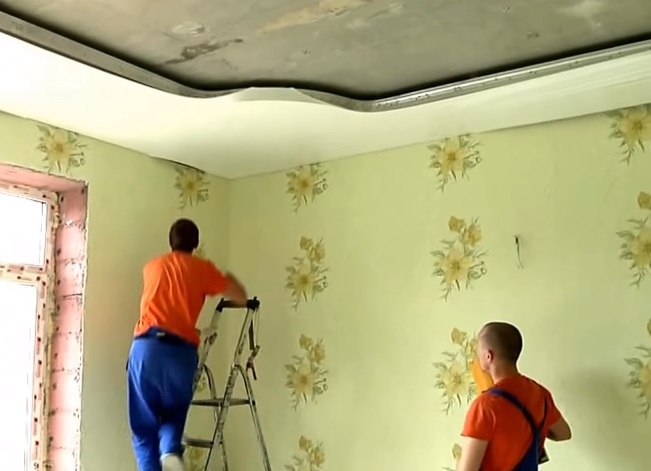
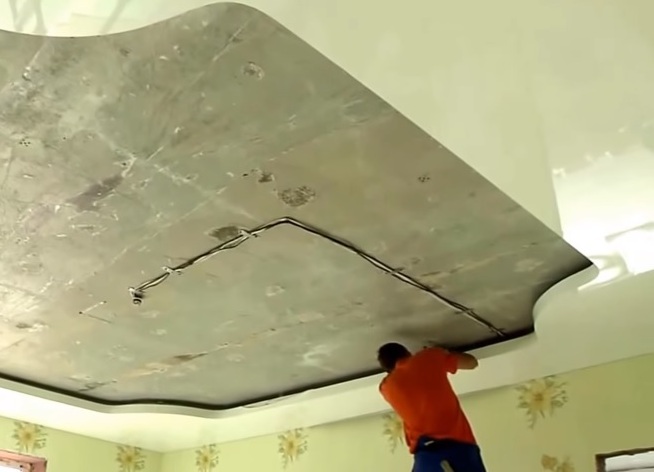
Consider installing a multi-tier ceiling, which will consist of two canvases installed on different levels. Its installation is made at the very last turn when all the dusty work is completed.
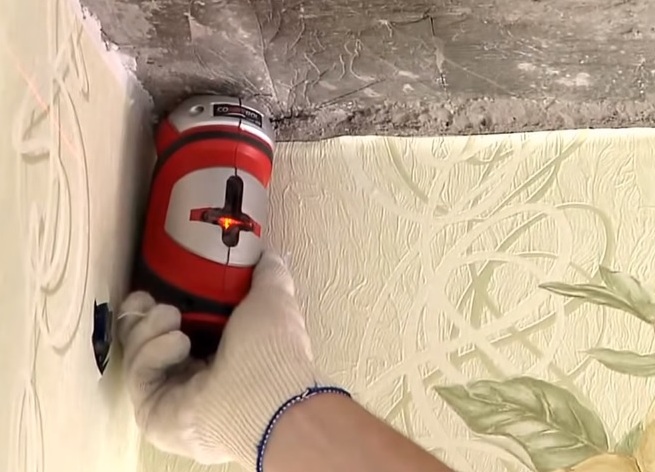
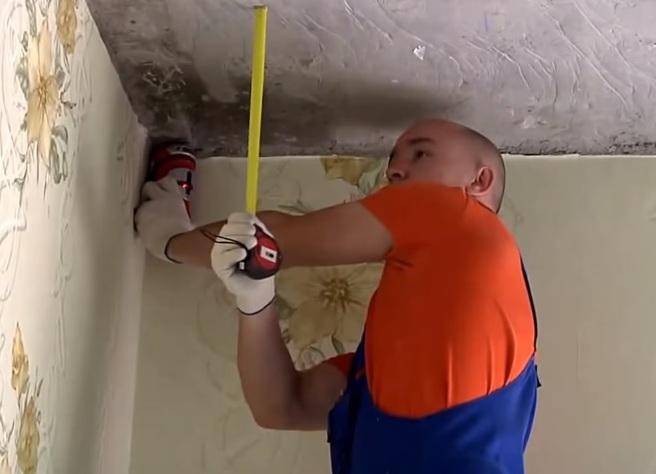
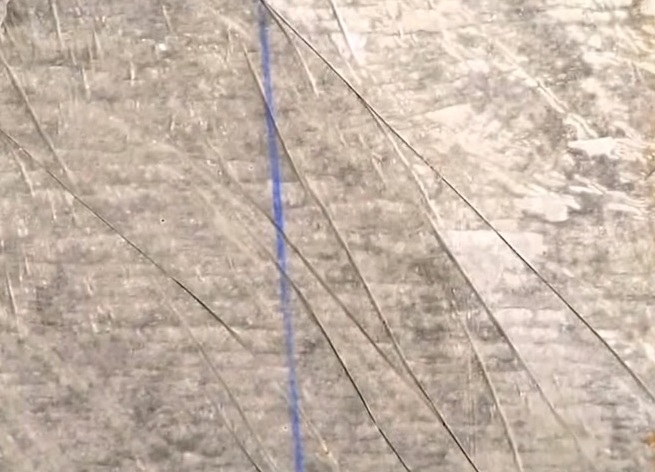
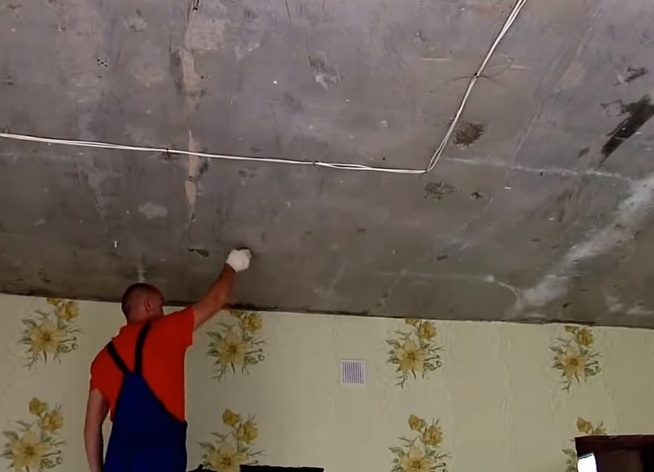
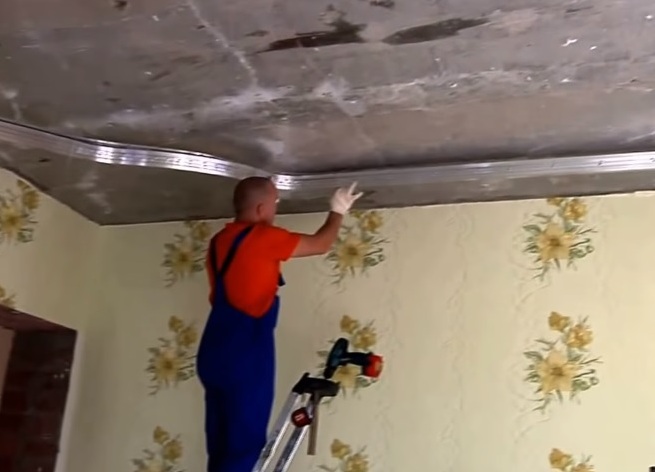
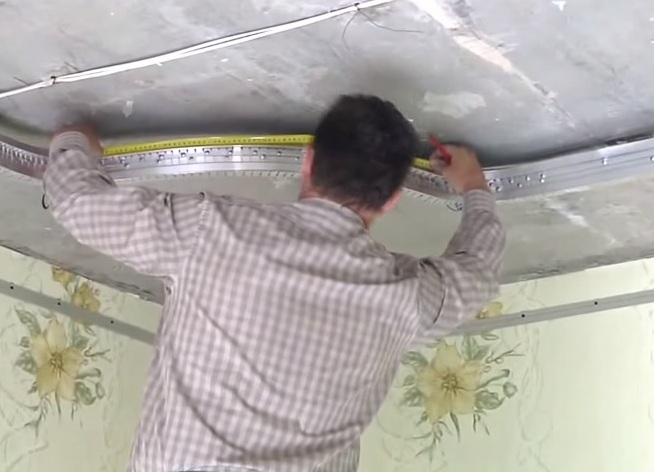
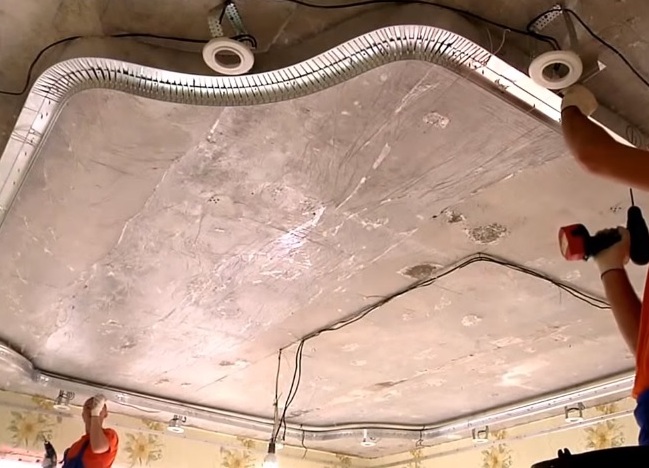
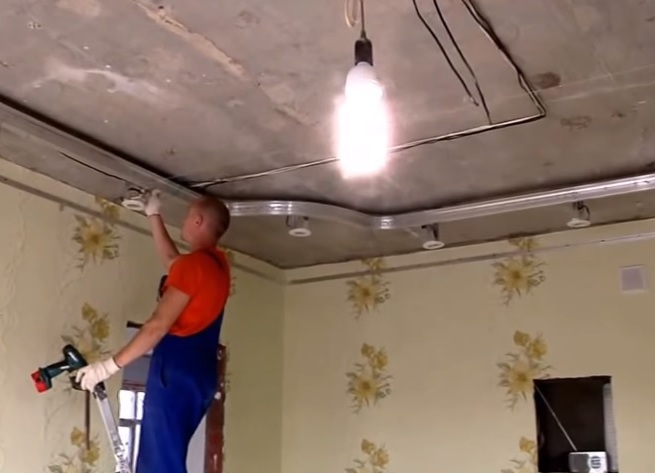
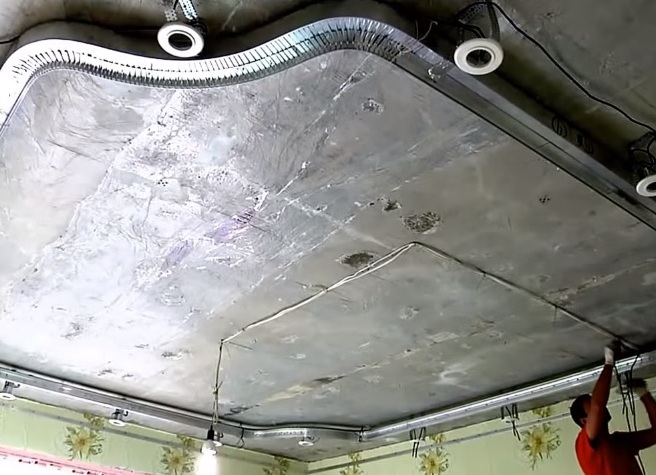
- At the first stage, you need to make a markup. Determine the lowest angle in the room, and from it along the entire perimeter you need to draw a line of punching.
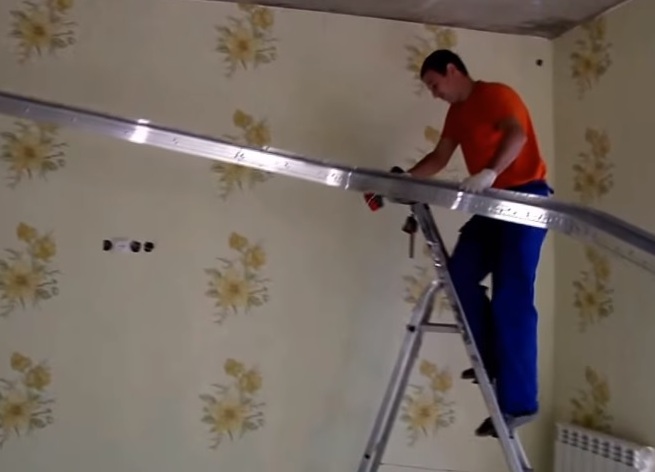
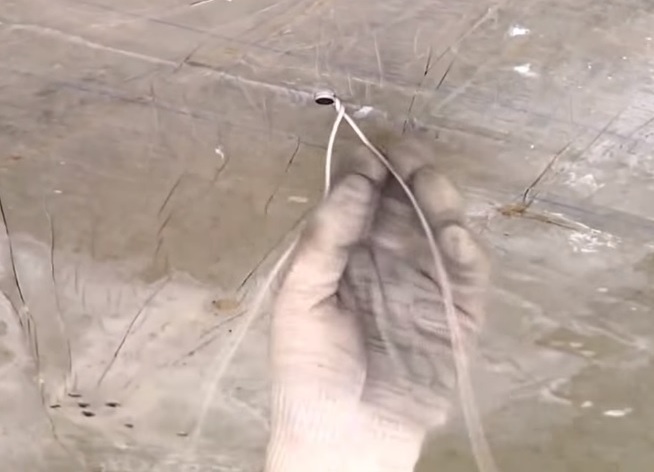
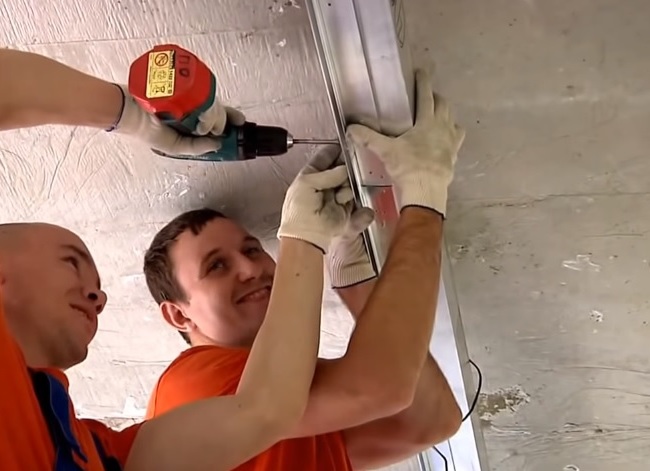
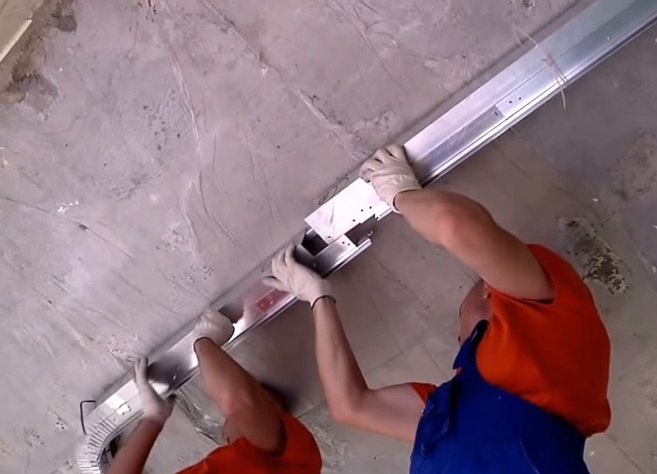
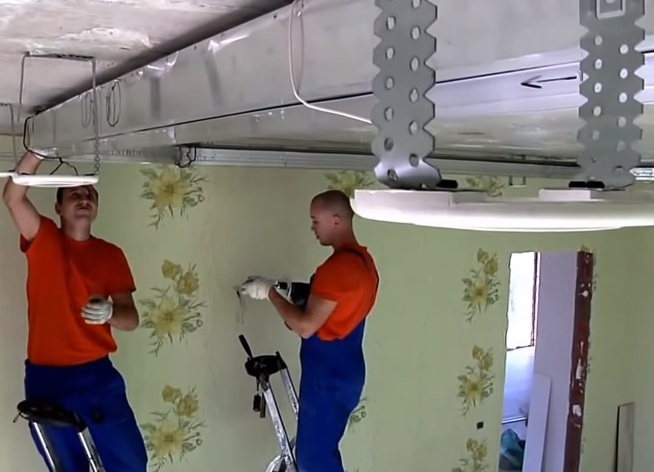
- Now it is necessary to establish an independent design of the lower level, which was made of an aluminum profile. It is suspended from the base ceiling using screws and wire.
- When the design is perfectly aligned on the horizon, it is fixed with metal corners.
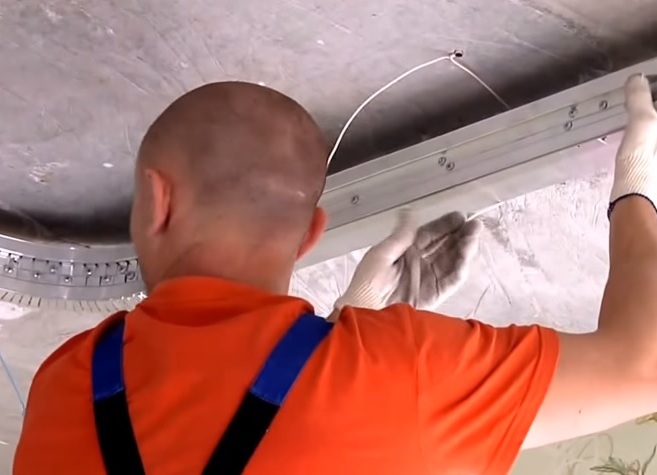
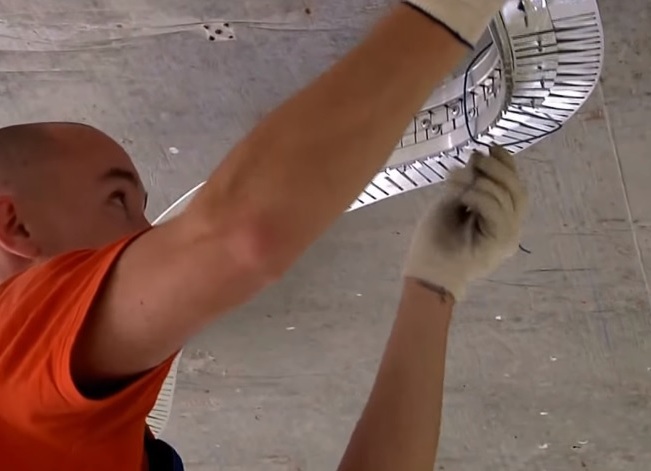
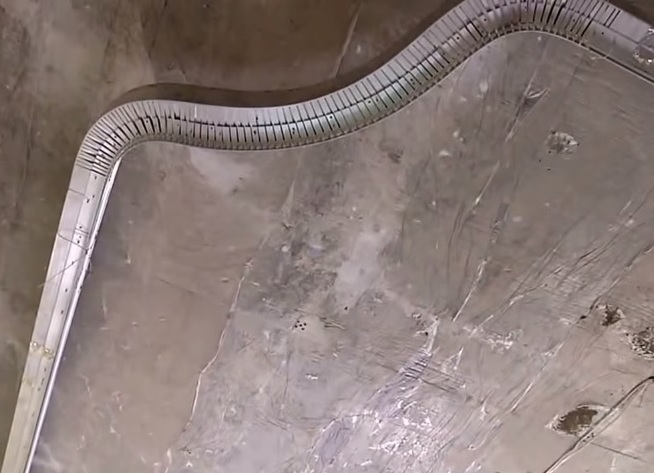
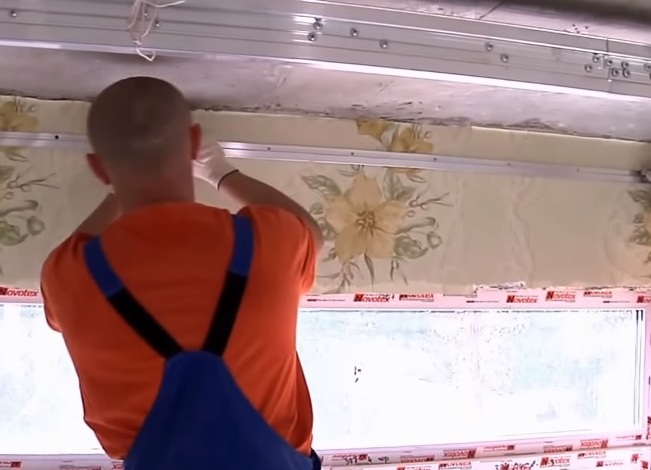
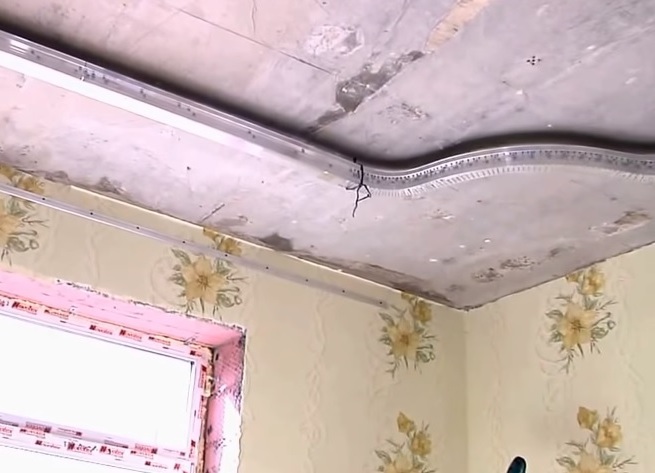
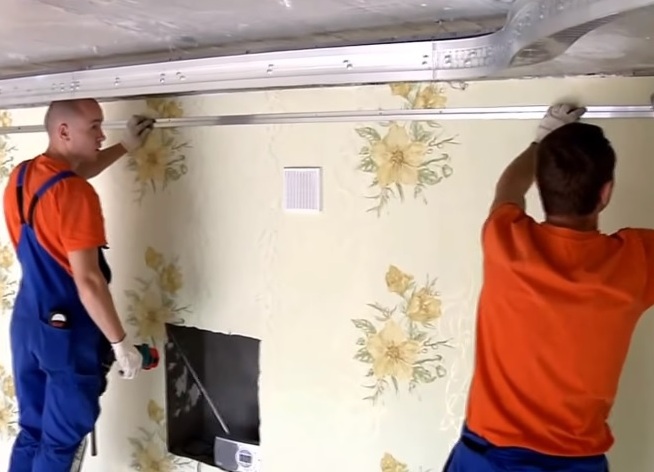
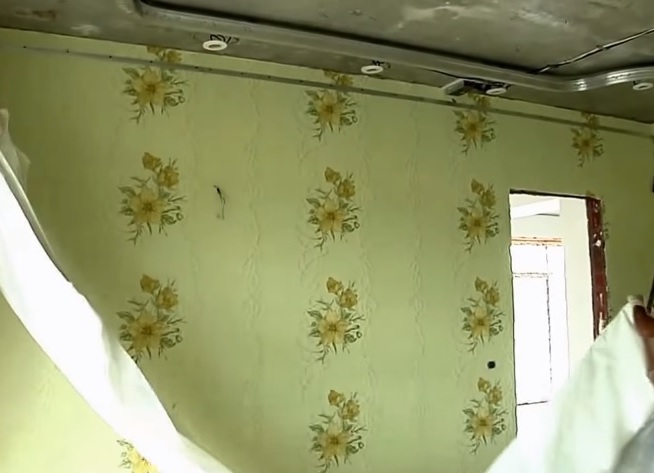
- Next to all the walls is mounted a metal profile. Then it will be attached to the stretch ceiling.
- Determine the exact dimensions of the canvases of the future ceiling using conventional and laser roulette.
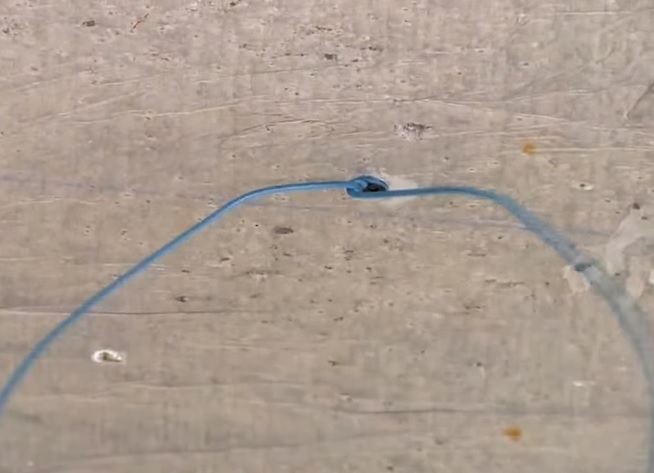
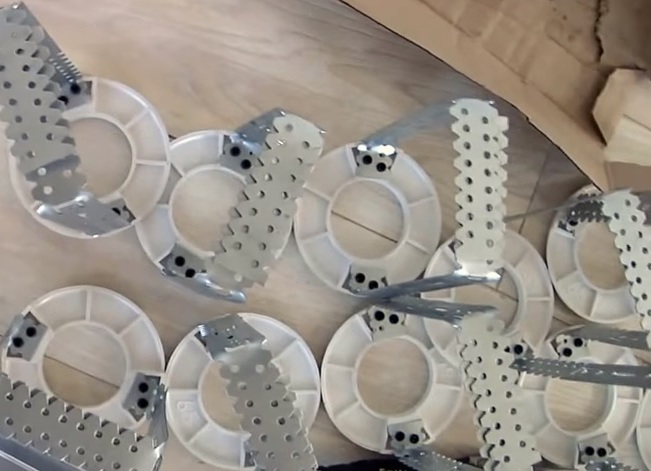
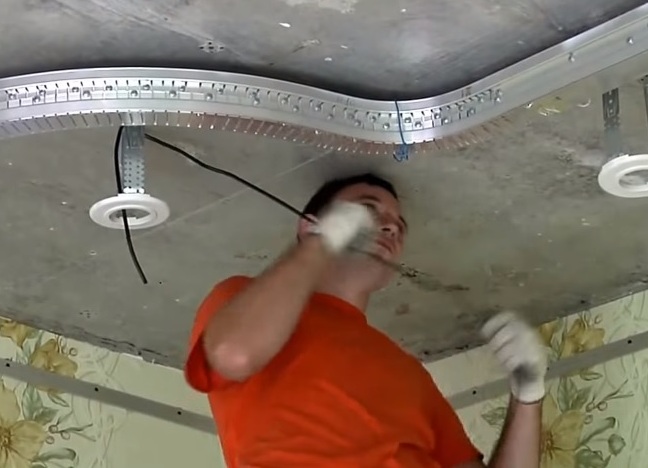
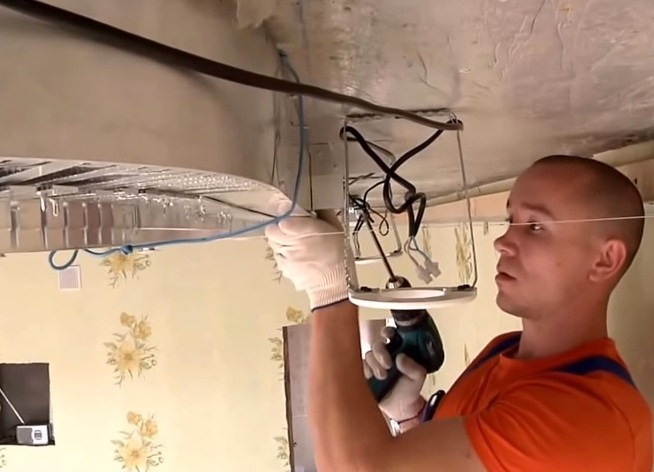
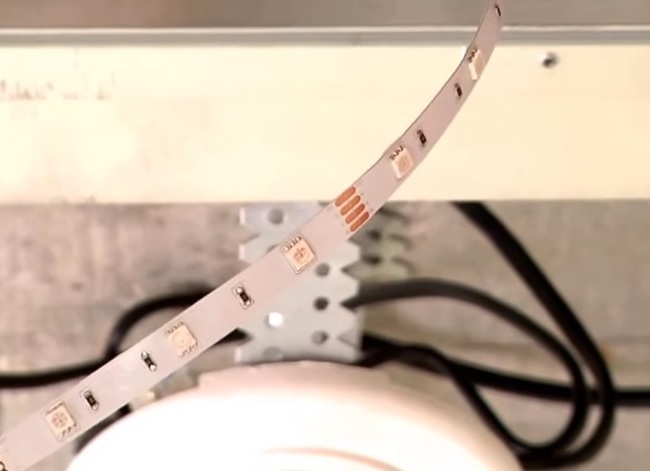
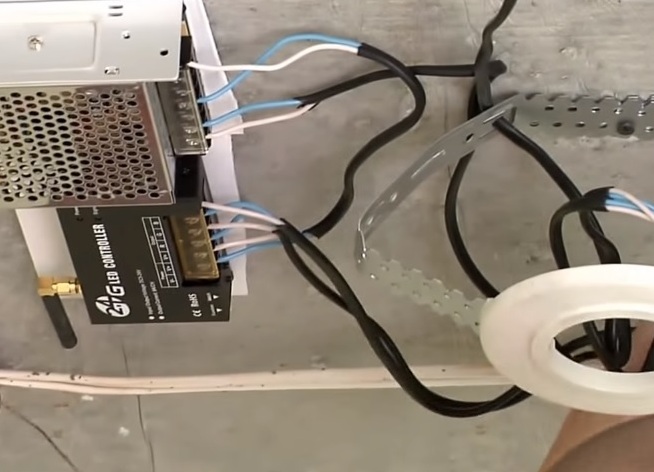
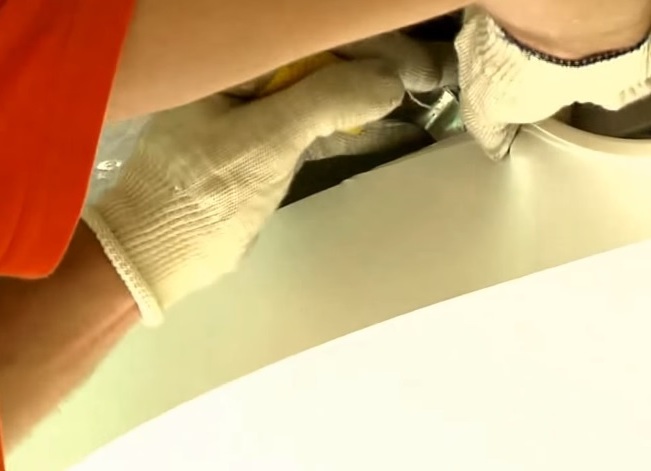
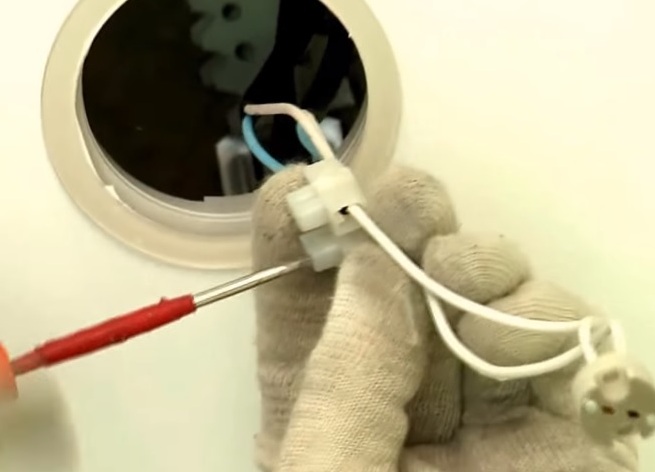
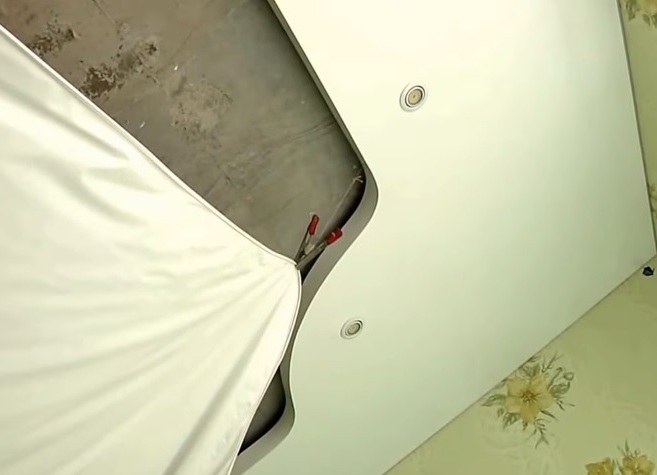
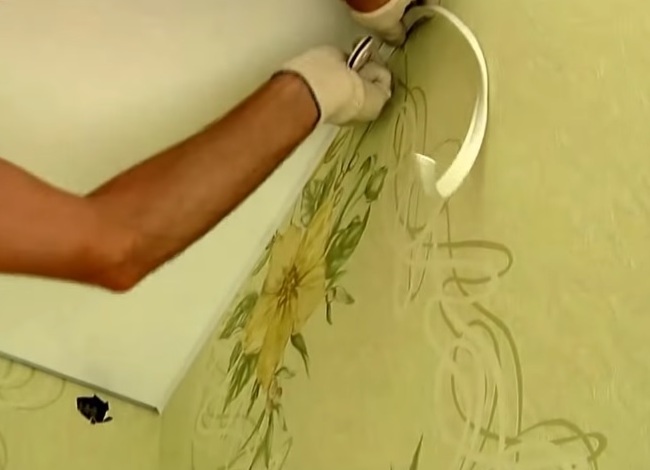
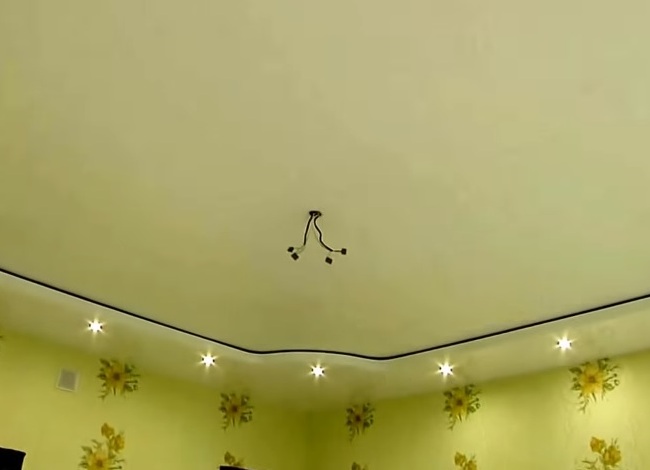
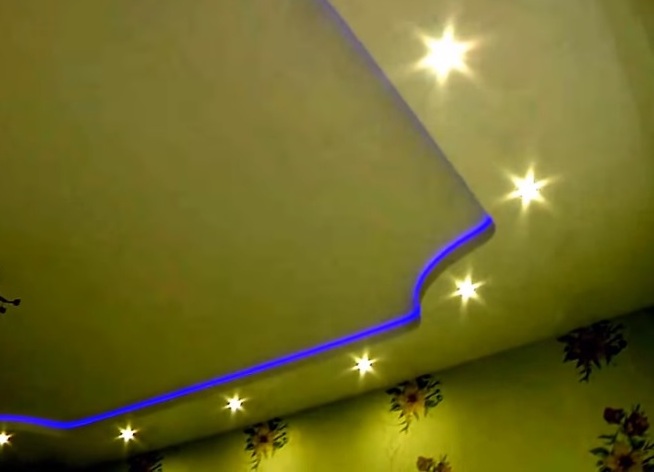
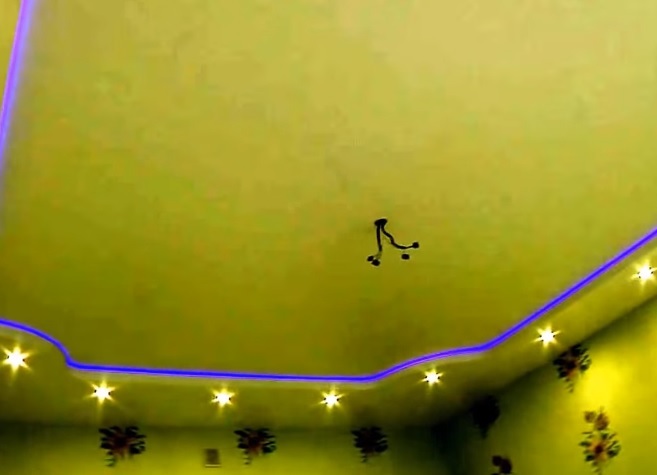
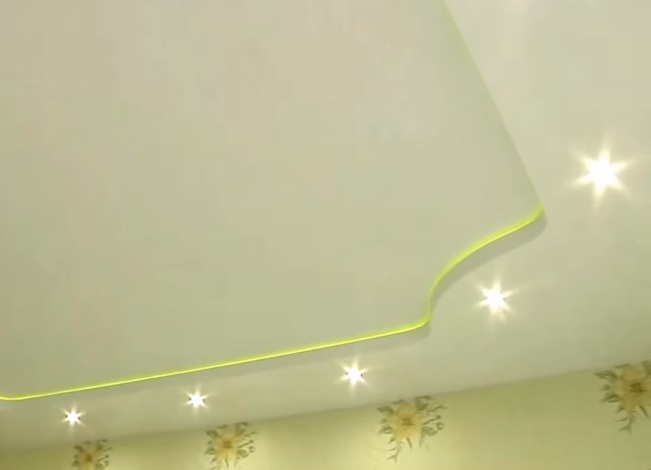
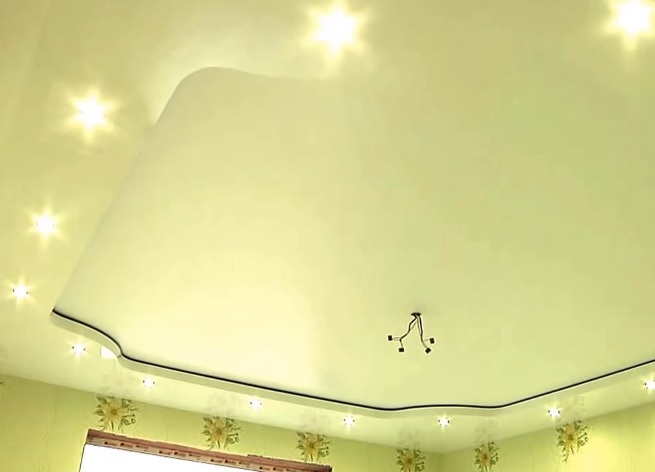
- Under the construction of the ceiling electrical wires are used to arrange the lighting and subsequent fastening of the chandelier. In the places of fixtures, cartridges are installed. They are fixed using metal parts to the base ceiling. In addition, the LED ribbon RGB is placed under the construction.
- When the LED strip is installed, some of the joints are glued with aluminum tape so that no unnecessary reflected light passes.
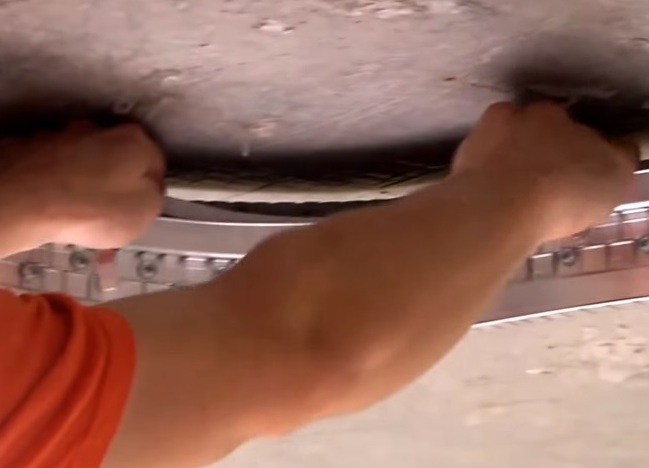
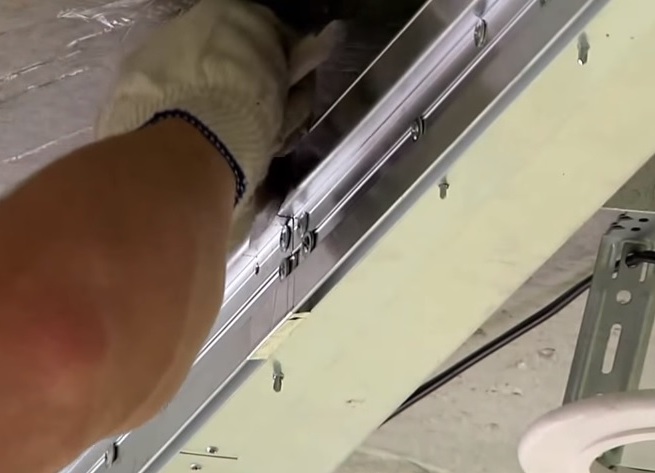
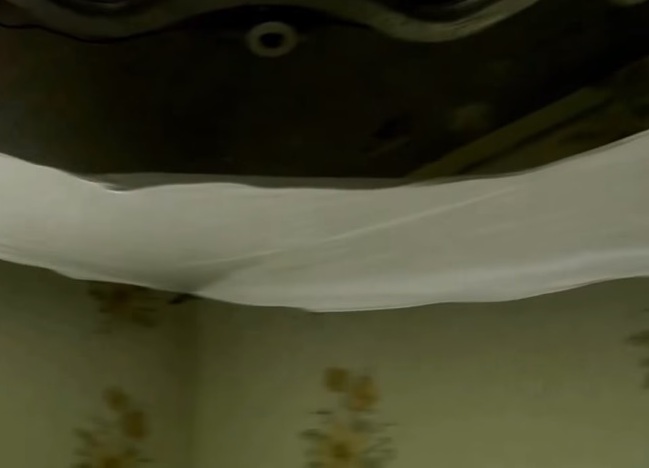
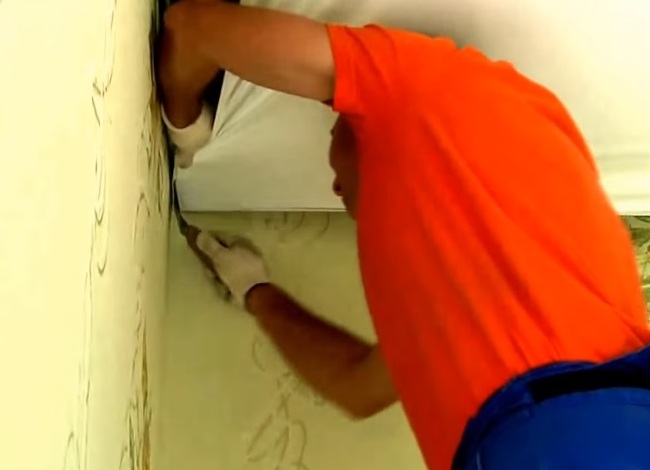
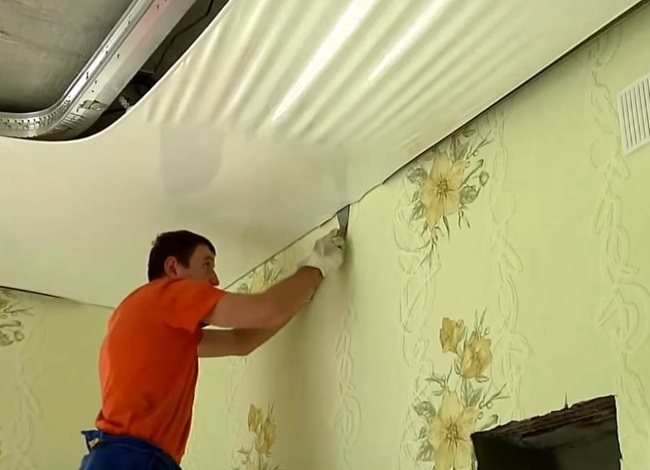
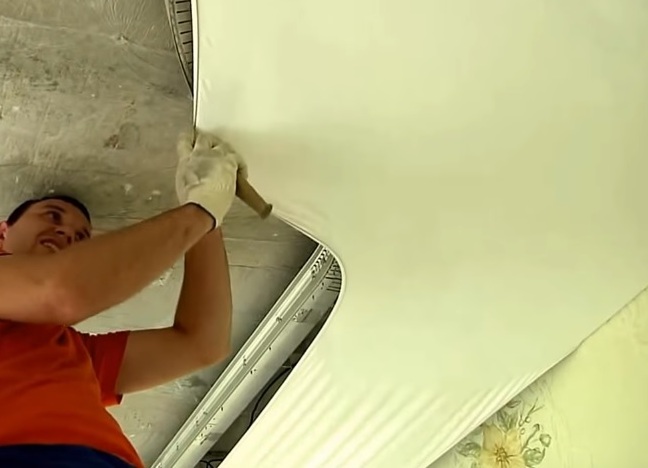
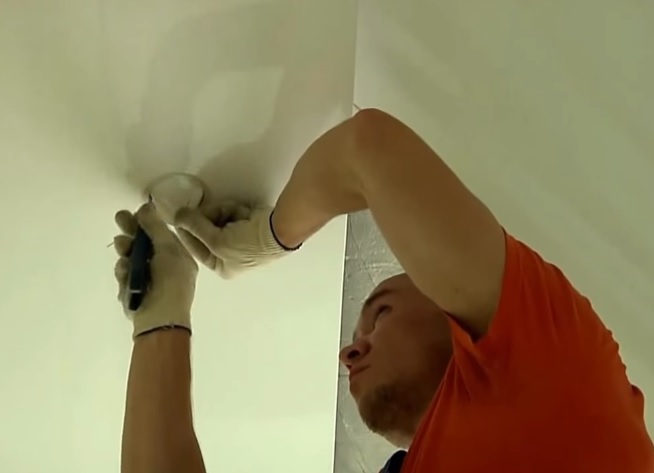
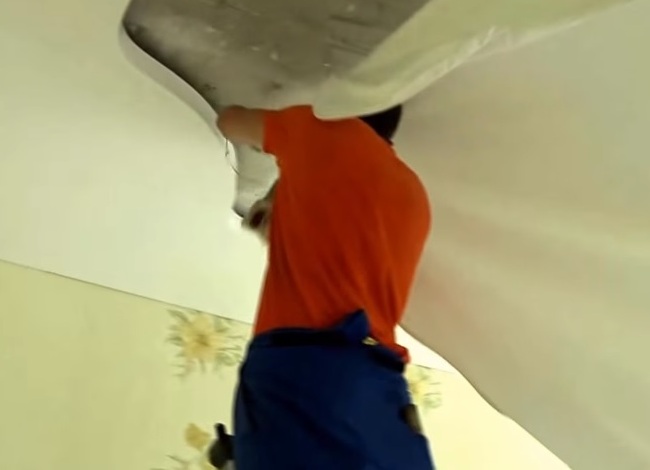
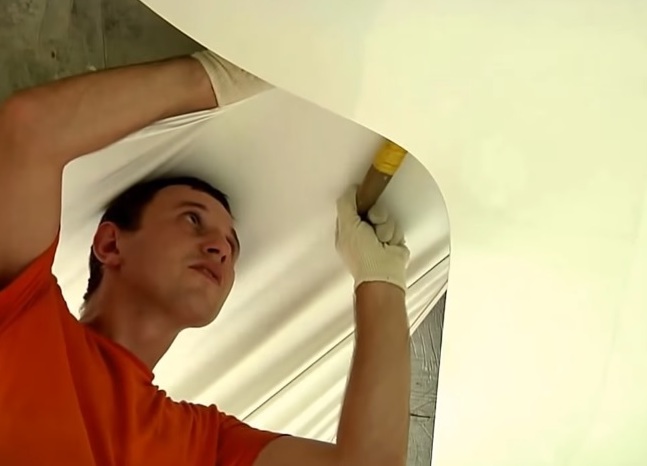
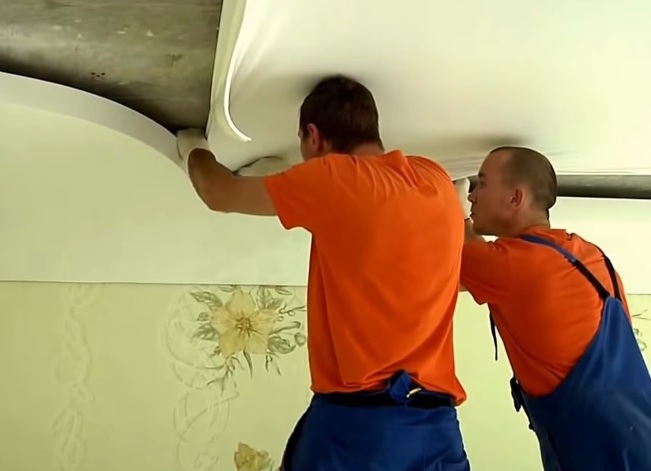
- The ceiling material is stretched and fastened with a spatula into the groove of the profile.
- In order for the ceiling to become elastic, it is heated with a heat gun and a gas cylinder, bringing the room temperature above 50 degrees. Cooling, the film stretches and forms an even and smooth surface.
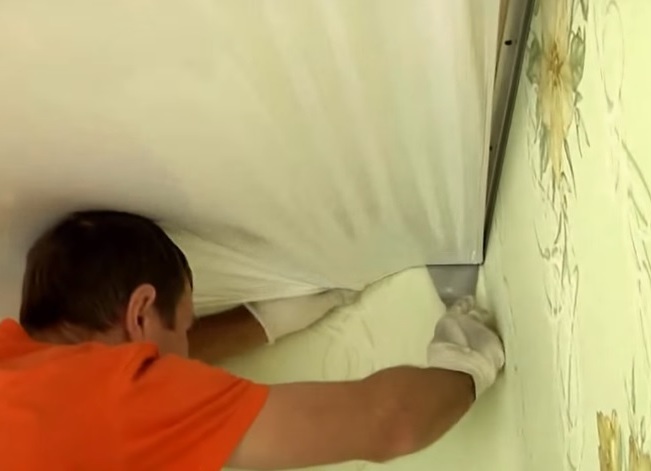
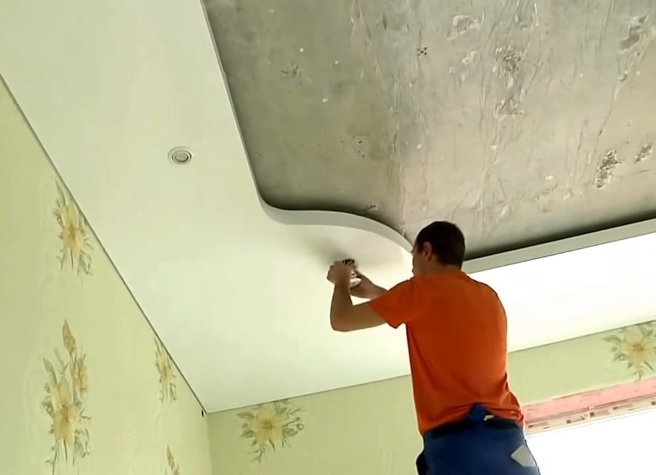
- On the inner side of the second level, the web is stretched on the profile. On the perimeter of the wall - in the groove. On the edges of the canvas is held with the help of a harpoon - a special hook.
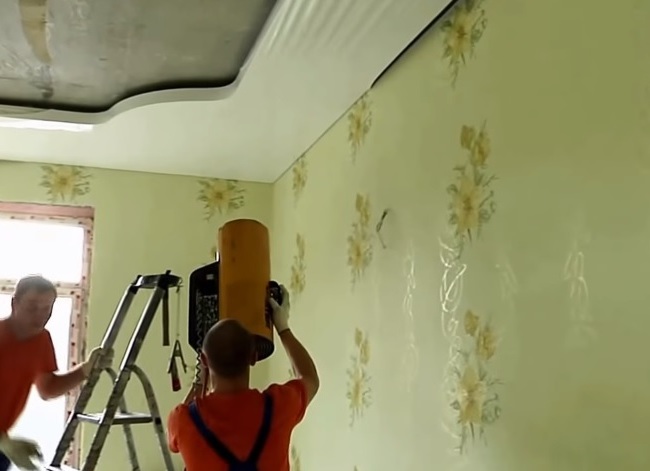
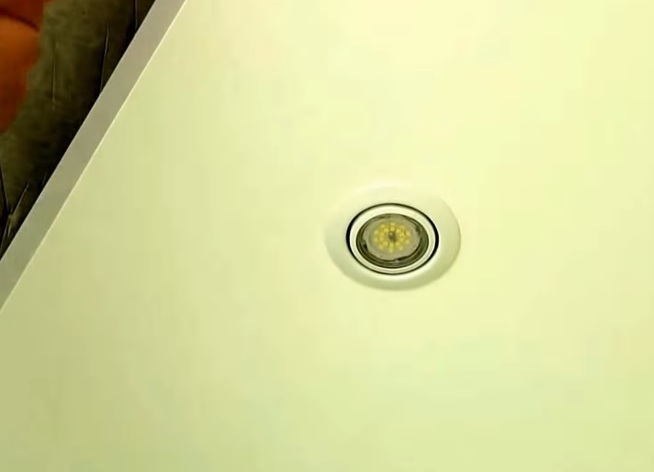
- For the installation of fixtures, holes are cut in the wiring places, on top of them is fastened the rim, the cartridges are connected. The technique allows you to install any number of built-in lamps and chandeliers.
- The lower level of the ceiling is mounted.
- The decorative insert is installed. It closes the mounting gap between the wall and the ceiling and gives the whole structure a complete look.
- Stretch ceiling is ready.
| | |
Installation of stretch ceilings is a good solution for apartments, after installation an impeccable surface is obtained, the possibilities of its design are enormous. You can combine different versions of the ceiling with gypsum plaster structures. A multi-level ceiling allows for zoning space. The installation of this coating is the most aesthetic and convenient type of finish.