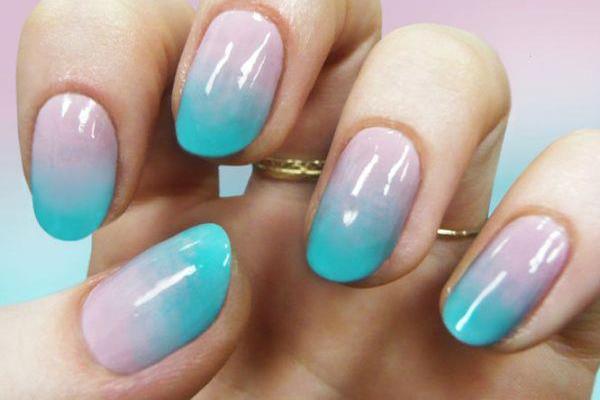
The hands of a woman are always in sight, they are often noticed first of all. In order not to spoil the general impression with a non-aesthetic kind of nails, it is necessary to take care that they are well-groomed, and the coverage - high-quality.
Bring your hands in the right kind can be in any beauty salon, it does not take long, and you will admire a neat manicure long enough. However, if for any reason you turn to a specialist for help, you can easily cope with the task at home.
How to make a neat manicure yourself?
In fact, to achieve the desired is not difficult, for this you need a little patience and practice. A few simple rules will help you acquire the necessary skills, so that with each subsequent time the manicure becomes irreproachable.
So, for a start, let's define how to make nails neat:
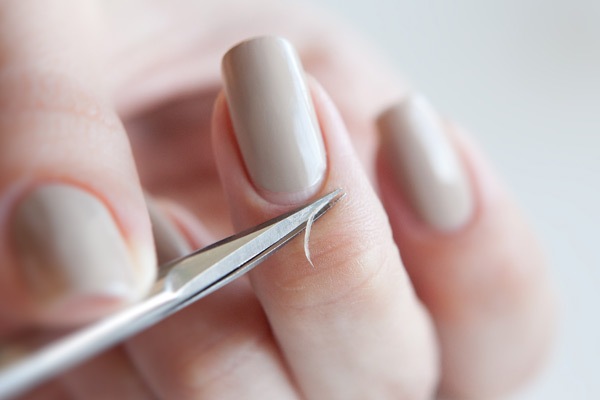
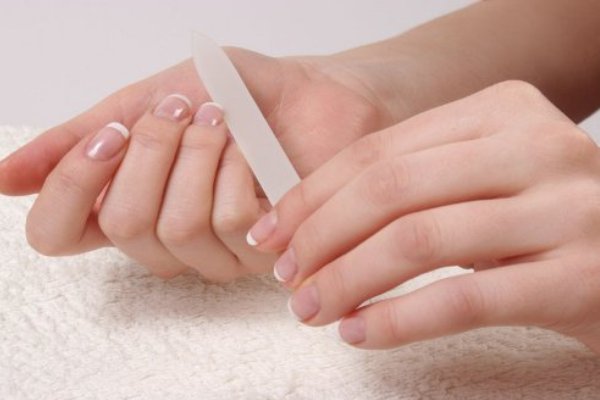
- Before you start painting prepare your hands, and in particular the nail plate for the upcoming event. To do this, you need to steam up your nails, remove or push back the cuticle, make the desired shape with a saw. Make sure that the shape and length of the nails are the same on all fingers.
- To paint your nails lightly and neatly, grind the surface as carefully as possible, then degrease it.
- Only after this you can proceed directly to staining.
From the correct application of the varnish depends on how beautiful your nails will look. Professionals recommend, before you learn how to paint your nails neatly, to purchase quality varnishes, brushes and tools. The same technique of painting is as follows:
- First you need to cover the nails with a transparent base. It protects the surface of the nail from the aggressive effects of colored pigments, and also aligns it, which makes it possible to make nails neat enough and keep the result as long as possible.
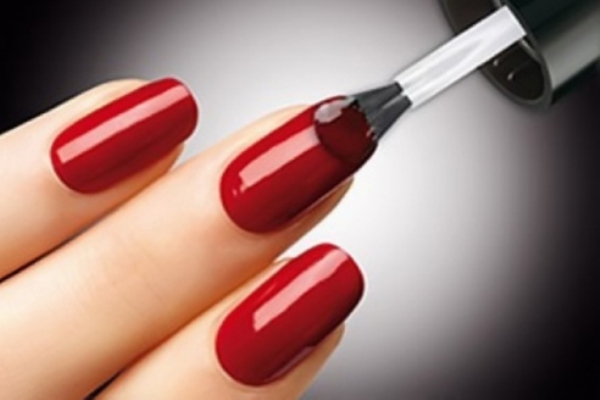
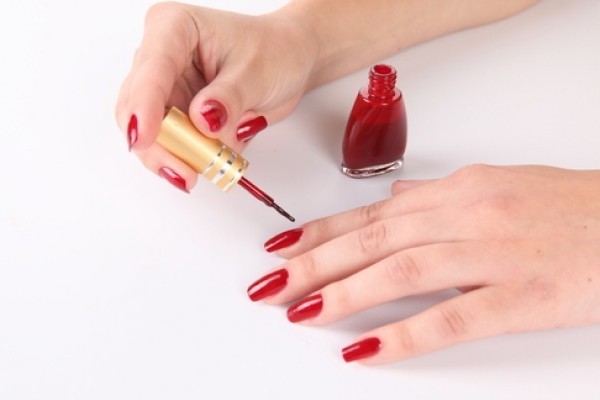
- After the base coat has dried, you can start applying a colored varnish. Even short nails turn out neat and beautiful, if you start them dyeing from the central part of the nail plate, and then evenly distribute the varnish on the sides.
- According to the rules, the colored varnish is applied in two layers, so that the color turns out to be rich and deep, and the manicure looked professional.
- The final stage is the application of a protective coating that will give the nails a glossy shine and prolong the life of the manicure. Of course, at home, the protective layer is often forgotten.
- Eliminate the blemishes of the application can be using a conventional toothpick, cotton wool and liquid to remove varnish.
- It is better to start painting in the direction from the little finger to the thumb.
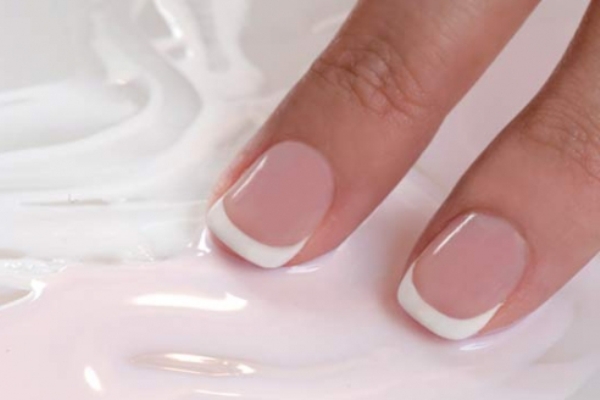
How to make a French manicure neatly?
Practically does not go out of fashion and is popular with all generations of French manicure . In addition, it looks quite appropriate in almost every situation.
This method involves painting the tip of the nail in a color other than the base. A classic French jacket is a beige nail plate and a white tip.
As a rule, in order to accurately make a French manicure at home, practice is needed. The sequence of the jacket is as follows:
- As mentioned above, you first need to prepare your nails.
- Then apply a basic coating.
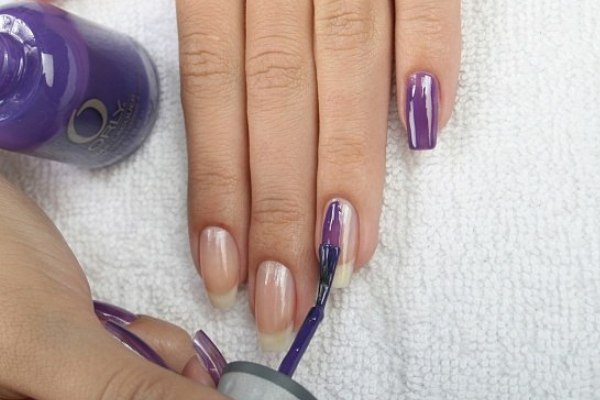
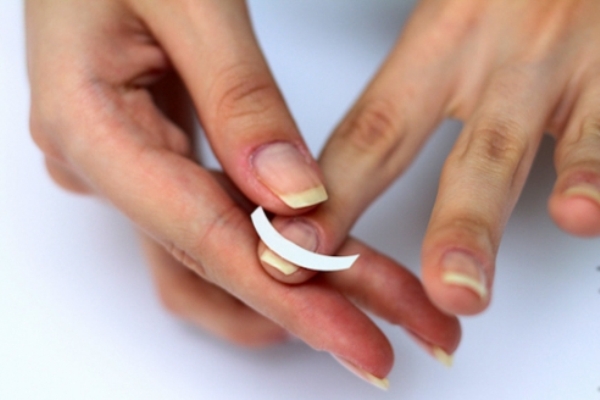
- It is better for beginners to use special stencils. They are glued along a line that separates the nail bed and the edge of the nail.
- A white lacquer is applied to the free tip of the nail.
- After that, the strip-stencil is removed, and the entire nail is covered with a beige, peach or pink tint.
- In the end - a varnish fixer .
| | | |
| | | |
| | | |