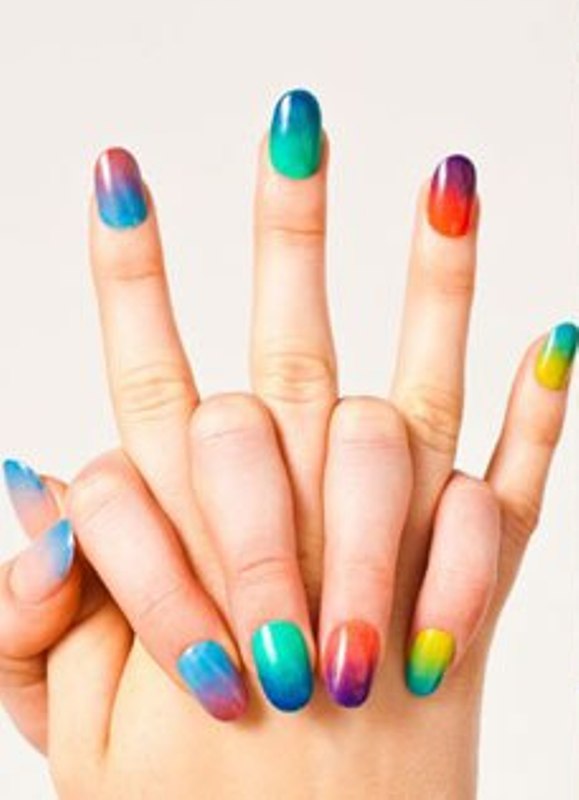
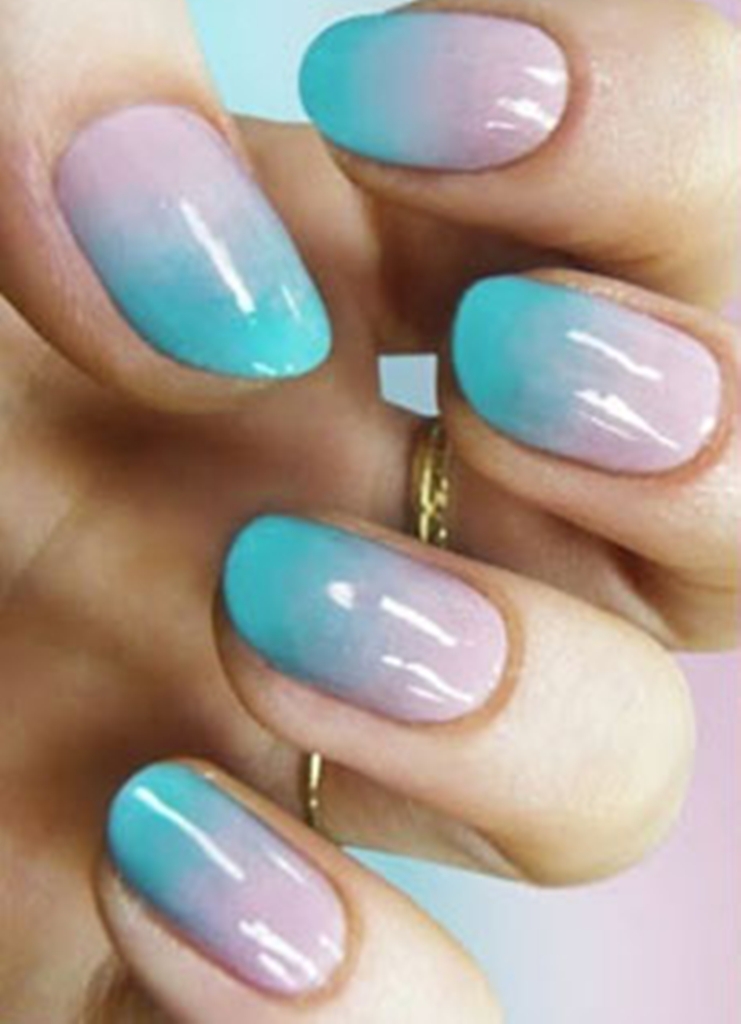
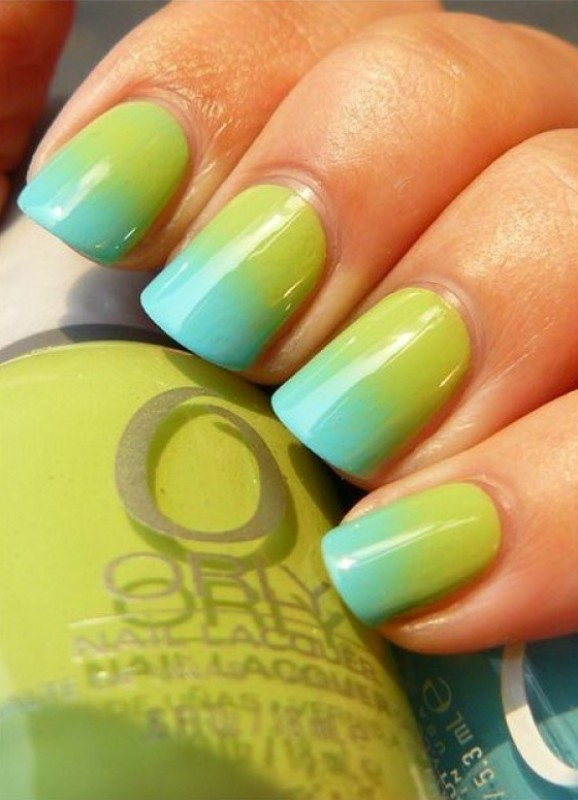
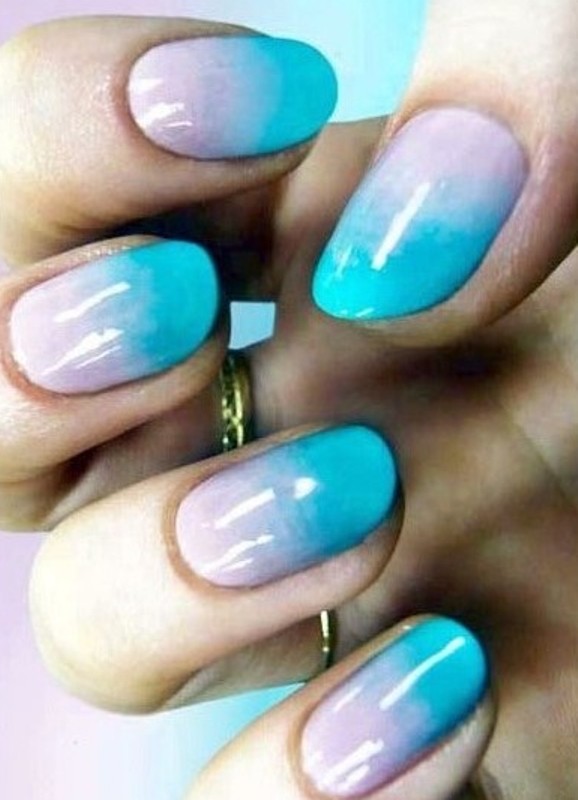
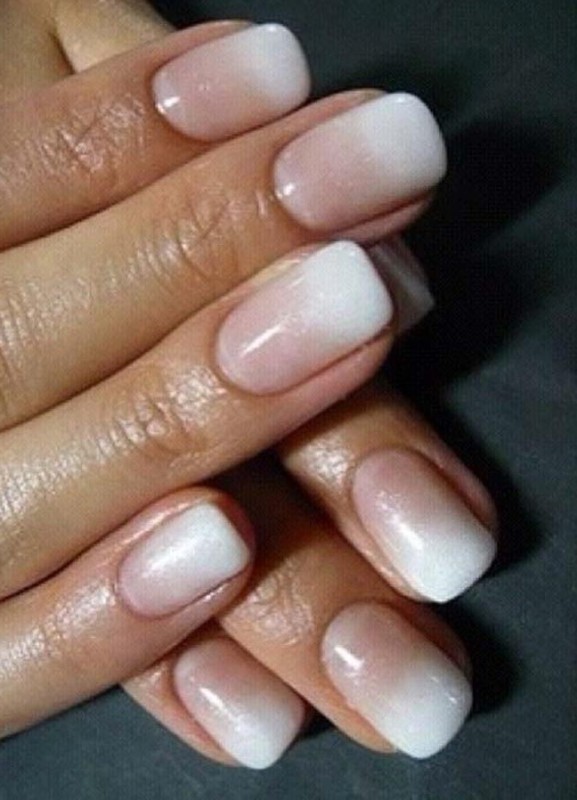
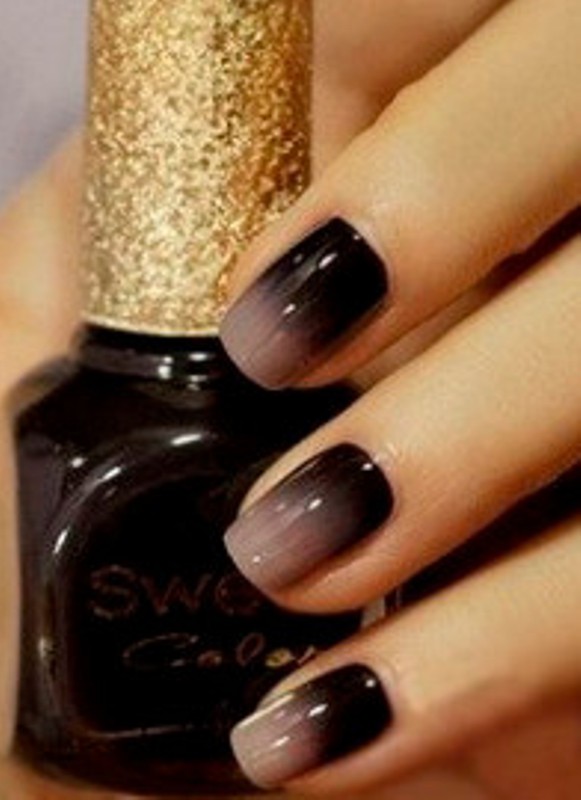
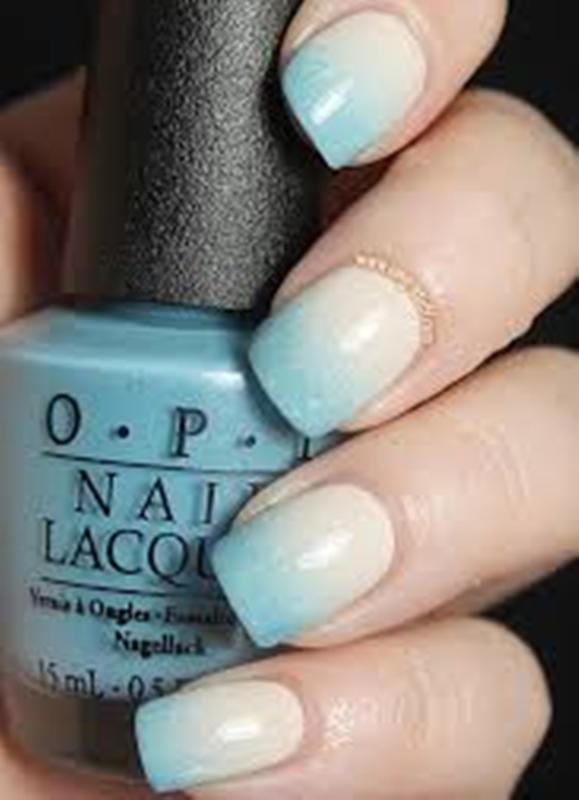
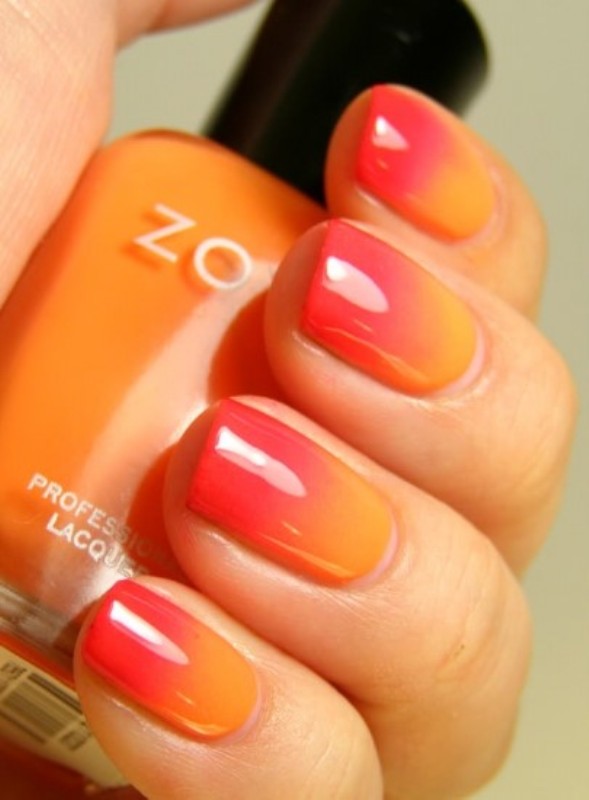
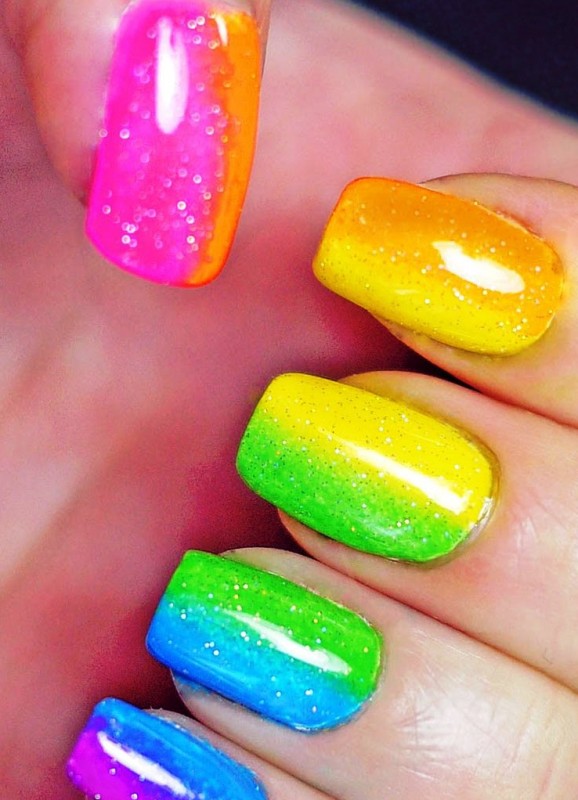
A gradient is a manicure, in which the gel-varnish on the nails creates an ombre effect, that is, the shades smoothly pass one into the other. You can perform it as two or more contrasting colors, as well as shades of the same color scheme. This manicure looks very nice on short and long nails and keeps without chipping for about 3 weeks.
How to make a gradient with a brush?
Horizontal gradient gel-varnish is best done using a flat synthetic brush with a semicircular or straight tip. The procedure should be performed in this way:
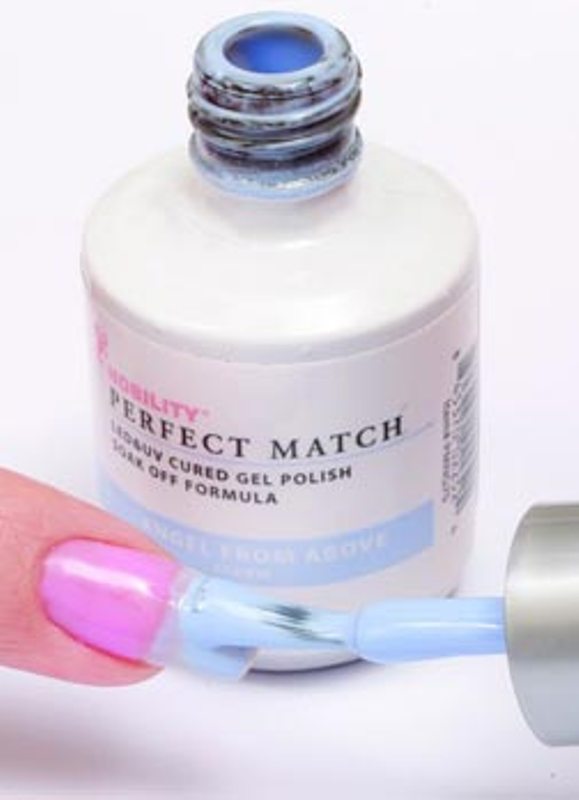
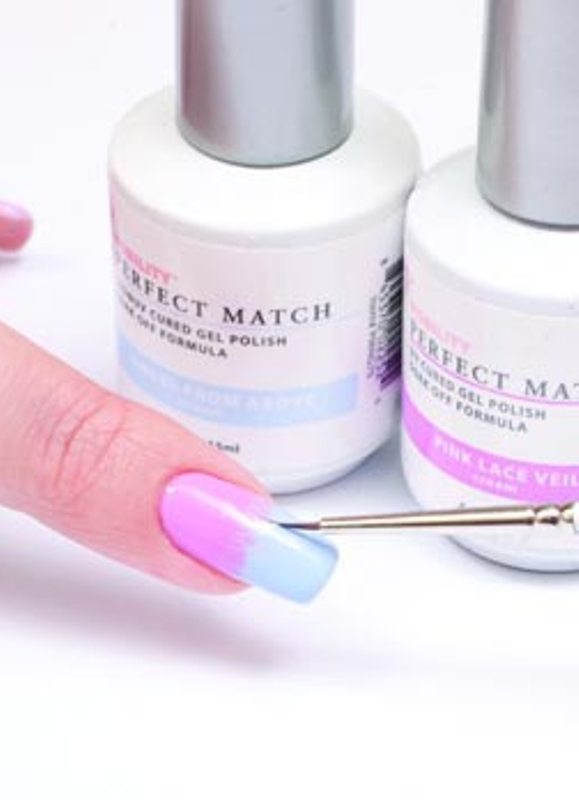
- Choose two shades of gel-varnish and paint it in full-colored with every color (it is recommended to thin the layers so that they can be easily shaded).
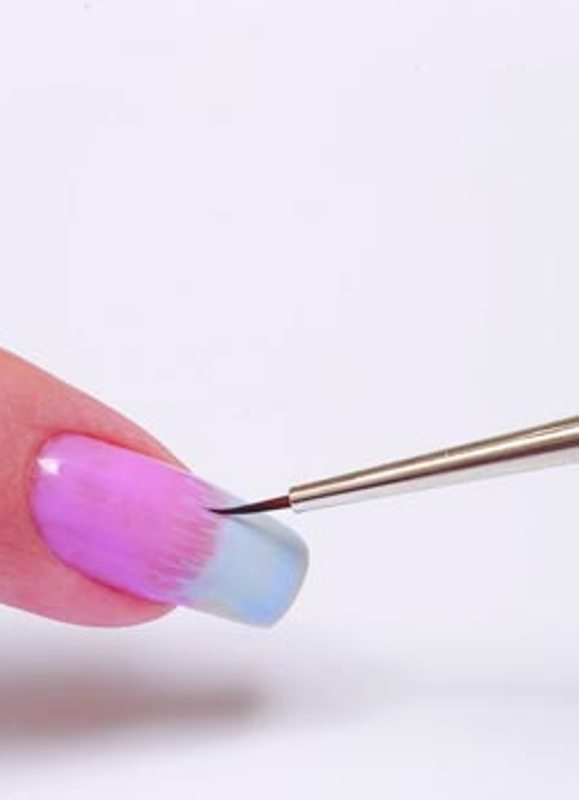
- Dampen the brush in the clinker. Lightly brush several times from the cuticle to the tip of the nail, keeping it parallel to the finger.
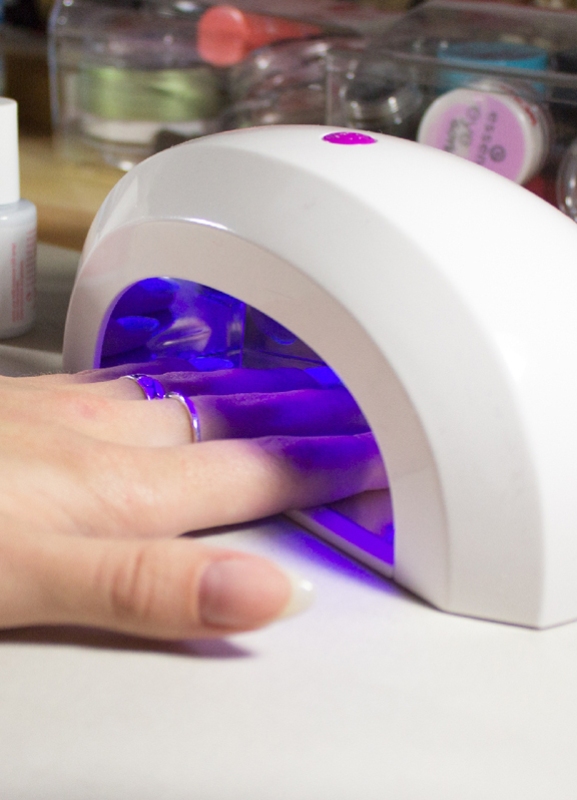
- When the transition becomes soft, dry the nail in the lamp.
- Repeat all again.
If you make the third layer a transparent gel-varnish, the gradient made with the brush will last longer. But it must be very subtle.
Create a gradient gel-varnish and can be a fan brush. In this case, the transition of the shades will not be so smooth, but doing a manicure is much easier. To execute a gradient, you need:
- Apply the most light color (in one or several layers) to the nail.
- Dry the nail in the lamp.
- Mix on the foil two colors and apply a new shade to the middle of the nail.
- Apply the darkest color to the tip of the nail.
- Dampen the brush in the clinker.
- Several times to hold it in the middle of the nail from side to side in one place, until you get the desired effect.
- Dry the nail in the lamp.
The second layer is applied by repeating what you have done before, but the main color should cover only the top part of the nail so that it does not cover the transition of the shades.
How to make a gradient with a sponge?
Do you have any special cosmetic brushes? Then how to make a gradient-gel varnish? Ombre on nails is easily made a regular sponge with small pores. It must necessarily be clean, dry and high, so that you can control the pressure. Such a manicure can be made and sponge for foundation. But consider that it absorbs more varnish, and the trace will leave a very thin one.
The gel-lacquer is performed with a sponge using this technology:
- Glue the cuticle with adhesive tape or apply PVA glue on it to protect it (at the end of the manicure you can simply tear off this layer with unnecessary varnish without staining the skin).
- Apply to the nail base and dry it in a lamp.
- Put on the foil at a short distance two large drops of gel-varnish in different colors.
- Mix the drops with a toothpick so that an intermediate color appears between them.
- Attach the sponge to the varnish.
- Put a few prints on the foil so that there are no bubbles.
- Transfer the gel-varnish to the nail with springy soft movements.
- Coat the top coat with top.
- Dry the nail in the lamp.
Linear gradient gel-varnish
Very effectively on the nails looks a linear vertical gradient, made by gel-varnish. To perform it you will need white and any color varnish, a thin brush and foil. It is done by this method:
- Apply a layer of white lacquer on the nail and dry it in a lamp .
- Remove the upper sticky layer.
- Draw the main color of the nail edge, trying to make a line of the same width on all sides.
- Dry the layer in the lamp.
- Mix the main color and white on the foil.
- New shade to put a strip in a joint with the previous (it is better to do their identical width).
- Mix the main shade with white flowers, making it more light.
- Draw another strip at the junction with the previous one.
- Dry the nail in the lamp.
- Repeat the last steps until the nail is completely painted (the last strip should be made with white lacquer).
To this design gradient, made gel-varnish, held for more than 2 weeks without chips, apply on the nail top without a sticky layer and dry it in a lamp.
| | | |
| | | |
| | | |