The most environmentally friendly material at the time is wood, it can be easily processed, the board is mounted without particularly complex devices and no toxic substances are released. The device by own hands of a floor in the private house is not any hi-tech task and it can be made by any person possessing skills of work with simple joiner's tools.
We make the floor in a private house with our own hands
- You will need a hammer, a screwdriver, screws, a long level (up to 1 m), a water level (especially if the room is large), a tape measure, a set of nails and screws, screwdrivers, a hand-held circular saw, an electric jigsaw or a hacksaw, and other carpentry.
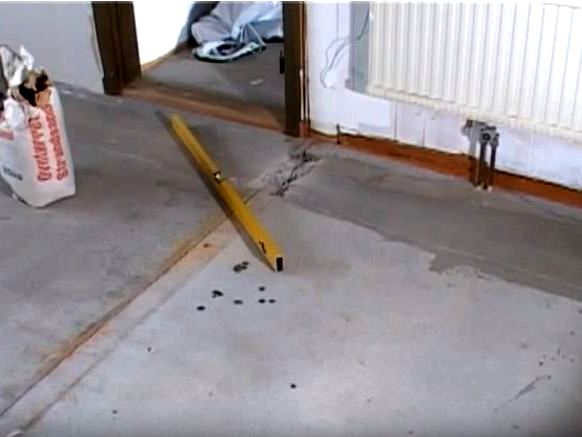
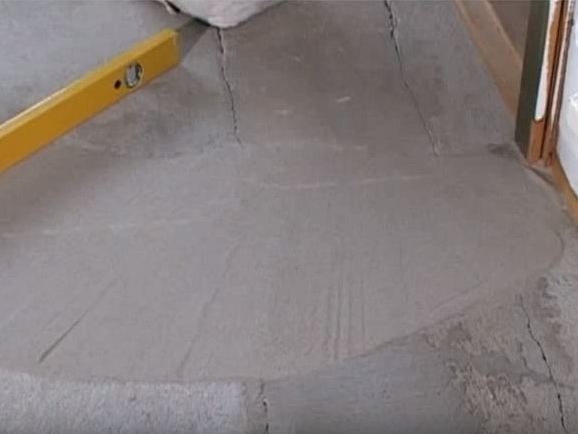
- First, fill the screed with concrete, which will make it possible to level the base.
- Alas, but it is not always possible to perfectly fill the screed, so check the level with the plane, find the irregularities and remove them.
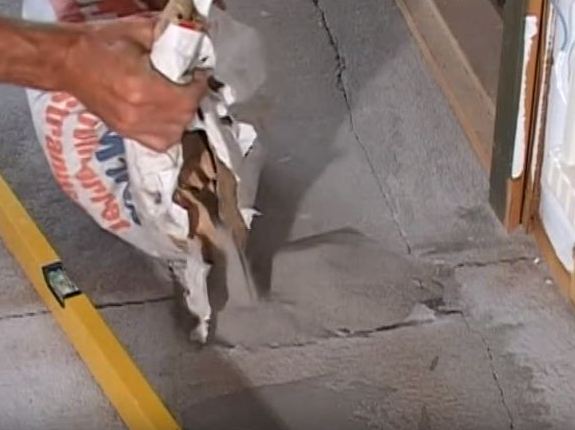
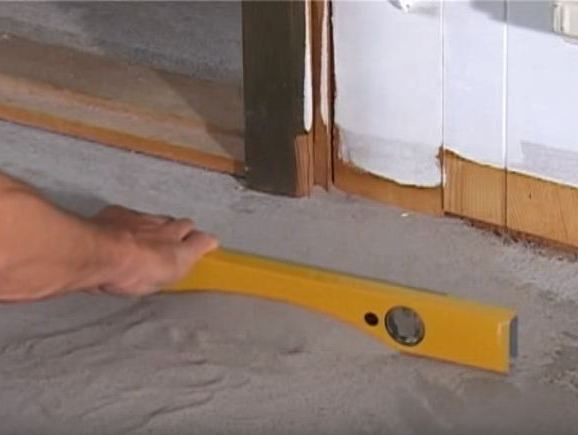
- For leveling, either liquid fillers or simple but well dried fine fine-grained sand are used.
- We level the sand with a ruler, and it fills all small cracks in the base.
- On a flat screed, the wooden floors will not bend, and they will not creak.
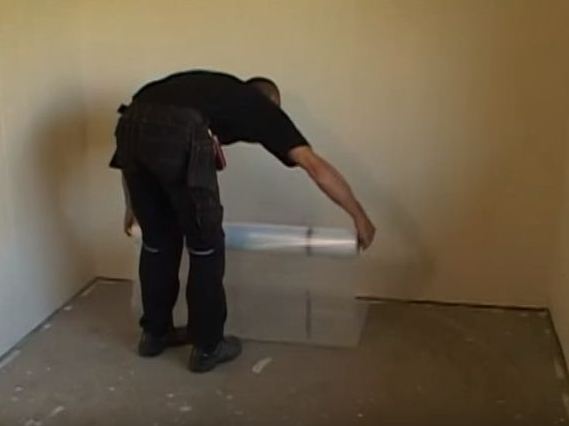
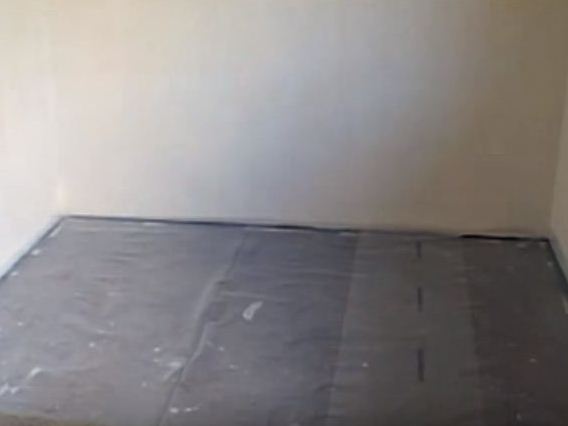
- On top of the concrete lay the film for waterproofing.
- Allowance of film on the walls 10 cm.
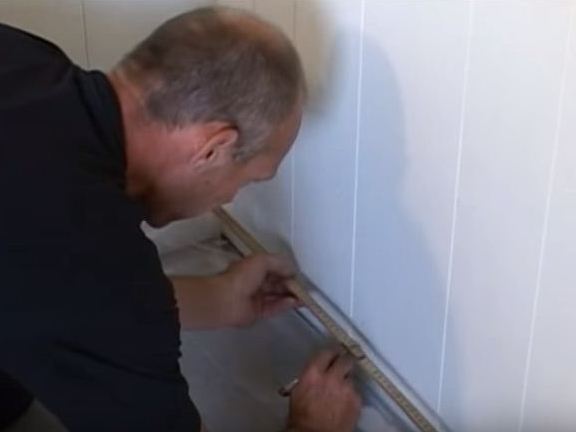
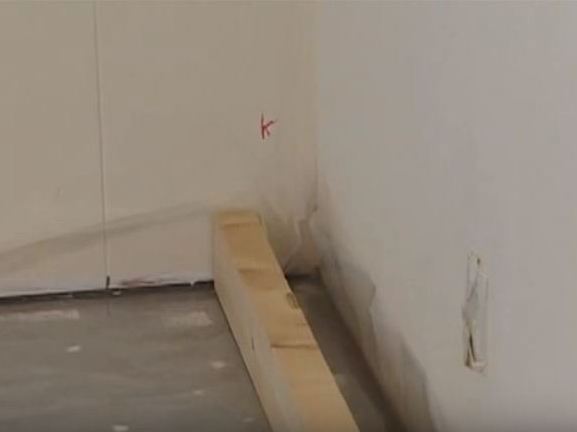
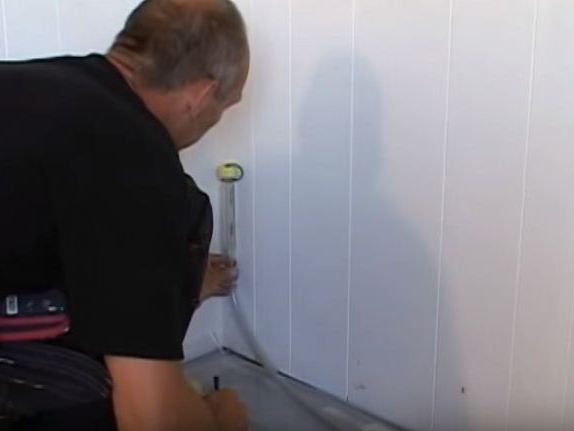
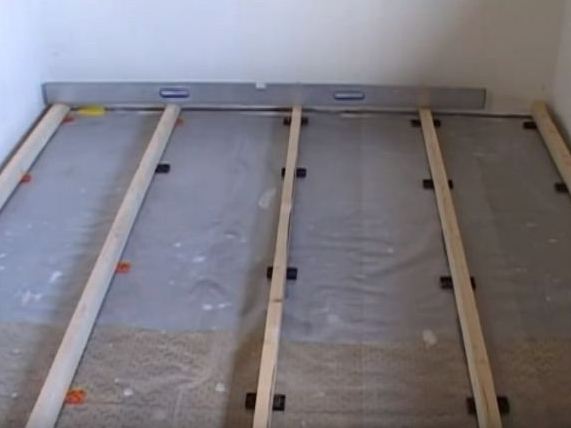
- We make markings on the walls in the places where the lag is laid, in our case the size between them is 50 cm.
- We need to make the floors with our own hands in a private house as strong as possible, therefore, as a log, we use a 45 mm thick bar with clear edges and a carefully cut side facing the finish floor.
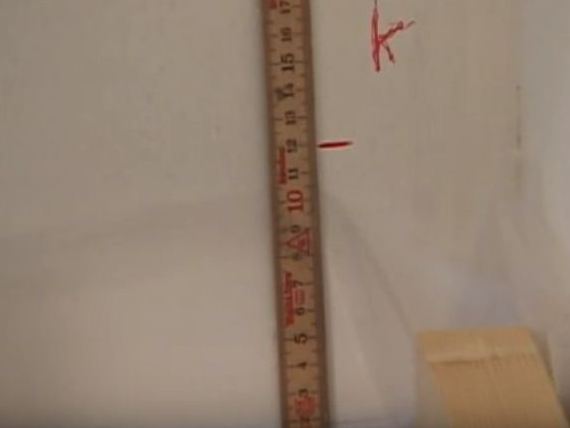
- Determine the height of the final floor.
- The bottom line here is the height of the lag.
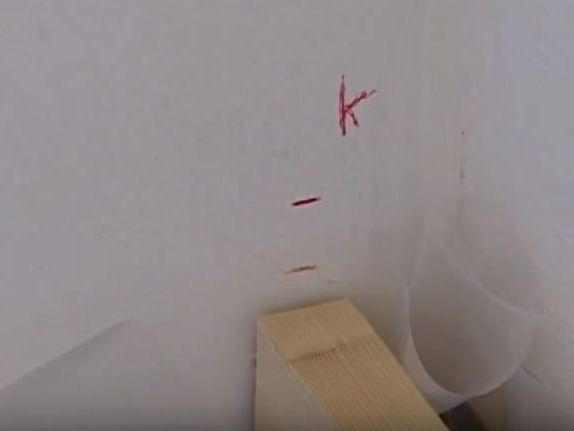
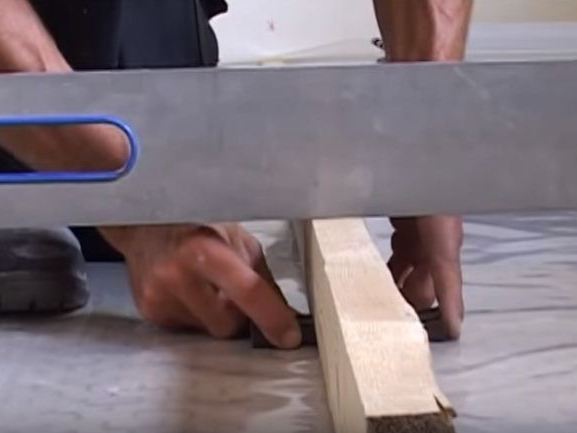
- We set the lag on the wedges to the mark.
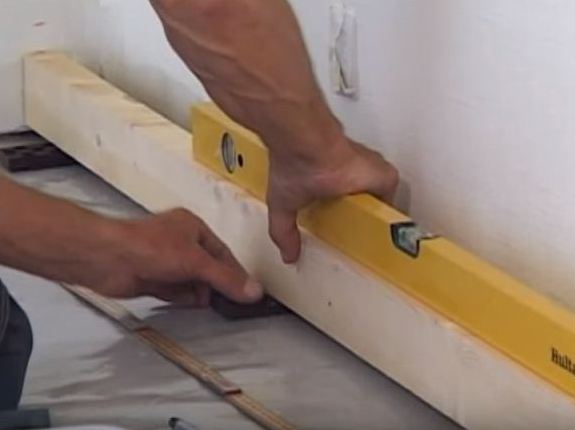
- Align the bar along the entire length.
- On the other sides of the room, the dimensions are transferred by means of a water level.
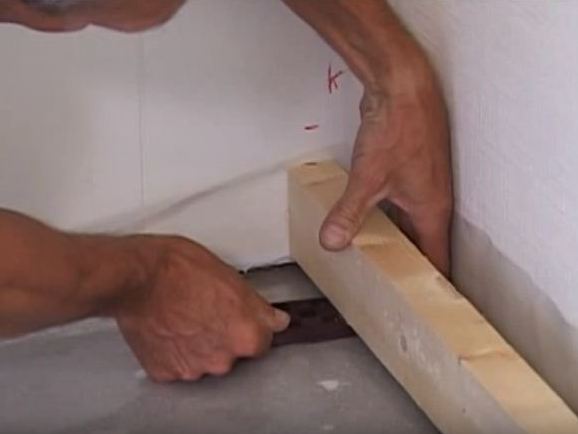
- We expose lags on the other side.
- We fix the wedges to the beams diagonally with screws so that our floors in the private house, which we mount with our own hands, turned out to be reliable and even.
- Set the remaining lags, checking the plane level.
- In the right places we put wedges.
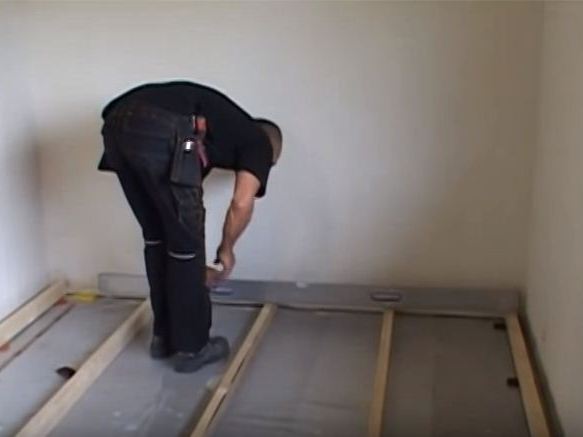
- All the lags are leveled.
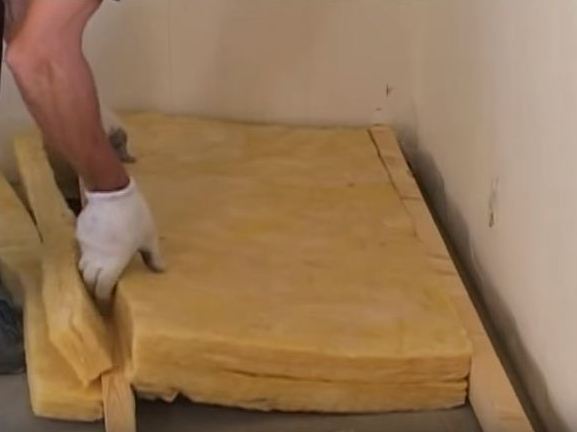
- We lay between the bars cut into pieces of mineral wool, which will serve as a good warmer.
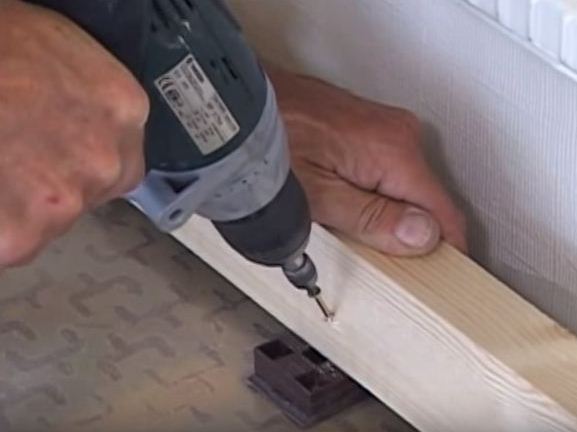
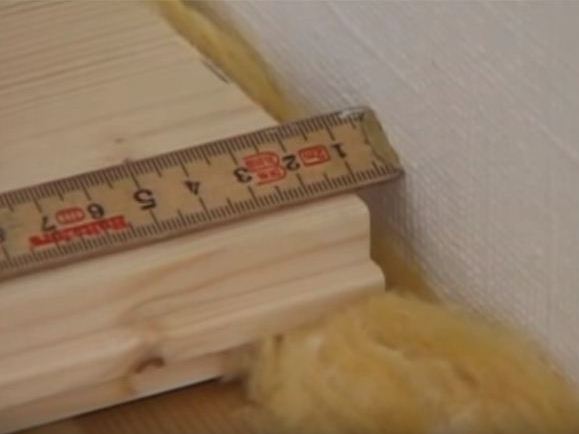
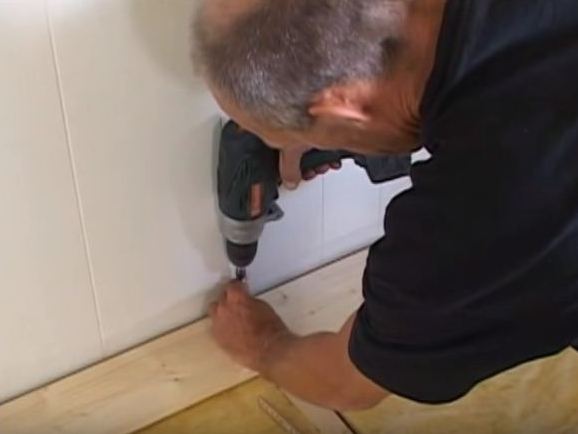
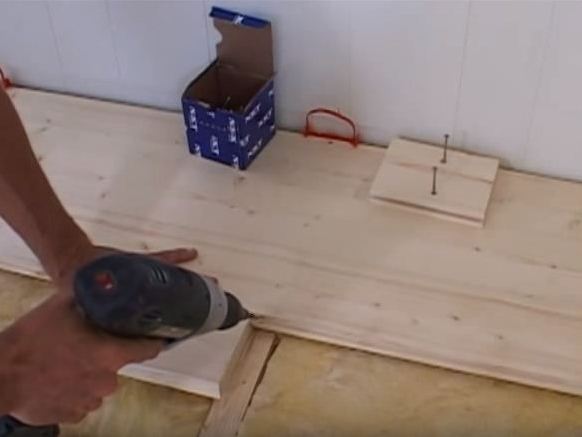
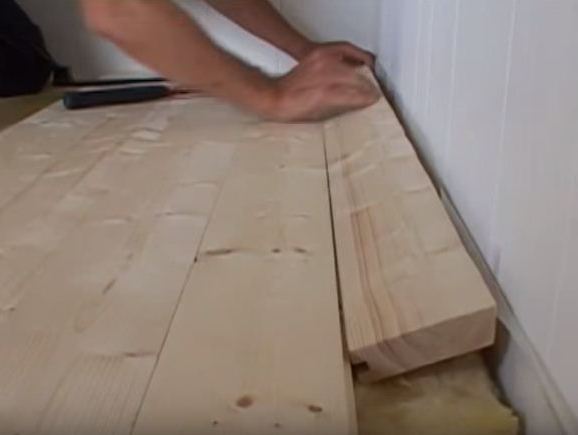
- We put the first board, having retreated from the wall approximately 12 mm.
- We fix the board with screws so close to the wall that it can be covered with plinths.
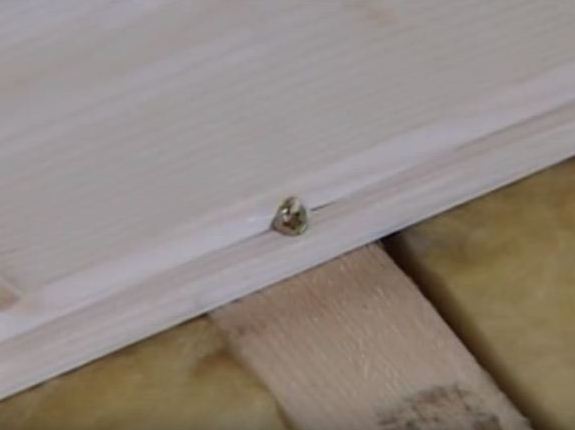
- The second screw is set at the edge of the ridge.
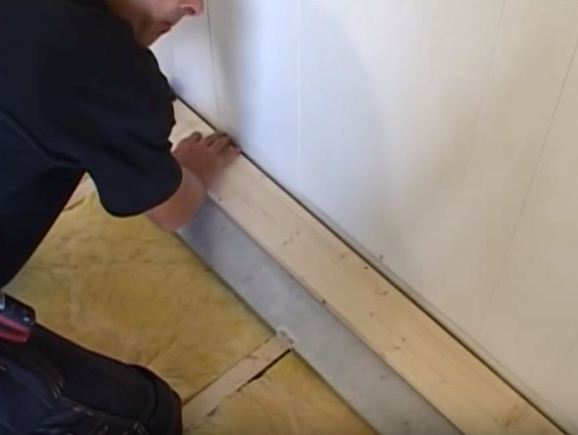
- Check the level of the "horizon line".
- We fix the board at the edges.
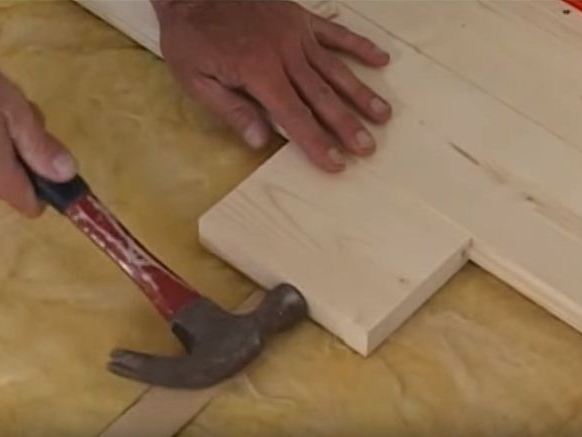
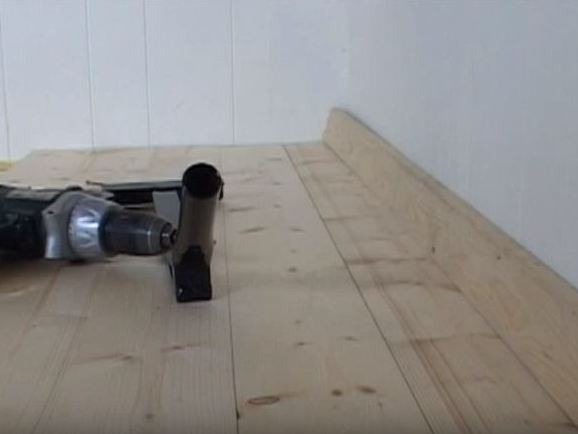
- Lay the rest of the boards and adjust them, getting even joints.
- Screws on the boards are installed on the crest.
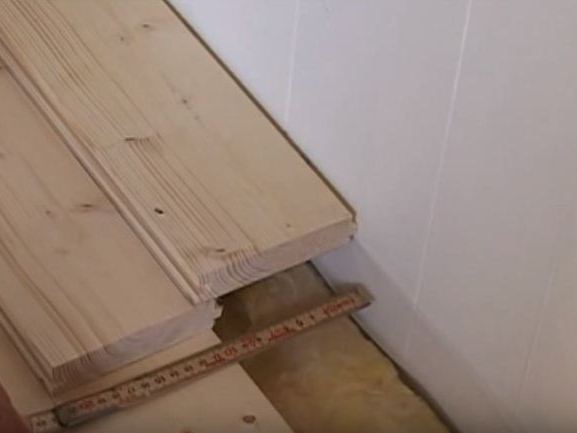
- We set the width of the last board, leaving room for a gap.
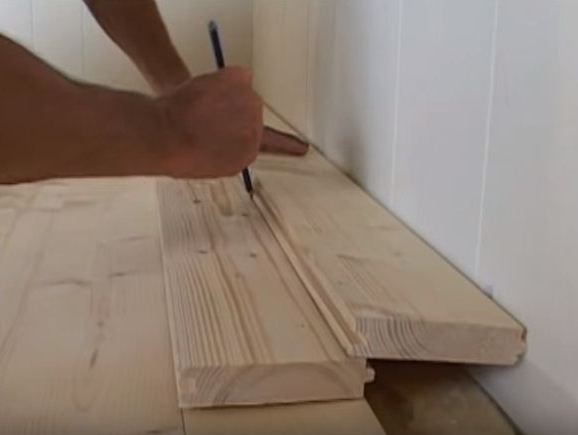
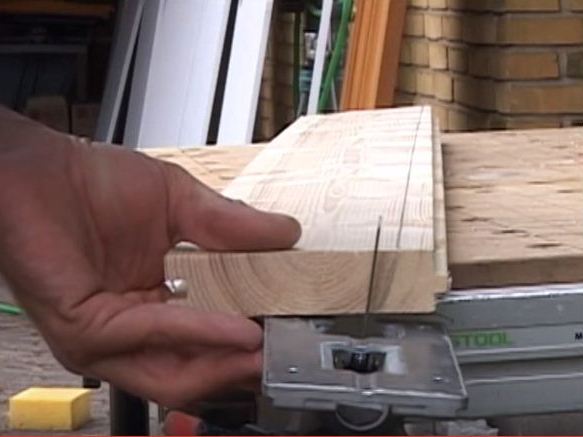
- Draw a line of cut along the length of the board.
- Fit jigsaw floorboard in width.
- We install the last board in place, fastening it with a screw.
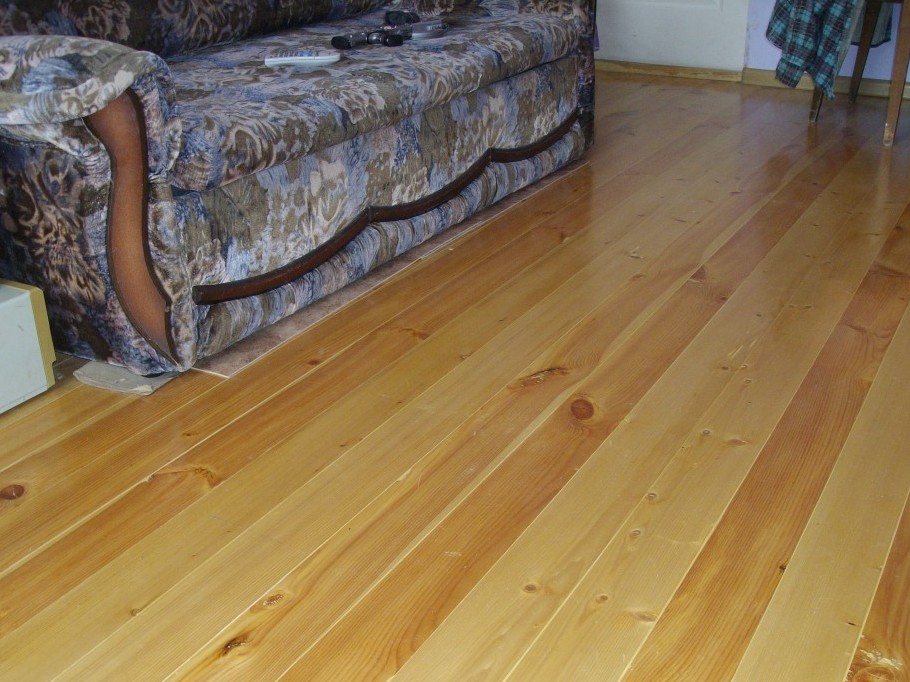
- We finished laying the floors in a private house with our own hands, the joints turned out to be dense and the floorboards lie perfectly flat.