Quite often, residents of wooden houses resort to additional exterior facing of the walls to give the building a more presentable look and protect it from all damages.
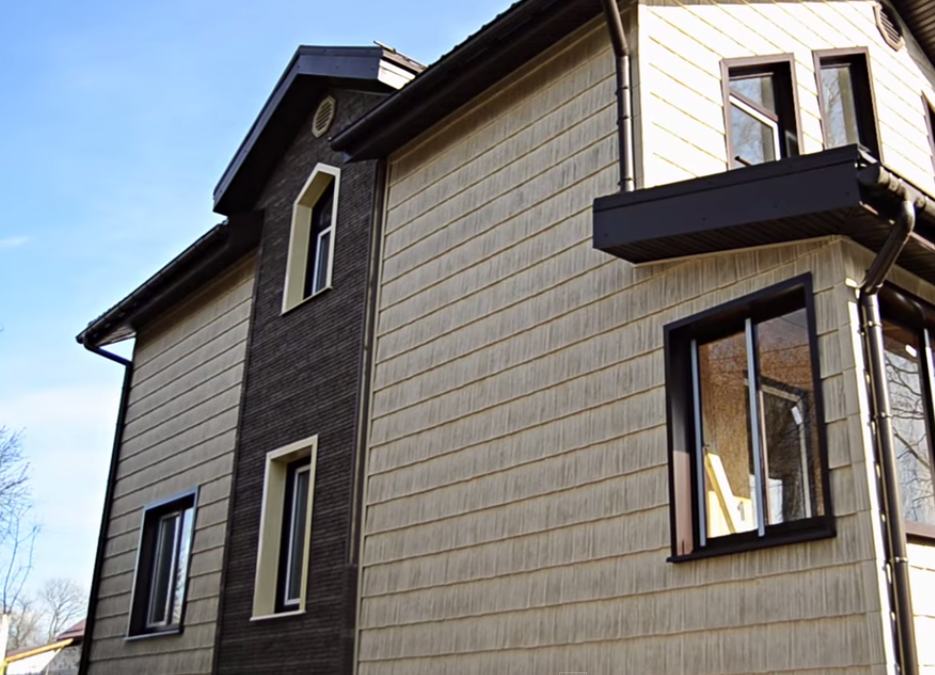
As practice has shown, the exterior decoration of a wooden house with a siding is the most optimal and affordable option. In addition, there are several types of such panels, which are distinguished by high quality and aesthetics.
Very nice is the fact that the siding of the wooden house can be finished with your own hands, which in turn removes you from unnecessary costs. How exactly do we do this, we show you in our master class, using siding panels "under the chip" and as a decoration insert under the stone.
We need:
- siding and all accessories (corners, starting lath, near-window trims and outflows, finishing strips, H-profile);
- wooden slats 30x40 mm;
- self-tapping screws for wood and metal;
- nails;
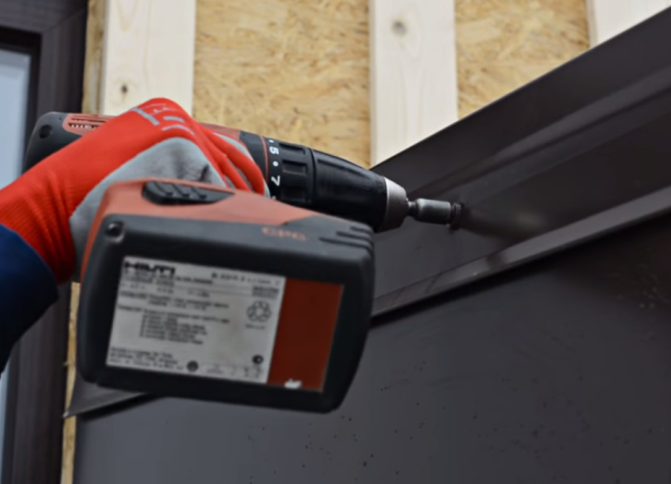
- screwdriver;
- drill;
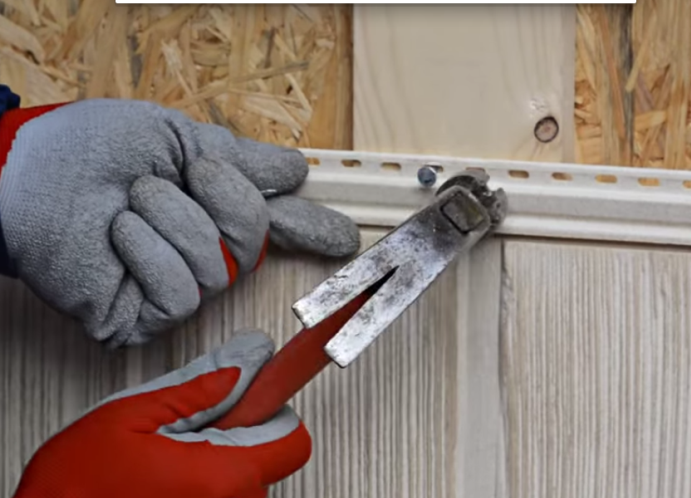
- scissors for metal (hacksaw or Bulgarian);
- level;
- a hammer.
Finishing a wooden house with a siding
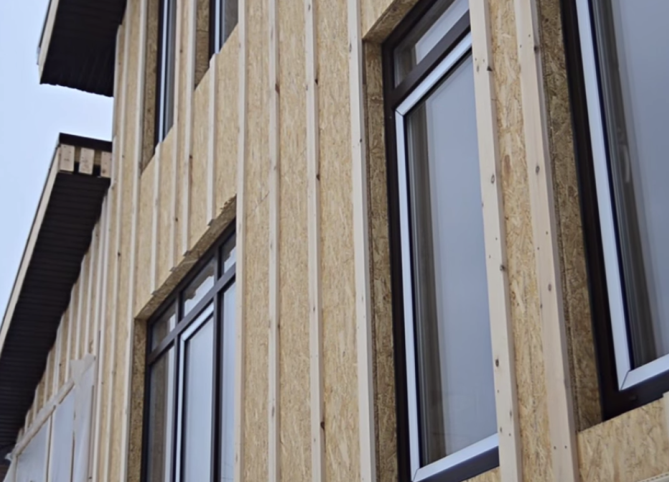
- When preliminary work on the insulation of the walls, we can start work.
- The first step in finishing a wooden house with a siding is the construction of a crate. We mount wooden slats with screws vertically to the walls with a step of 40 cm.
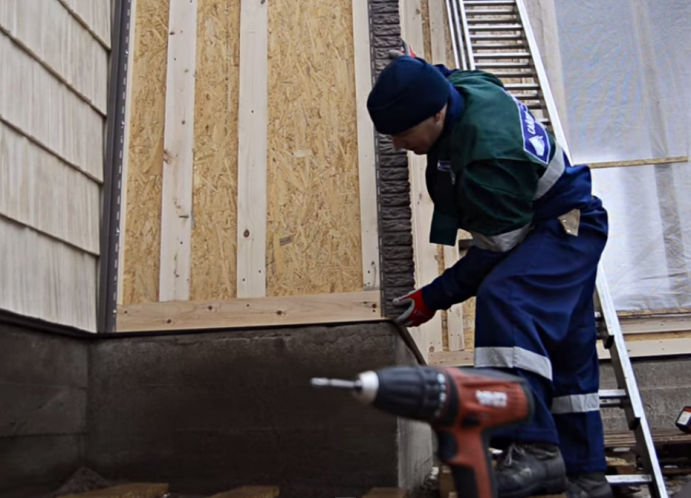
- We set the corner profile "under the stone" from the top down and fix it with screws with a pitch of 20-25 cm.
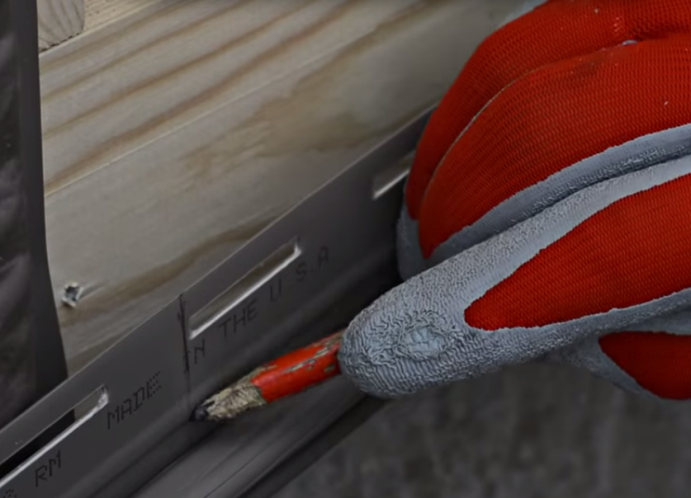
- With the help of the level, we determine the lowest point, from which further wall covering will go and, attaching the bar, note its length.
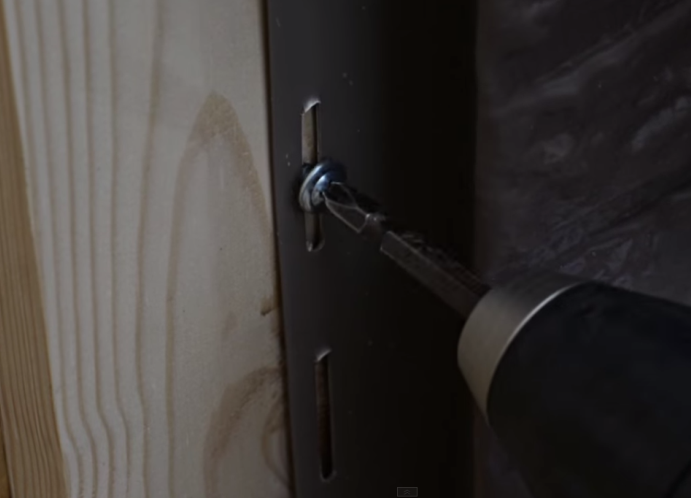
- Having cut the bar with a bulgarian, do not firmly attach it to the crate by screws in the center of the hole.
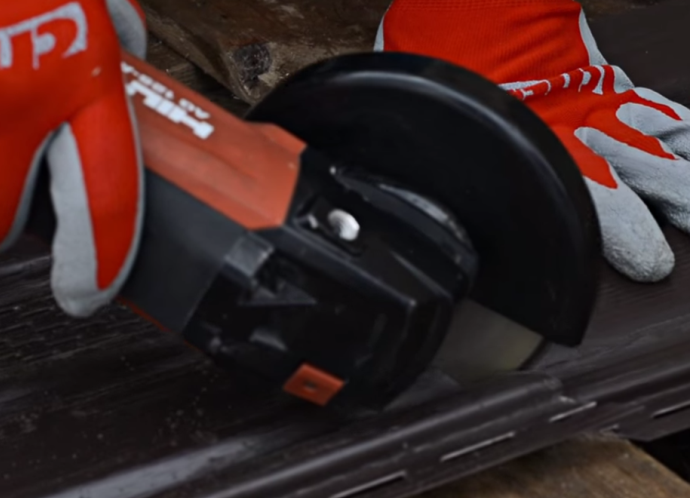
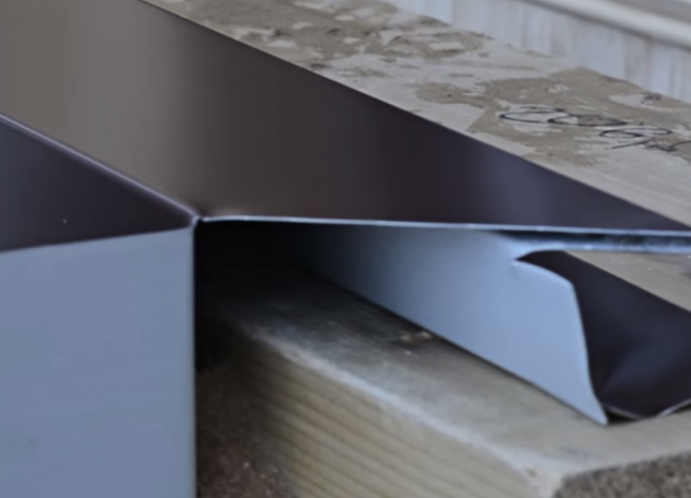
- We measure the size of the soffit and the bulgarian cut out a piece of the panel from the siding sheet.
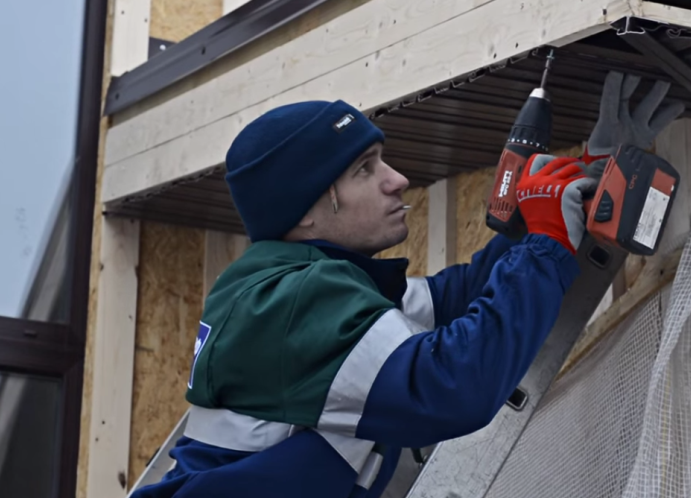
- We fix the soffit with self-tapping screws, covering the open part of the roof with a house board and chamfer.
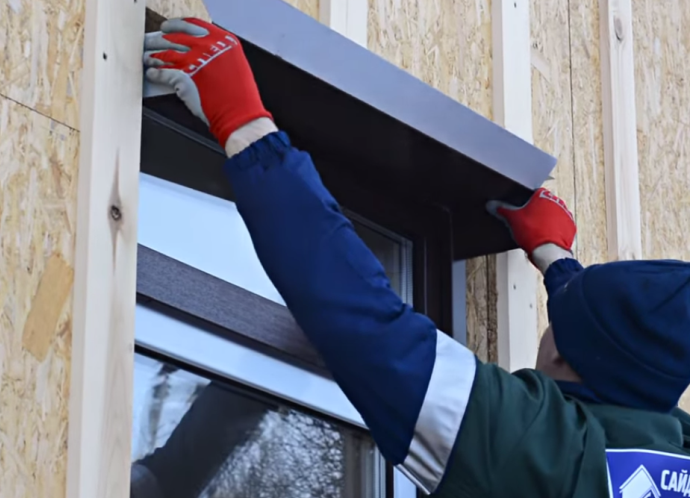
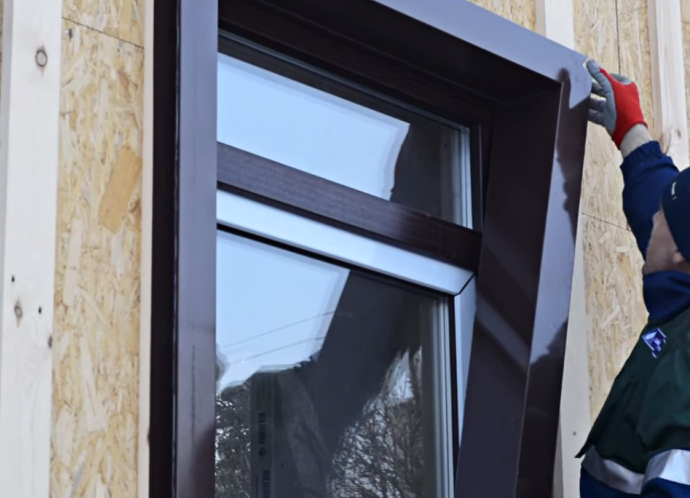
- We install okolokonnye bars in the corners of the opening.
- The window profile is cut off at an angle of 45 ° on both sides, set in the opening and fixed with screws.
- Okolokonny lateral profile cut off under the streng 90 ° degrees and screwed with screws to the crate.
- We fasten the ebb in the bottom of the window.
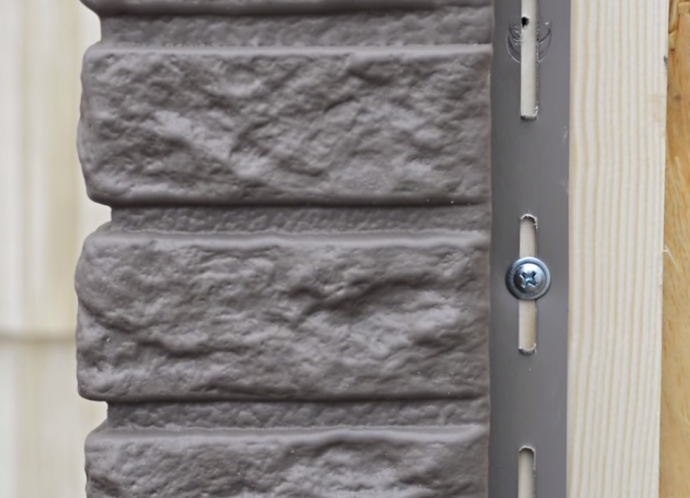
- We measure the length of the siding "under the chips" and begin the installation of the panels from the bottom, moving from left to right.
- We insert the first panel, fixing it to the starting plate. Nails do not tightly nail the panel to the crate.
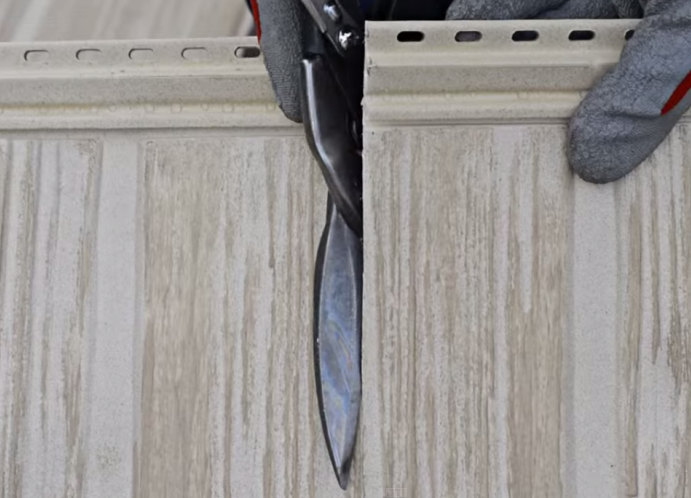
- Between the panels located on one level, we leave a gap of at least 2-3 mm.
- The next row of panels is overlapped with the previous one.
- Trim the panels better with straight metal scissors.
- Under the window and under the roof we fix the finishing strips and continue to install the panels.
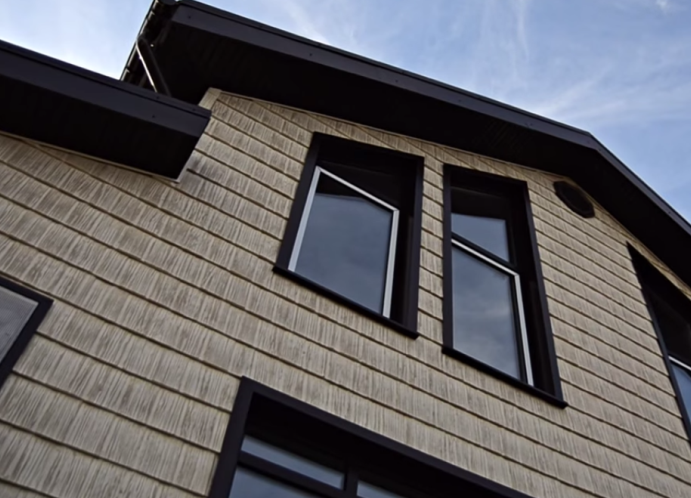
- That's what we got.
| | | |
| | |
| | | |
| | |
| | | |