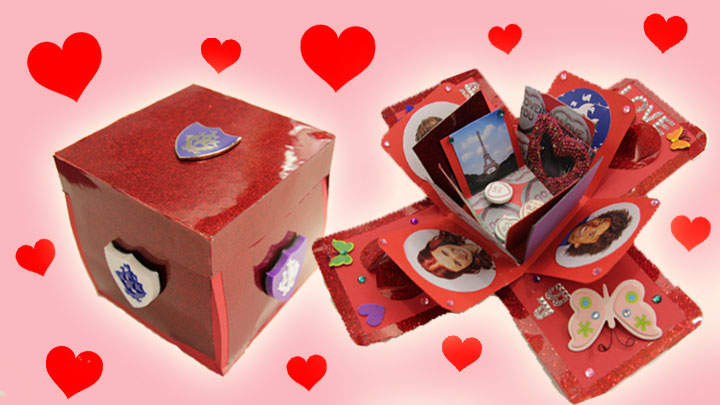
We all love gifts and any signs of attention given to us. That's just not always to make it nice, you need to spend money, and generally go to the store. We suggest you get acquainted with our master class: "how to make a surprise box with our own hands".
Arrangement of the "box with a surprise"
Prepare the materials:
- color cardboard format A3;
- 4 sheets of A4 color paper;
- a simple pencil;
- 2 rulers;
- scissors, or clerical knife;
- glue;
- Scotch;
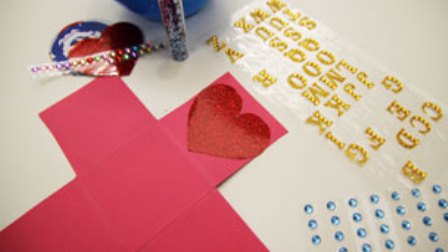
- decorations: photos, stickers, badges and other cute stuff.
Let's get to work:
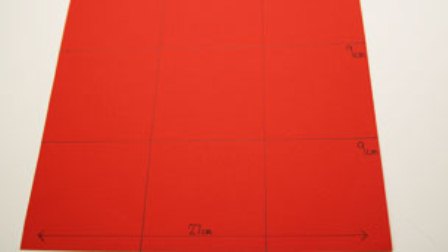
- First we will make a basis. To do this, from the colored cardboard format A3, cut out a square with sides of 27 cm.
- Now we will draw this basic square into small squares, with sides of 9 cm. They will be 9 pieces.
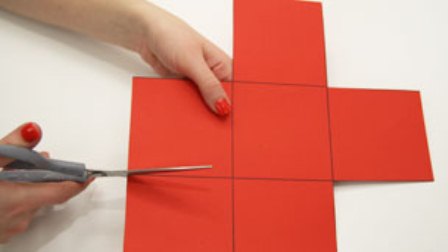
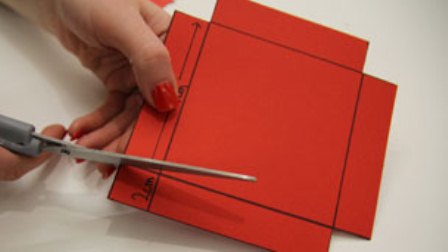
- Armed with a convenient cutting object, cut 4 side squares, as shown in the photo.
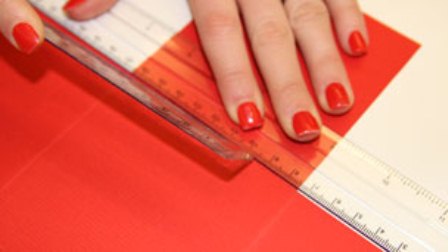
- We proceed to the formation of fold lines. To do this, draw along the traced lines a ruler, or the blunt side of the knife.
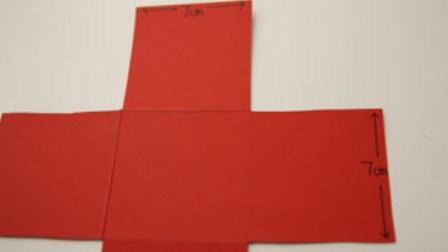
- Let's do an insert for our box. To do this, we repeat all the previous steps on A4 cardboard, only the dimensions should be slightly smaller: the main square is 21 cm, the small squares are 7 cm.
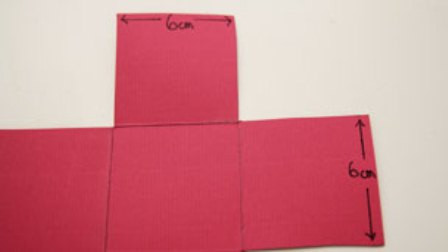
- And now make another square, but in size: 18 cm base and 6 cm inner squares. Do not forget about the fold lines that need to be pushed.
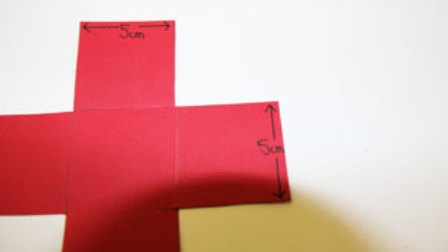
- We pass to the last square. Its dimensions will be: 15 cm base, 5 cm inside.
- When the inserts are ready, you can start working on the lid, which will hold all of our creation. Again cut out the square. This time it should be with sides of 13 cm. Now we draw the lines from all sides, 2 cm from the edge, then 9 cm and again 2 cm. Connect all the lines together.
- Corners equal to 2 cm again cut off. And just like in the previous steps, we form the fold lines.
- Now bend the necessary lines and fix them from the inside with the help of an adhesive tape.
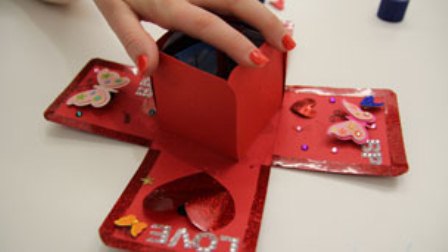
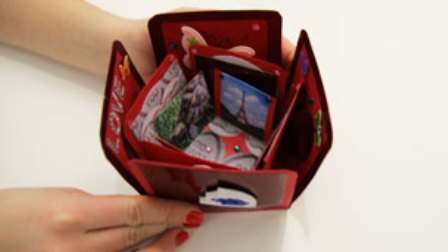
- We begin to move on to creative work - design. Decorate each layer individually. Anything can go to the course, but if you make a box with a surprise for a loved one, then give preference to the photos. And then - how the fantasy will play out.
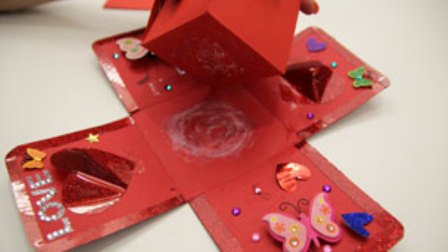
- When all parts are decorated, you can proceed to glue the entire structure together. To do this, according to the principle of matryoshkas, place on the main cardboard all the layers, from the larger to the smaller. Each new layer is at an angle so that all your decorations are visible in the open state.
- Now you can collect everything together and close the lid.
| | |
| | |
Another unusual gift can be an organizer of good mood, which is also easy to make by yourself.