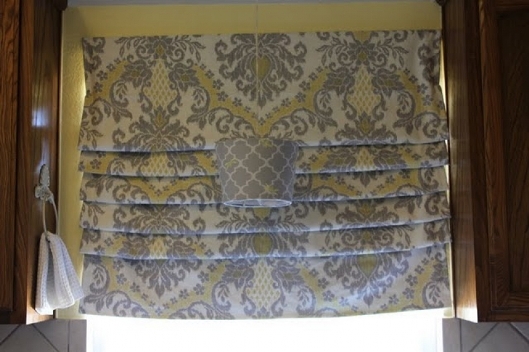
Curtains on the windows like nothing else decorate any room, make it more comfortable. Agree, without them the room loses its charm. If you want to add austerity and elegance to your home, Roman curtains will suit you. They are a fabric of a flat rectangular shape, assembled into wide horizontal folds of the same size, which are uniformly superimposed on each other. They were borrowed from the sails of ships of Roman navigators. Now the Roman curtains serve not only as a beautiful curtain against bright sunlight. Their refined creases are often used as an element of decor. Custom-made, this decoration for your window will be worth a lot of money. It is much cheaper to sew Roman curtains with your own hands and decorate them with, say, a kitchen window. At first glance, it seems that it is not easy to do this and it is unlikely that it will be possible. But in fact, only the skills of working on a sewing machine, all consumables, tools and a good mood are needed!
How to sew Roman blinds: materials
So, in your work, first of all, you need a piece of cloth 3 m long and 130 cm wide. The fabric for Roman curtains should be dense with a vertically directed pattern. If the image on the fabric is large, it is better if the pattern is repeated on each fold.
In addition, in how to make Roman curtains yourself, useful:
- a piece of simple white cloth 3 m long;
- 5 thin long slats made of wood with a length of 130 cm;
- wooden rack length 130 cm and width 2-3 cm;
- drill and screws;
- hot melt;
- roulette or meter.
Roman curtains: master class
When everything you need is available, you can start sewing curtains of Roman:
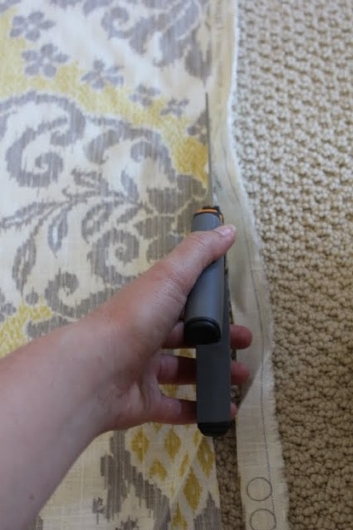
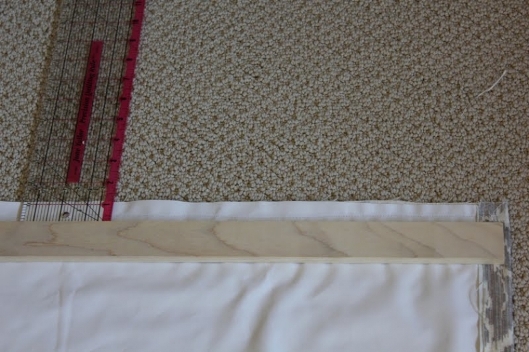
- First cut the longitudinal edge of the canvas on both sides.
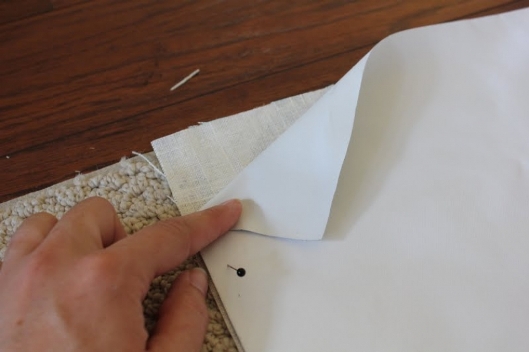
- Turn over the cut on the wrong side, put a white cloth on top of it. After that, we combine all the cuts with pins and apply it with the machine seam along the entire perimeter of the product.
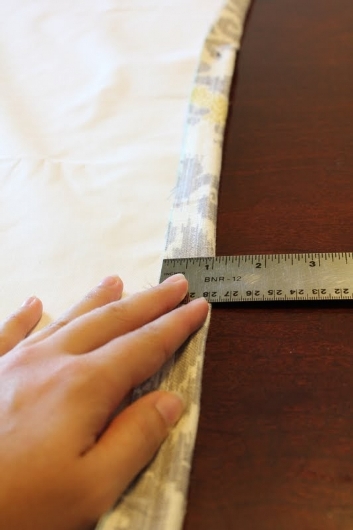
- Then, from the bottom and sides, you need to make a bend of 2.5 cm on the wrong side.
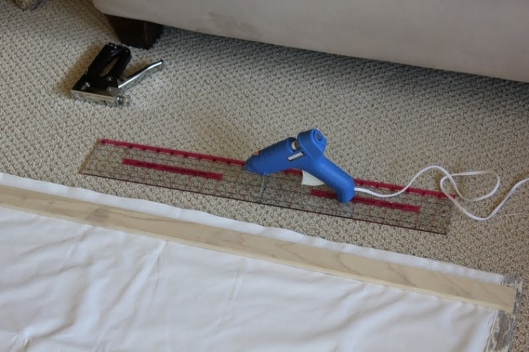
- And to the top of the back of our future curtains, we attach a larger wooden rail, not forgetting to leave the top 2.5 cm. We attach this allowance with the hot glue to the rail.
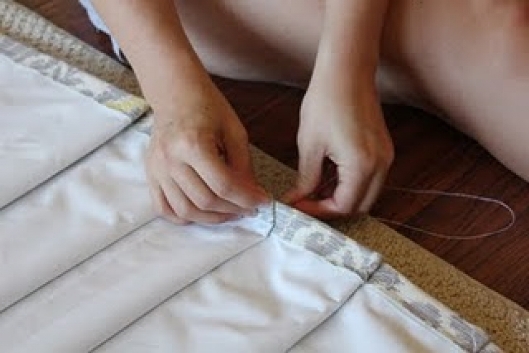
- After that you can proceed to the folds. Five identical folds are measured and sewn to the lower layer of the fabric.
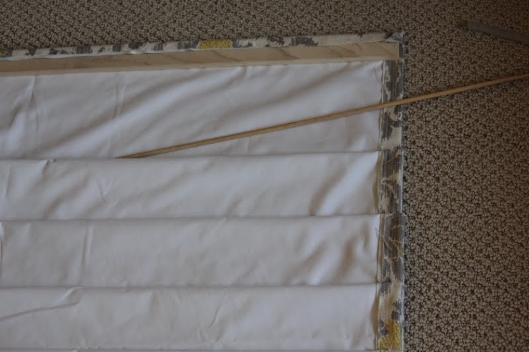
- In each fold we put a thin rail - this is necessary to make the folds stable and even.
- It remains only to mount the Roman curtains in the wall above the window with the help of a drill and screws. For this, you can resort to male power.
| | |
| | |
If you want to sew a Roman curtain, the folds of which can be lifted and lowered with a lace, you will need additional materials:
- rings with a diameter of 10 mm;
- tape for lining width;
- long cord.
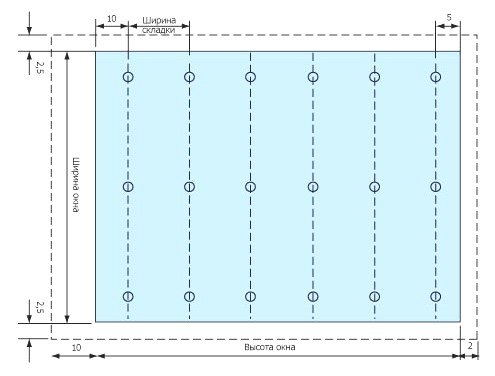
By the length of the fabric, places for sewing the tape and inserting the rings evenly are marked as in the diagram.
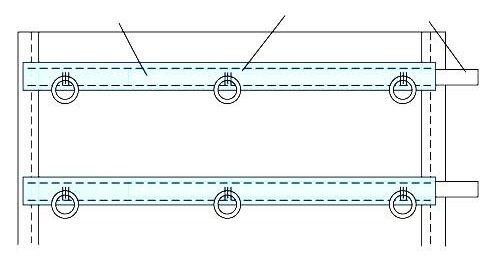
Sewing the tape where it is marked, insert inside the received "pockets" rejki. Then you need to symmetrically sew the rings at an equal distance from the top on each tape.
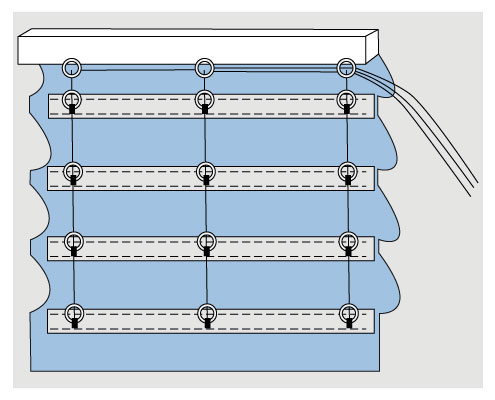
The rings are nailed to the top rail. Then you need to install the fastener for the cord on the window frame. After that, you need to divide the cord into 3 identical segments (the length of the curtains + width + 50 cm) and insert each end into each row starting from the bottom, making a knot. From above all cords are output to one side and are connected together by a handle for lifting.
Straightening folds evenly, the curtain can be attached to the window frame. Do not forget to check the uniform tension of all the folds on the Roman curtain made by your hands.
The windows in other rooms can be decorated with other variants of curtains: Japanese , roll , Austrian or curtains made of beads .