Products in the technique of macrame look very intricate and unusual. If you want to master this skill, it is better to start with thumbnails and the simplest images. We suggest you weave an owl macrame, as this is one of the simplest options.
How to weave an owl macrame?
We offer a step-by-step master-class of weaving owls in the technique of macrame for beginners. This is an option for those who only master this technique. The result is a product the size of a small keychain.
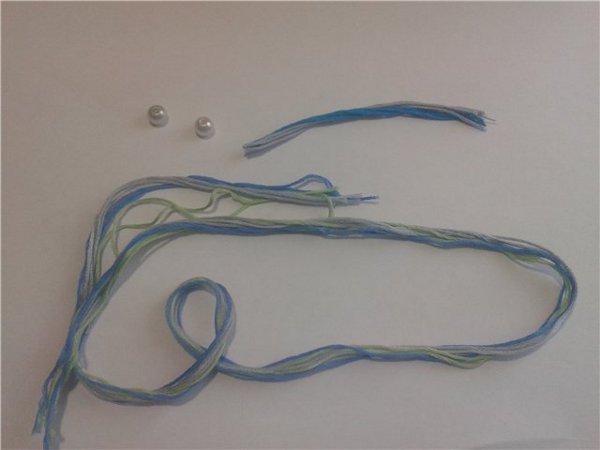
For work we will need:
- thread of a mulina of three colors (length of each thread is 60 cm);
- 2 beads (the hole must be wide enough);
- threads for the base (length 15 cm).
Now consider the instruction for macrame owl for beginners:
1. Fold one long thread in half and thread on it threads for the base. Thus, you will get a small loop, like on pendants.
| | |
2. Here's what should happen:
3. Do the same with the rest of the thread. A mandatory rule: everything must be symmetrical in color.
4. We fix the base with the help of an adhesive tape to the table.
5. Now we begin to weave owl macrame. We take the last four threads.
6. We will bind them with knots of frivolity .
7. The result is:
8. We make these steps with the second four from the other side.
9. Proceed to the middle. We postpone two threads from two sides and interweave the middle four knots with frivolite knots.
10. The middle should get a little shorter.
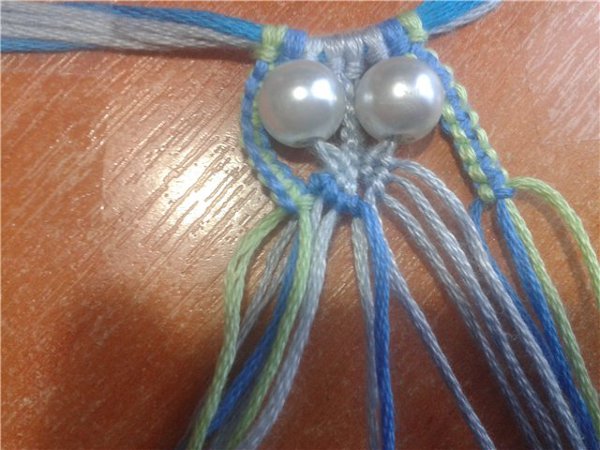
11. On those threads that remained intact, we string beads. They will be eyes for our owl.
12. We begin to weave the body of the owl macrame. From the middle threads, woven by the knot of frivolite, we take two extreme ones. Now these threads are interwoven with a knot of frivolity with threads, on which beads are strung. As a result, our knot consists of one thread from the bead and two threads from the woven middle. At the end of the thread we do not intertwine with each other.
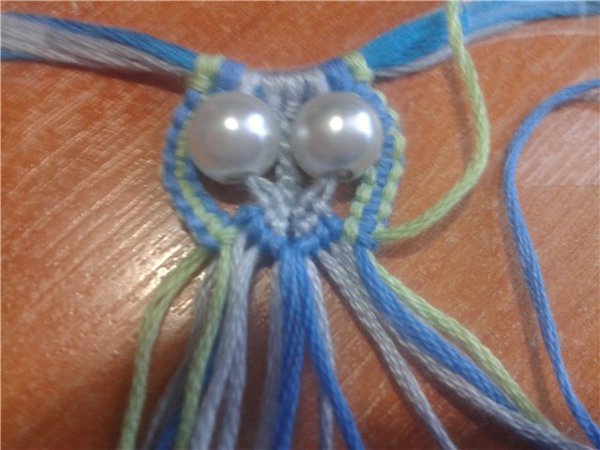
13. Next, take the second thread from the bead and weave the previous ones. Again, do not bind together.
14. Next, we connect one thread from the end nodes.
| | |
15. Alternately take the following thread and plait them to the middle. As before, do not bind together.
16. Then take the next thread and this time at the end we twist them.
17. Again, take the following thread and weave in the end.
18. When we start to take the extreme thread, they do not need to be interlaced.
19. We take two more extreme threads, weave to the middle and do not weave.
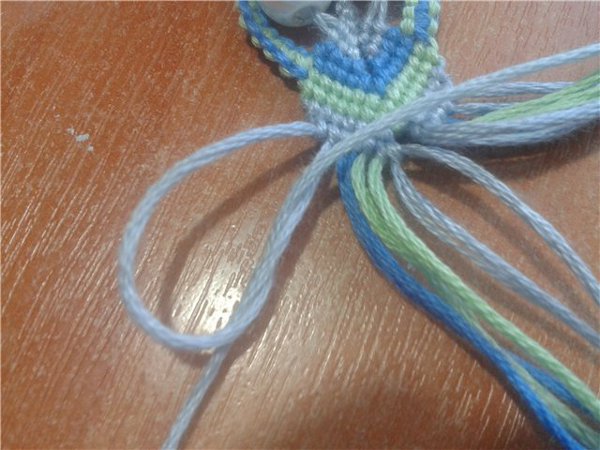
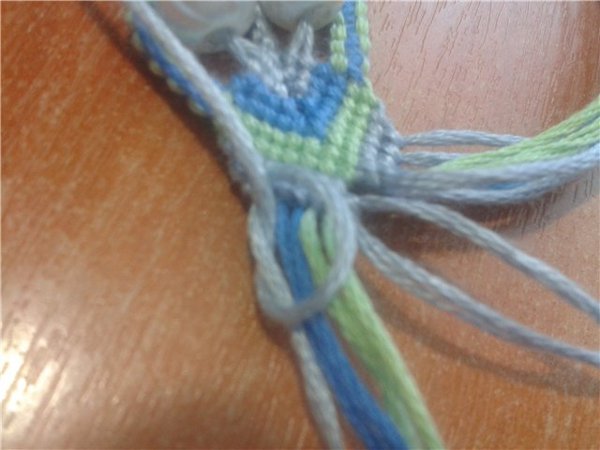
20. Now we make paws for an owl in the technique of macrame. As shown in the figure, separate the two outer threads.
21. We weave them with a corner knot.
| | |
22. This is what should happen in the end.
23. Do the same on the other side.
24. The remaining four threads are plaited with a knot of frivolity.
25. Further we connect all a knot and we cut off superfluous.
26. Similarly, we make the second paw.
27. The next stage of weaving macrame for beginners "owl" will be brushes. To do this, we tie the knots on the warp threads.
28. Our owl macrame is ready!