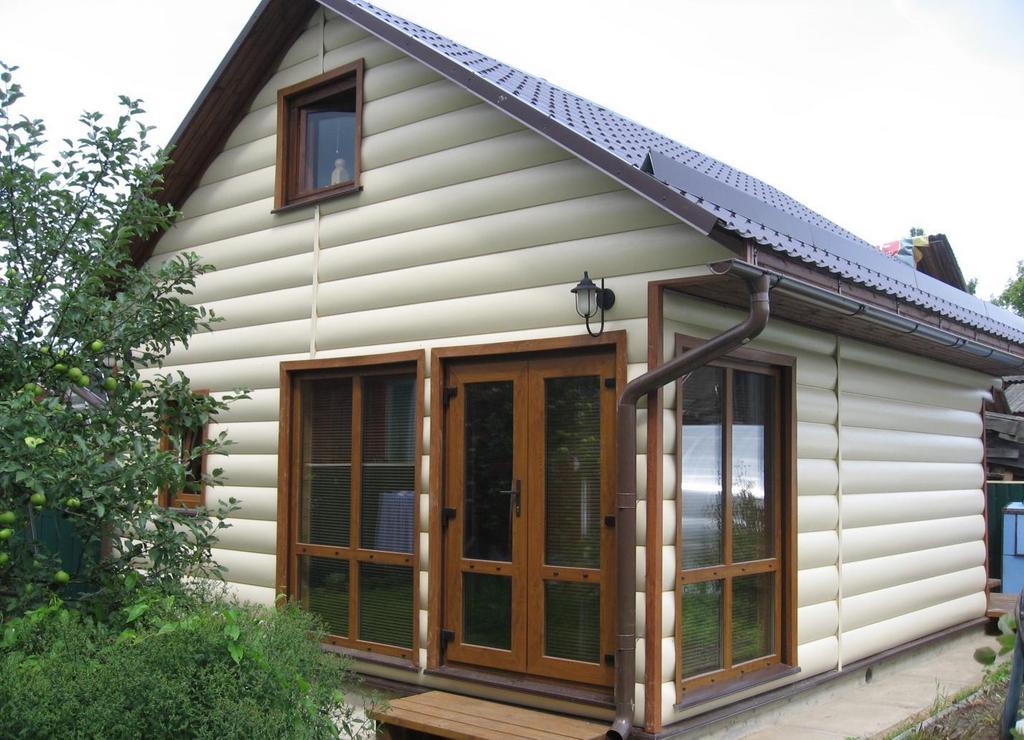
Such a facing material for facade decoration, like siding, allows to repeat the brick, wooden or stone surface of the wall in form and appearance. And this despite the fact that it is also a reliable defender of the facade against aggressive climatic influences. In addition, this material is characterized by a rather low cost, long service life and a variety of colors. It is for these characteristics that siding is gaining unthinkable popularity among owners of private houses and country cottages.
But in order for the facade siding to become even more accessible in the material plan, you can save a lot on its installation. After all, self-facing does not require special skills and special tools. At the same time installation is a process, of course, responsible, but rather interesting. And for the correct installation of panels should follow the simple and clear recommendations of experienced professionals.
Siding rules
- Before starting work, you should carefully prepare the surface: peel off the peeling paint from the surface of the facade, plaster the cracks, etc.
- In order to avoid deformation of the panels under the influence of low or high temperatures between them, a gap should be left. But its value depends on the temperature at which the installation is carried out. So in the warm season, it can be 1-3 mm, and in the cold season - 4-6 mm.
- Nails or self-tapping screws for mounting must be used resistant to corrosion.
- Fasteners must enter the crate by at least 3.5 cm.
- The diameter of the nail or self-tapping screws must not be less than 8 mm.
- Nails or screws should be placed clearly in the center of the mounting hole (with horizontal installation of the siding).
- The clearance between the nail or self-tapping head and profile should be 1 mm.
- Skewed nails or screws will interfere with the free movement of the siding, which can cause deformation.
- Given all the above tips, you can proceed with the correct installation of the siding.
Installation of an external siding with your own hands: master class
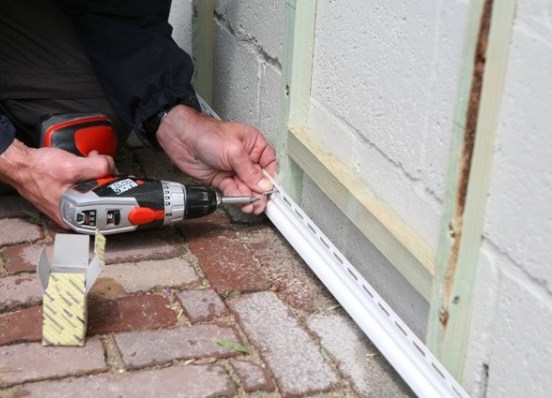
Determining the starting point of the installation is done using the level. Starting from the top of the plinth or from the ground, at a distance of 4 cm on the lath is attached to the starting horizontal profile bar.
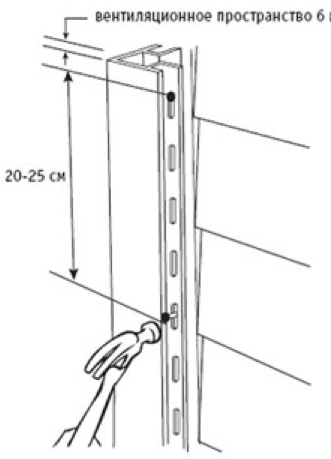
At the junction of two walls, an angled profile (external or internal) is installed. It should be located 6 mm below the bottom of the starting plate.
If one angular profile is not enough in height, then the second one is attached from above with an overlap of about 2 cm.
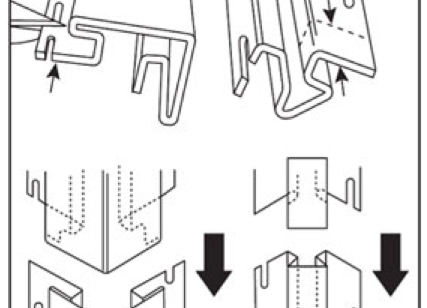
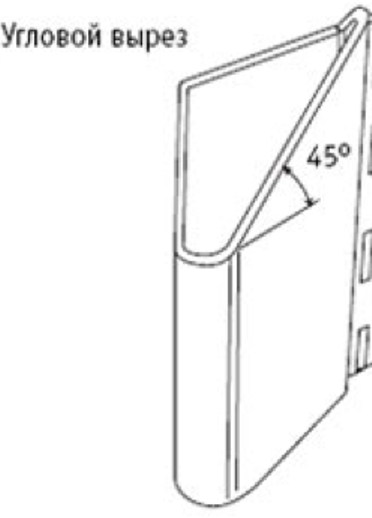
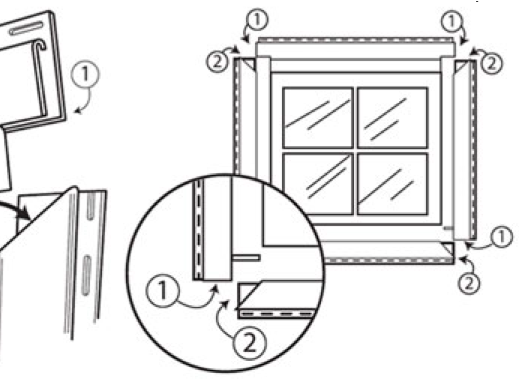
At the next stage, it is necessary to fix the edging of the door and window openings. And in order that the platbands accurately framed the window or door at the top of the side strips of the J-profile and from both ends of the bottom bar is made angular cut.
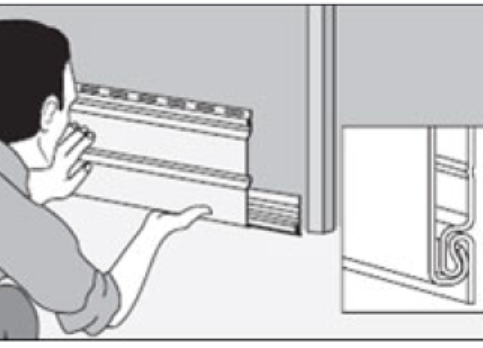
After installing all the vertical profiles, you can start installing horizontal panels. To do this, the bottom edge of the first panel is inserted into the starting profile and nailed to the upper edge of the crate, starting from the middle of the bar.
Then the same panel is used to install the next overlapping panel with the bottom. And the last on a height the bar needs to be fastened after installation of a finishing horizontal lath.
If you clearly and step-by-step install the panels, following all of the above recommendations, then with the independent installation of the siding there will be no problems. But do not forget that the bars do not have to fit snugly together and move freely from side to side. This will provide the house with an attractive appearance for many years.