Laying linoleum on the floor with your own hands is not a difficult task, considering the peculiarities of this material, as well as the structural details of the room in which repairs will be carried out.
Preparatory work before laying
There are several important operations that need to be carried out before starting laying. So, first you need to measure the room and purchase the necessary finishing material. Linoleum can be sold in rolls or small squares. Regardless of the type, the technology of work will be the same.
Also at the preparation stage, it is necessary to level the floors, if previously it was not done. To do this, you can use special mixtures for the screed or punch the surface with sheets of plywood.
Rules for laying linoleum with your own hands
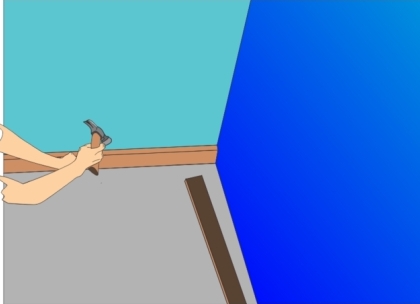
- First, it is necessary to dismantle all structures adjacent to the floor. If previously there was no alignment, then in the room, for sure, skirting boards are to be removed.
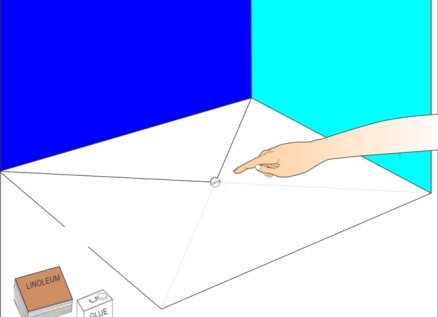
- The next step is to determine the center of the room. It is from him that the linoleum will be laid, since if one is guided by one of the planes of the walls, it is easy to tear the entire canvas and the result will turn out to be sloppy. This is due to the fact that the walls, even in modern apartments, often do not adhere to each other at right angles. To find out where the center of the room is, you need to find with the help of a tape measure the middle of the length of each wall and draw straight lines connecting these points near the opposite walls. The point obtained in the center of the room is the center of the room. You just have to check that the lines intersect exactly at right angles, if it is not, then they need to be aligned with a ruler-gon.
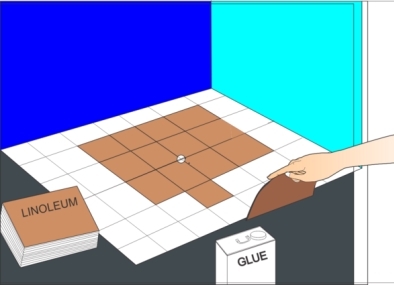
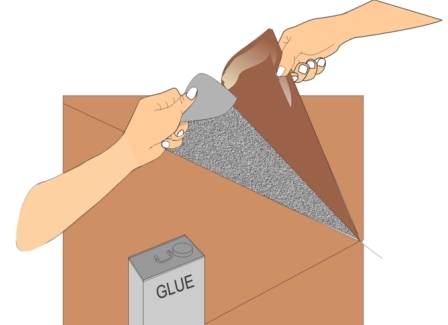
- The gluing of linoleum begins from the center of the room with the orientation to straight lines drawn between the walls. First you can roll out the roll and try it on, or lay out the desired pattern from the tile. After this, cut a piece of linoleum of the required length, adding to it 5 cm on each side.
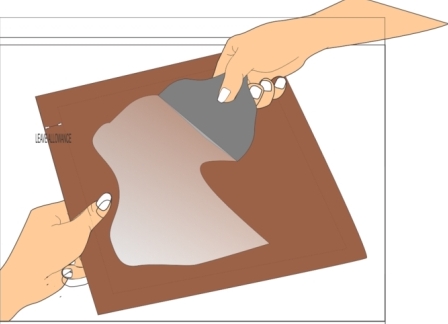
- Linoleum - a soft material, which when wet, increases slightly in size, and after drying - decreases. This should be taken into account when treating linoleum with glue. You should leave the edge of 3-4 cm on each side when spreading.
- Each strip or square should be laid in a predetermined place and pressed to the floor base. Allow to dry thoroughly (glue settles for about 30 minutes).
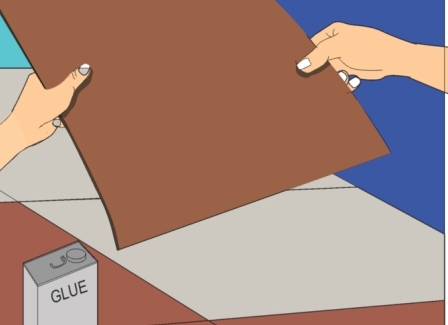
- The next strip is pasted to the previous, but before gluing it must also be glued with glue and press the edges of the previous part that were left earlier.
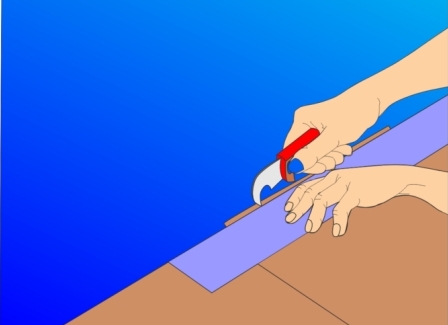
- After all the linoleum is laid, it is necessary to cut the protruding edges against the walls with a special knife with a curved edge.
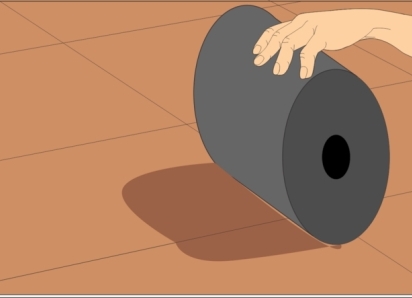
- In addition, you can walk on a fresh floor with a heavy roller, which squeezes air bubbles from under the linoleum (if any), and also presses the surface of the coating more firmly against the base.
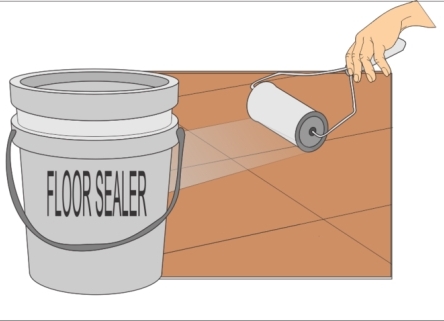
- The next step is to cover the floor with a special mastic for linoleum, which will give fresh shine and protect from damage.
- The final stage is the installation of the skirtings in place.