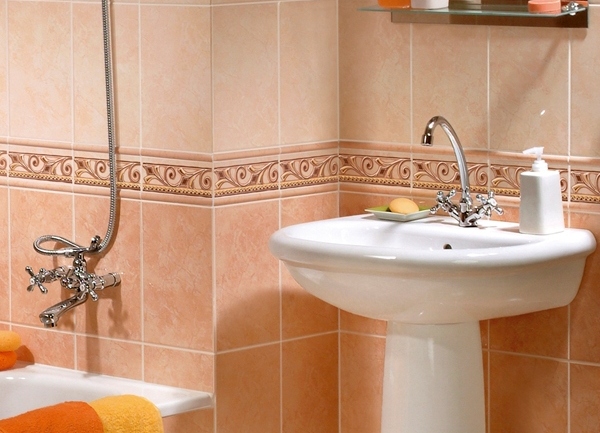
Tile in the bathroom is one of the best, if at the best, way of finishing. It simultaneously serves as an excellent protection against moisture, mold and fungus, and at the same time creates a highly aesthetic appearance of the room. So, what is the technology of laying tiles in the bathroom - we learn in our article.
Master class on tiling in the bathroom
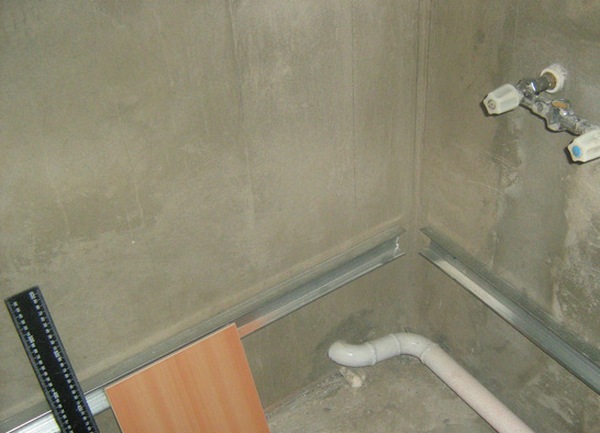
Laying tiles in the bathroom begins, of course, with the preparation of surfaces. In this case, the walls of the room. They need to be plastered and primed. As a result, a smooth and smooth surface should be obtained, which then needs to be marked under the future tile and attached to the guide profile for high-quality and smooth laying.
In the corners, we mark vertical lines, along which we will orient in the course of the work.
What is needed to lay the tile in the bathroom with your own hands:
- level;
- roulette;
- tile cutting machine;
- notched trowel;
- glue;
- screwdriver or drill for drilling holes on the tile.
Sequence of work on laying tiles
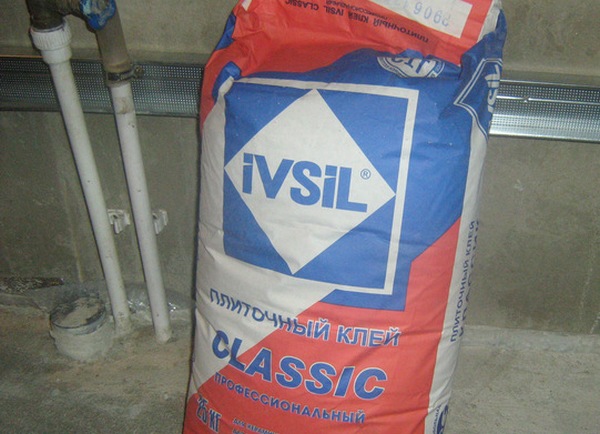
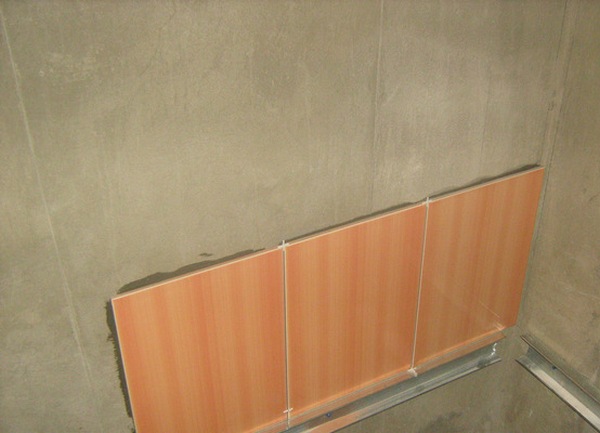
We start to lay from the corner of the room on the guide. First, prepare the glue according to the instructions written on the package.
We cook it in small portions so that it does not dry out. Mix the dry glue mixture with a perforator with a mixer attachment.
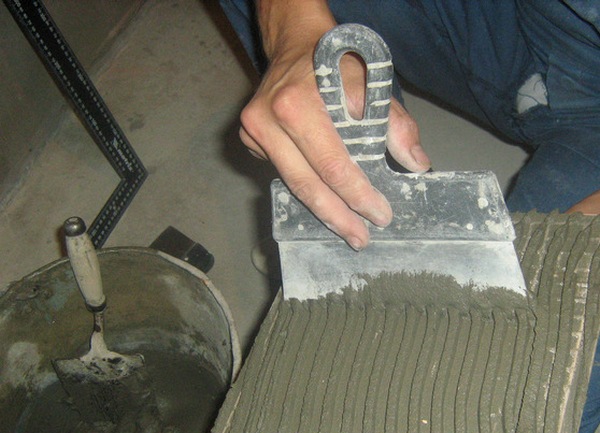
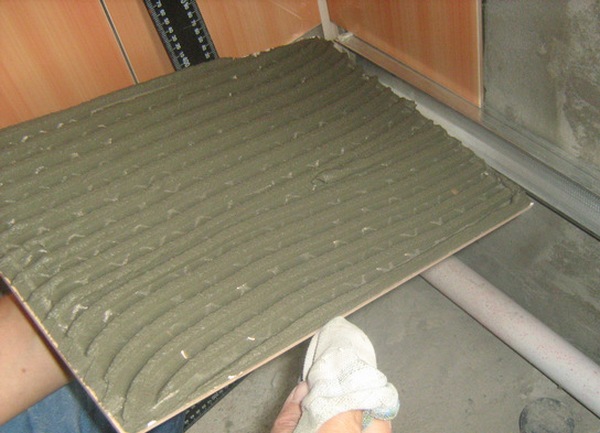
We let the adhesive stay for 5 minutes, mix again and get to work. First, we put a slide of glue onto the tile, level it with a notched trowel, and rub it well into the tile until a smooth layer is obtained. The tooth size of the spatula should be 4 mm for the walls and 6-8 mm for the floor.
| | |
Tightly press the smeared tile to the wall, expose it smoothly, applying rotational movements. Thus, we lay out the entire first row.
Do not forget to share the tiles with crosses. If you want to prune the tile, use a tile cutter. Constantly control the flatness of the canvas with the help of a level. When the first row is ready - further work goes faster, because we have set the vertical and horizontal.
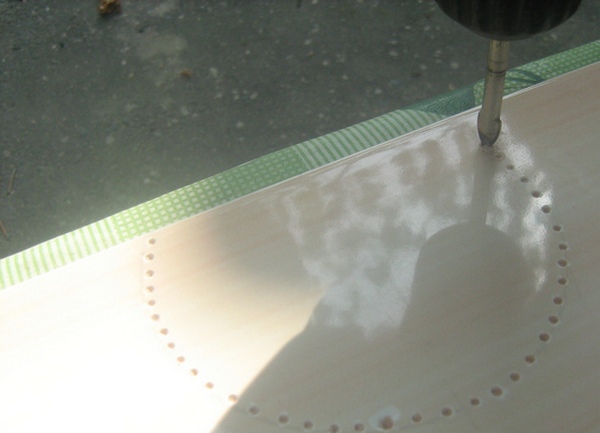
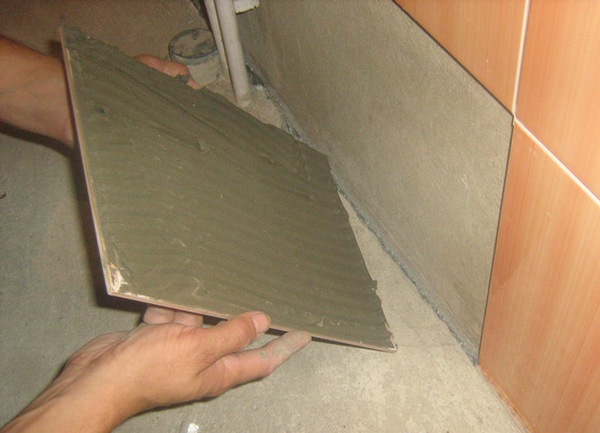
For sockets, pipes and other communications, we need to make appropriate holes on the tile. To do this, we first drill out the contour with a special drill using the notch method. We finish the holes with the winning drill.
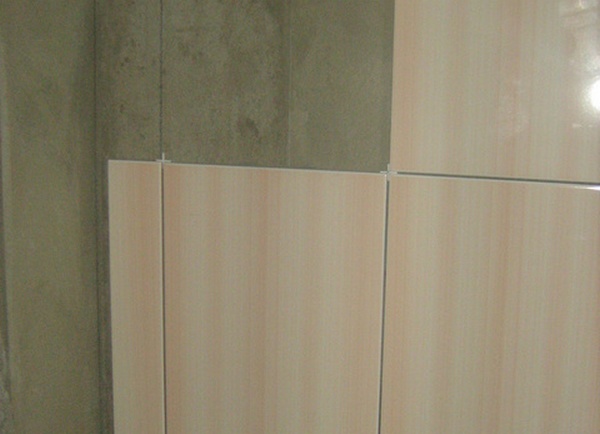
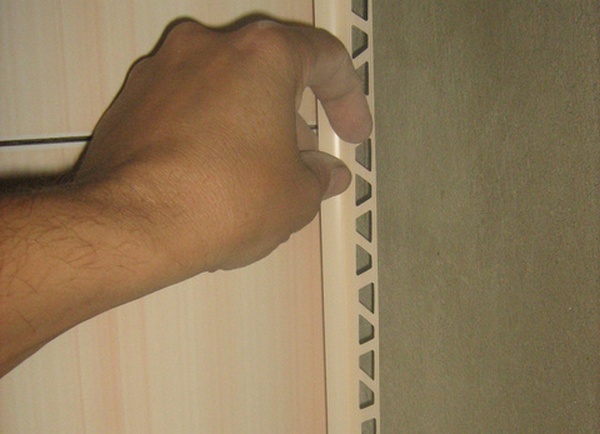
When the tiles are laid on one wall, we move on to the next one. In the corners we install moldings.
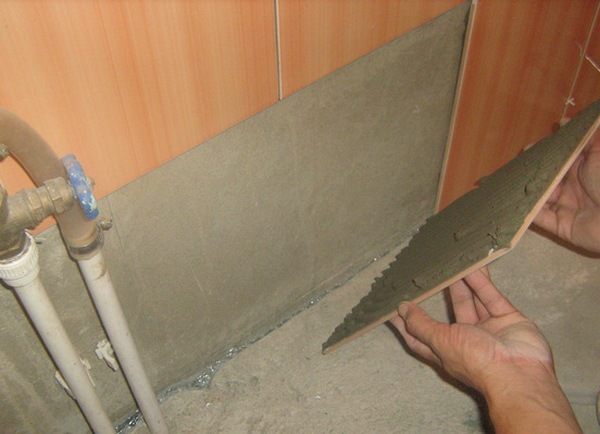
In the last place we lay down complicated places with pipes.
| | | |
And in the end we rub the seams with a special mixture with a rubber spatula.