Long work at a large desk tires, sometimes you want to browse the Internet more comfortably right behind the bed or sitting on the carpet. It was for this purpose that portable stands were invented, on which it is convenient to dispose of their laptop computer. There are laptop desks that are complex, with different drawers, devices. We give here an example of how you can make simple, but very comfortable furniture, not using some universal skills or sophisticated tools.
How to make a table for a laptop?
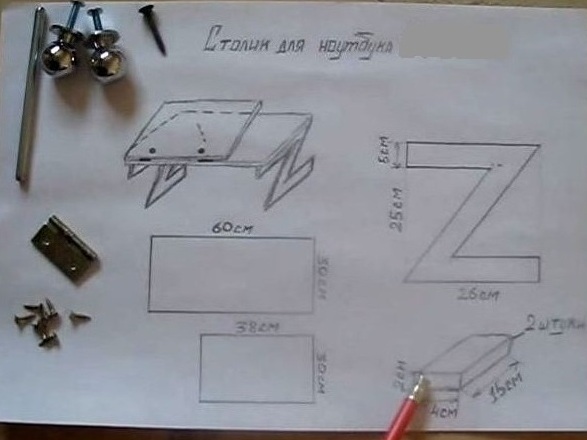
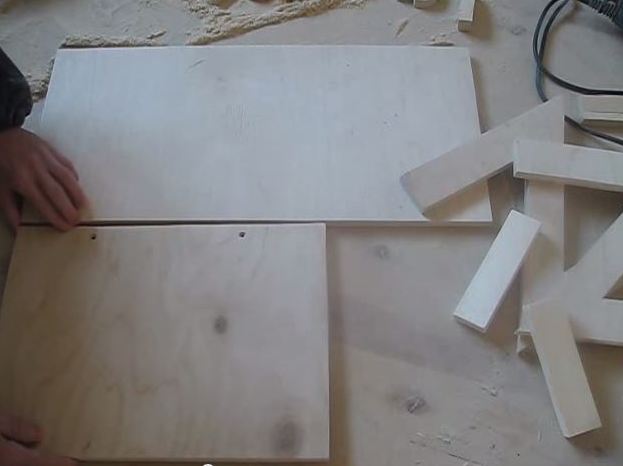
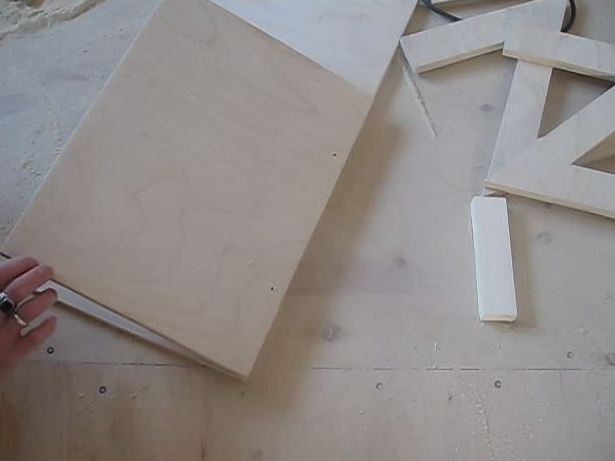
- In order to make a small table for a laptop , we need the following materials: plywood for workpiece preparation on a tabletop (600x300 mm), plywood for a mobile platform for a laptop (380x300 cm), two brusks (150x20x4 mm). In the store you will have to buy 2 knobs, 2 metal hinges, a set of self-tapping screws 10 mm and 25 mm long, a fixing rod 85 mm long and 6 mm in diameter. It will also be necessary to pre-cut figured legs from the plywood for the table in the form of the letter "Z" with dimensions of 250x260 mm following the drawing below.
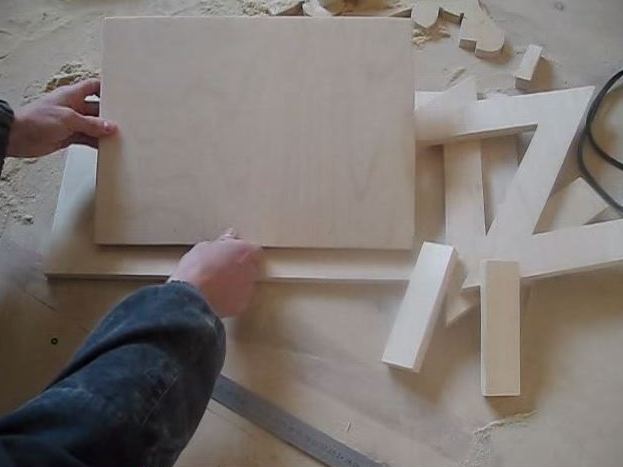
- The blanks are made, now on the mobile platform we drill two holes for the knobs.
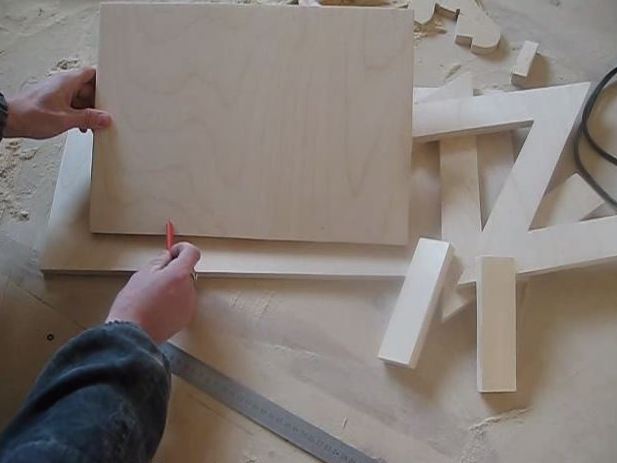
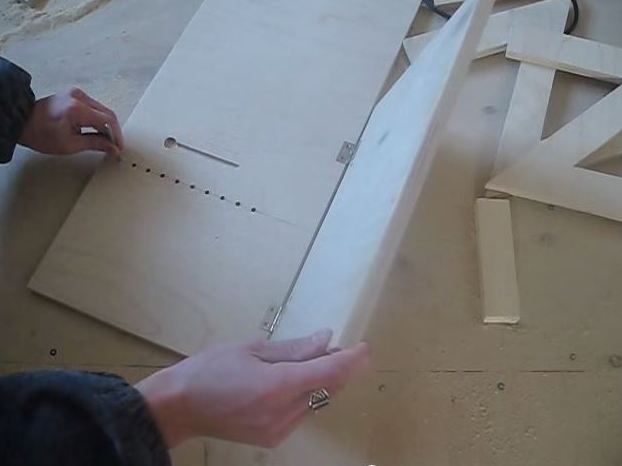
- Pencil markers at a distance of 180 mm one from the other, retreating from below 15 mm.
- Drill holes drill a diameter of 4 mm.
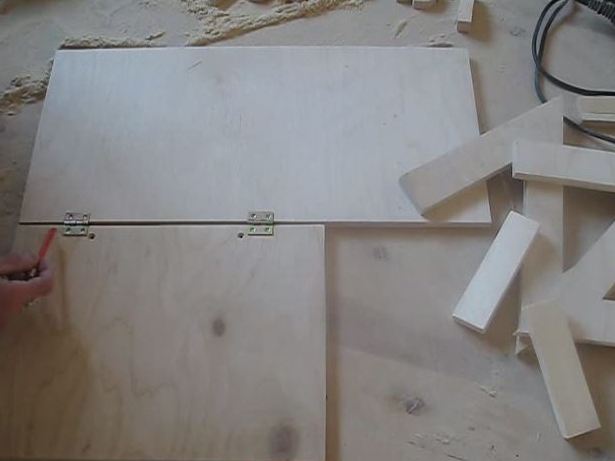
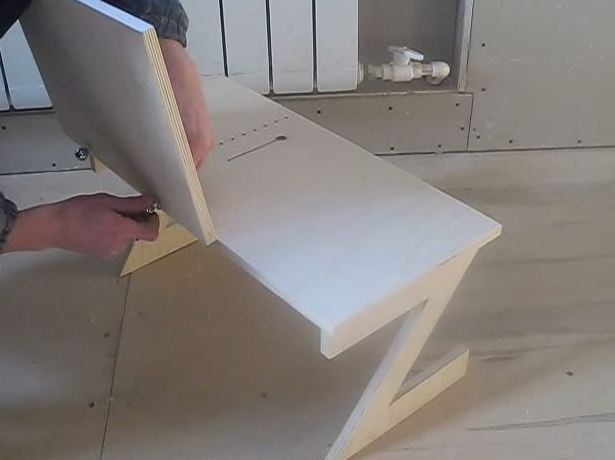
- Having retreated on both sides to 60 mm, we fasten 2 loops with self-tapping screws, thus combining the movable and fixed halves of the countertops.
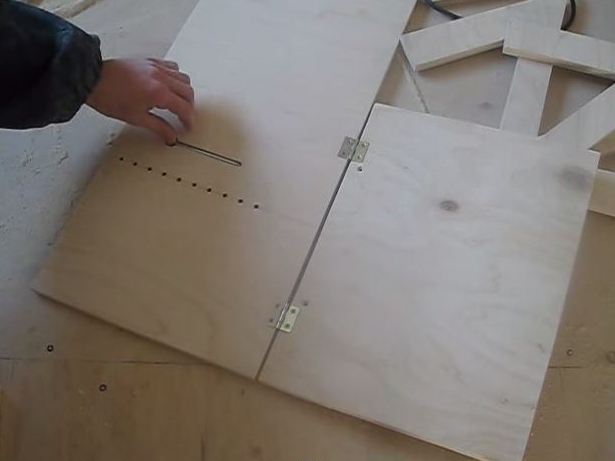
- After the hinges are assembled, we drill a series of holes 5 mm deep and 6 mm in diameter, approximately 20 mm apart from each other, against the moving platform on the fixed countertop.
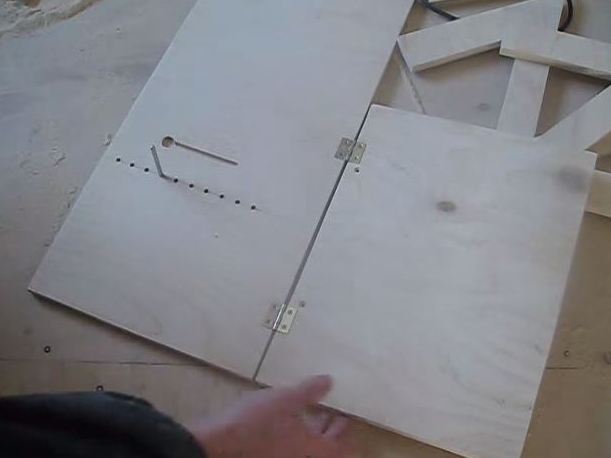
- To hide the lock, we milled the groove, having made a round recess at one end, it will help to easily extract it.
- We insert the lock into one of the holes and check the angle of inclination of the movable platform.
- If the angle of inclination does not suit us, then we change the hole to the other.
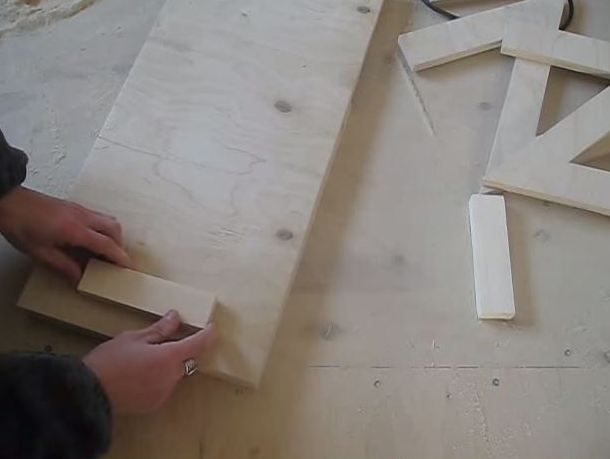
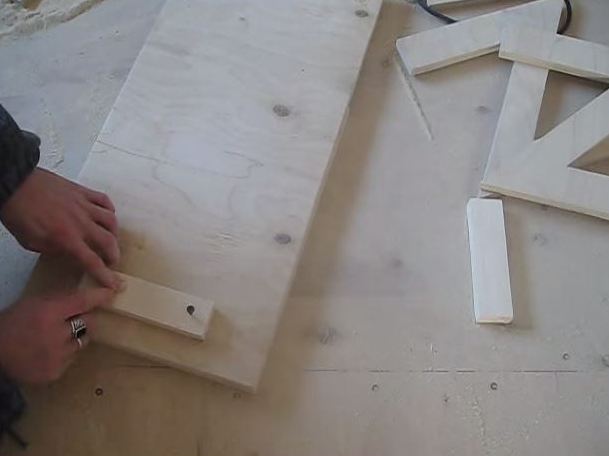
- Bottom to the table top we glue two previously prepared logs. We retreat in front of 30 mm, and on the sides of 75 mm. In addition, we fix them for the fortress with 2 self-tapping screws.
- The legs are glued to the table top, and to the bars we fasten the screws. The heads of the fasteners are slightly inadmissible, and this place is puttied, and then the surface is cleaned with sandpaper.
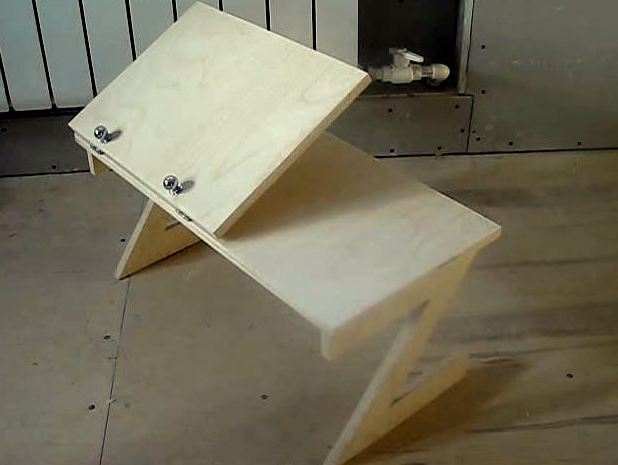
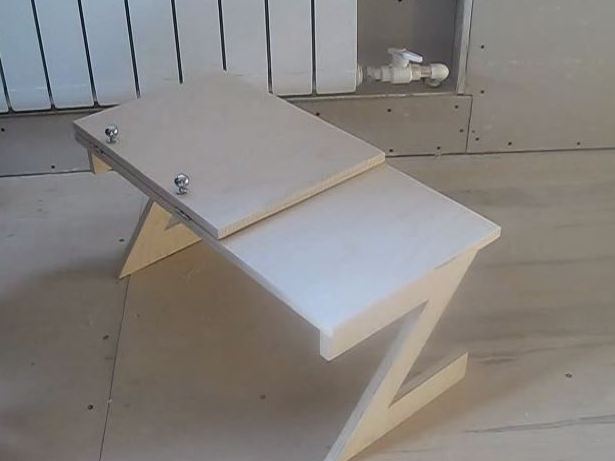
- We fasten metal knobs to the table top, they will serve as a reliable support for your laptop installed under the slope.
- A laptop table made by yourself is ready. For beauty it is better to paint with paint or to process a tree with varnish.
| | |
| | |
| | |