Despite the fact that garden equipment has been in use for a long time, for some owners of private houses it is still a novelty. That's why there are often questions about how to properly wind the line on an electric or gasoline trimmer.
This is essentially a simple operation, but all its stages need to be done correctly to achieve the desired result. Moreover, in the instructions for use, only a few manufacturers give an answer to this urgent question. Study the article and find out how the fishing line is wound on the trimmer spool.
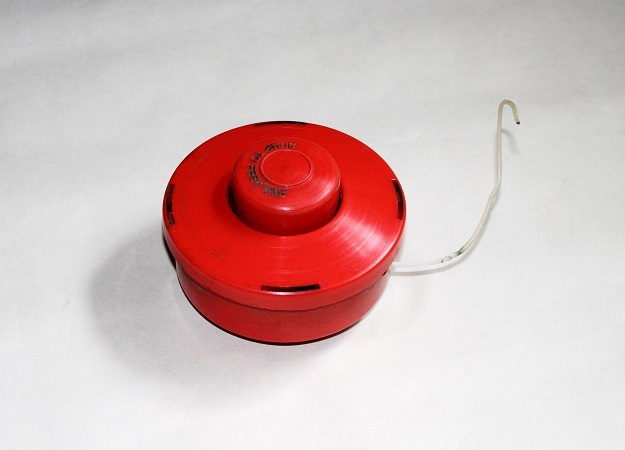
The order of winding the line on the trimmer spool
First of all, you should know that the trim tabs have different working attachments. The coil can be designed for different length and thickness of the line - this point should be taken into account when purchasing consumables.
So, how do I load a fishing line into the trimmer spool? The whole work is divided into several stages:
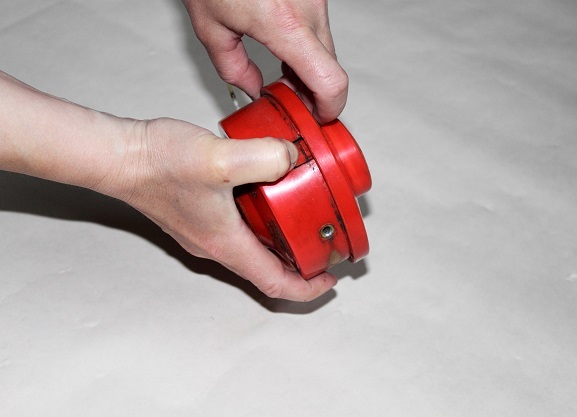
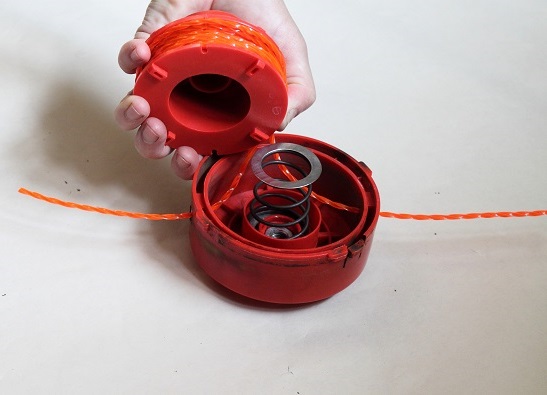
- First you need to disassemble the trimmer head.
- Unscrew the nozzle by turning the drum to the right.
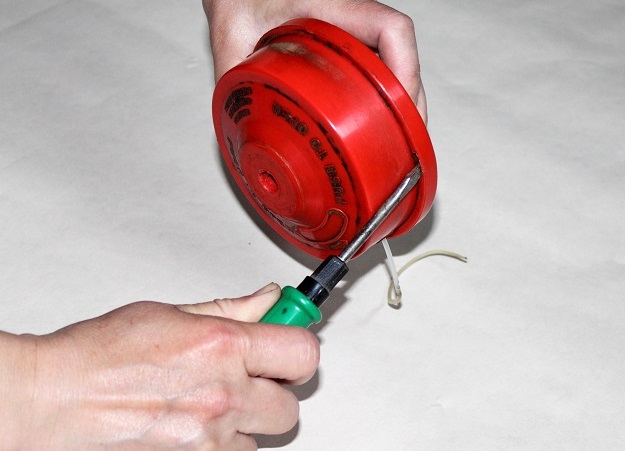
- Press the fingers on the two latches located on the different sides of the tapholes, and remove the top cover of the nozzle. You can remove the cover with a screwdriver. This should be done carefully: the drums with automatic fishing line feeding have a spring that can forcefully drop the lid together with the entire contents of the coil.
- Take out scraps of old fishing line.
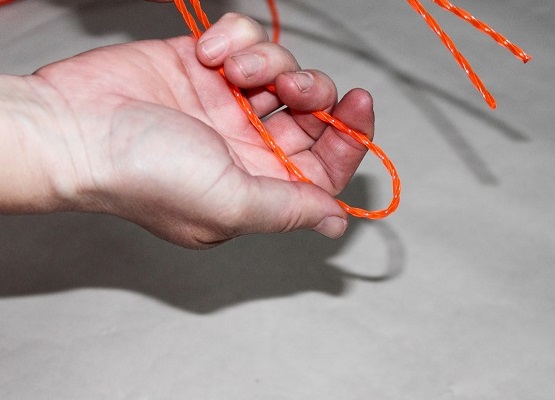
- Now we need to find the middle of the line. To do this, wind it to the required length (for example, 10 m), cut and fold in half.
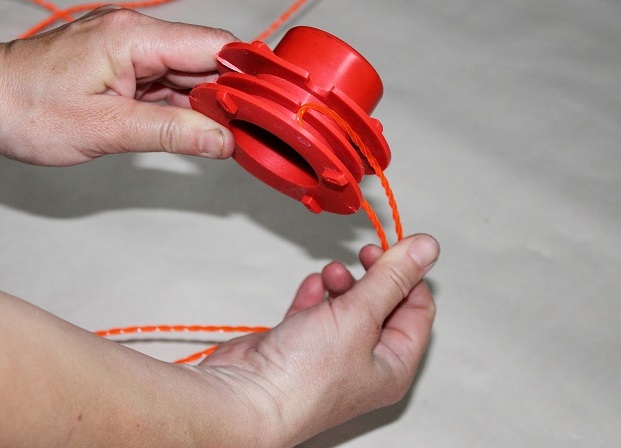
- Attach the middle of the line to the existing notch or insert it into the hole specially designed for this purpose. And start winding. The direction indicates the arrow that is usually applied to the body of the trimmer coil (usually opposite to the rotation of the drum). Some models have a double-sided reel: in this case, the fishing line should be wound in different directions: one end in one direction, the other in the other, the loop of the line should be inserted into the dividing slot located in the middle.
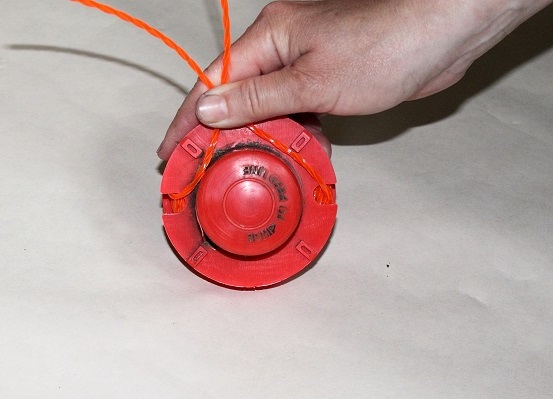
- Leave the free ends of the line approximately 20 cm long. Later they will need to be fixed in the notches.
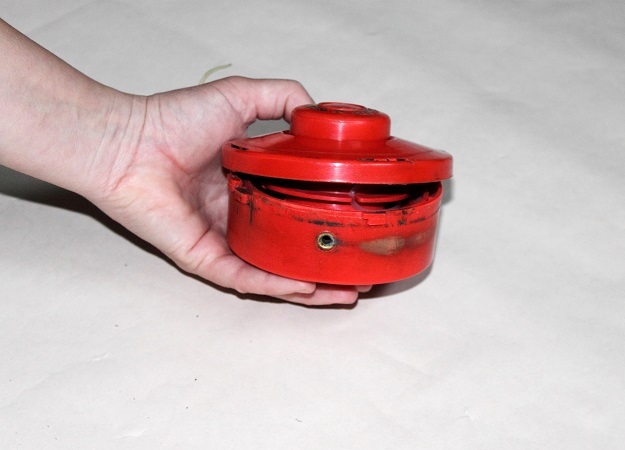
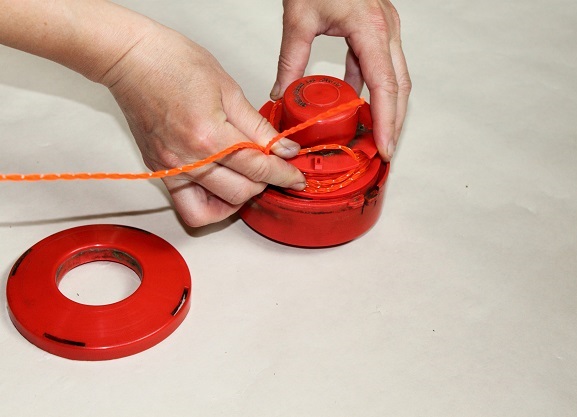
- And, finally, the last stage will be the assembly of the drum. Replace the washer and spring. On the upper ring of the coil there are two notches, where the antennae of the line is to be refilled. Thread them into the holes and install the reel in the drum, trying to tighten the line and do not displace the spring.
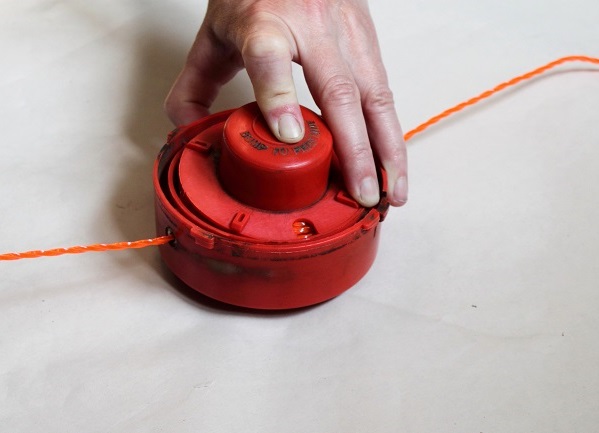
- Place the lid of the drum on top and close it with the force of your fingers. Latches will fall into place with a characteristic click.
| | |
| | |
| | |
When you turn on the trimmer, the extra line is itself cut off by the cutting edge.
As you can see, winding the line on the trimming reel is not difficult: the main thing is to do everything correctly. And here are some more tips that will help you when choosing a line, winding it and following work:
- The line is of different thickness and with different cross-section. The optimal option for winding is the "native" line for this model;
- do not use a fishing line or metal cables for the trimmer. Such a replacement may seem effective, but it is very dangerous. Having jumped off the running trimmer, the cable can seriously injure not only the lawnmower himself, but also those around him;
- The fishing line is cut off when the working trimmer comes into contact with solid objects. Try not to allow this, otherwise you will have to stop every time, switch off the device and rewind the line on the reel;
- for cutting lawn grass use a conventional fishing line, and for coarse weeds - a line in the form of a pigtail. It is more durable, and will not be constantly cut.