To get rid of this problem, many young parents decide with their own hands to make for their child a development board with which the kid will play for a very long time, but she will not get bored with him. It is not at all difficult to produce this object, and for this you do not even have to wait for your father to work - any mother who has enough patience and the necessary materials will easily cope with this task.
The creation of toys with his own hands allows parents to save money significantly. In addition, during the manufacture of such a development board, or a bisyboard, the mother can put in it a piece of his love and care. That's why these games are deservedly popular not only among kids, but also with their loving relatives.
How to make a children's development board with their own hands?
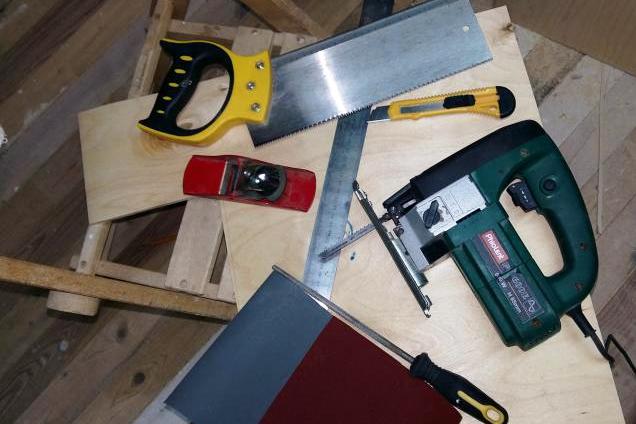
In order to create a development board for a child with your own hands, you need to prepare a piece of plywood with a size of at least 50 by 55 cm, a jigsaw, a small hacksaw, a large and small skin, simple pencils, a ruler, a manual plane and a sharpening knife.
"Filling" bizyborda can be any - depending on what you have at home: you can use all kinds of hooks, locks, latch, bells, sockets, switches, buttons, laces and so on. In addition, to decorate and design work, you may need to paint different colors, clear varnish, glue, rubber bands, stickers and more.
To create with your own hands a development board with locks for a boy or a girl, the following instruction will help you:
- Prepare the necessary materials.
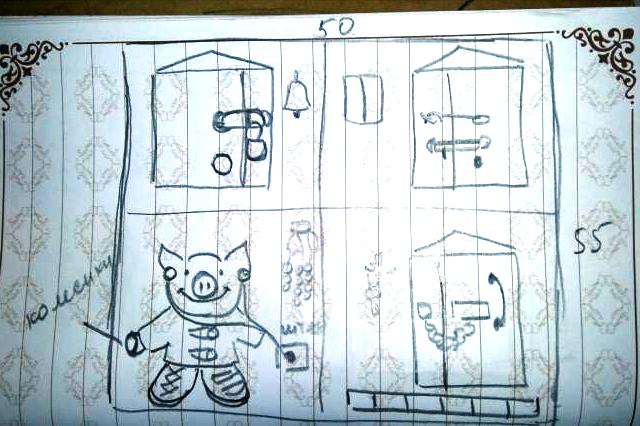
- Schematically draw a sketch of the future toy.
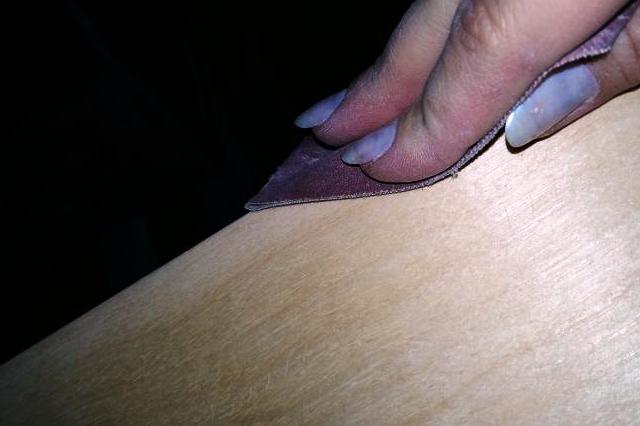
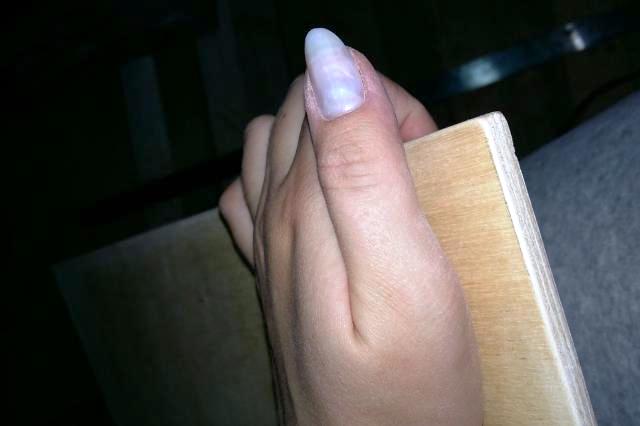
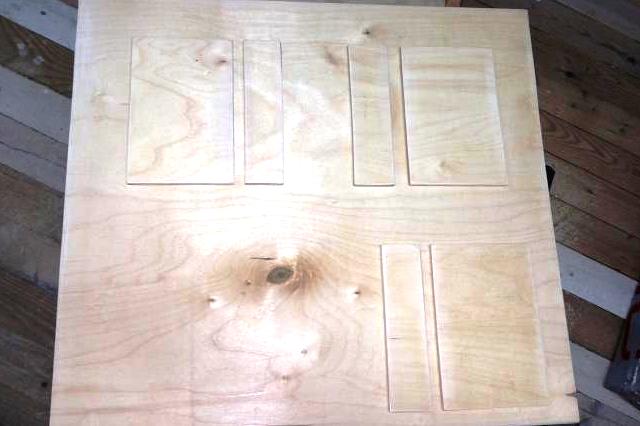
- Make the necessary cuts and carefully sand the edges.
- It is necessary to coat very carefully, so that the baby does not plant a splinter.
- Process all workpieces and attach the necessary parts.
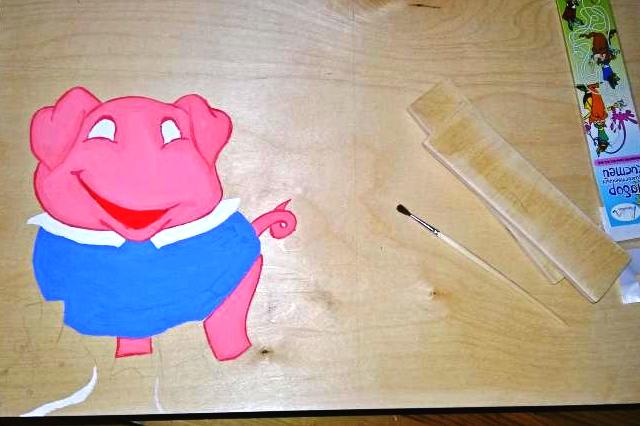
- Draw a sketch of a piglet and paint it.
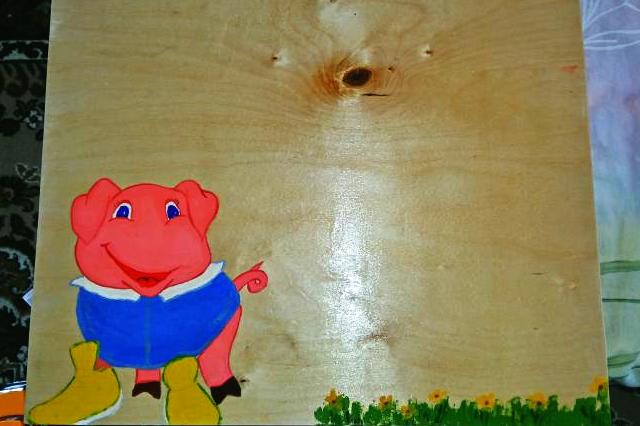
- Apply a clear varnish in several layers and allow it to dry.
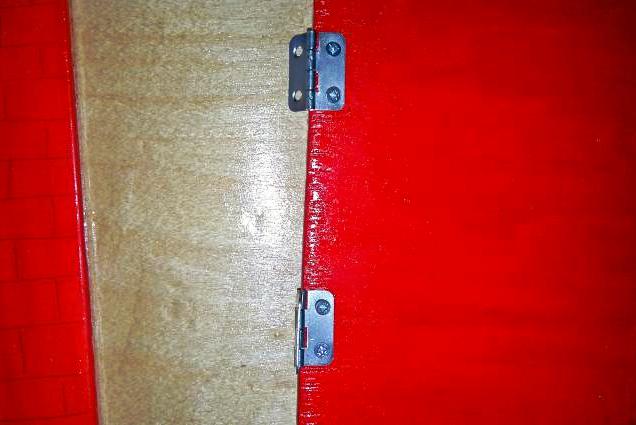
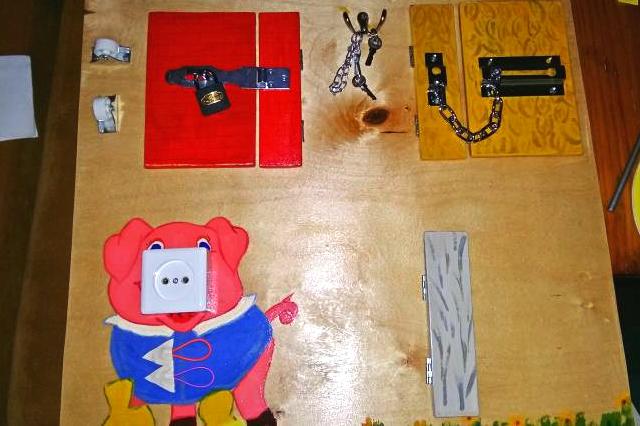
- Paint, varnish the doors and attach them to the board.
- Now - an outlet, locks and other necessary elements.
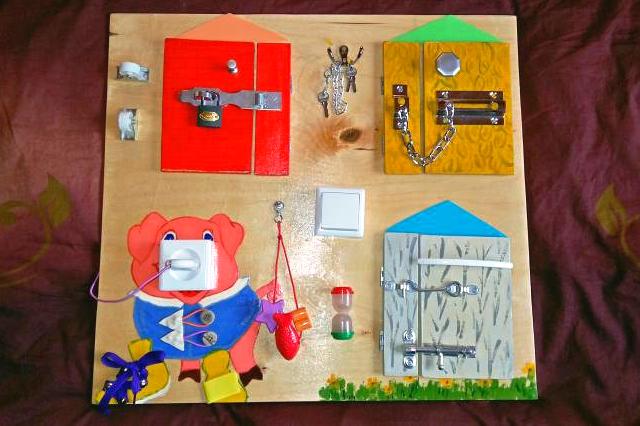
- In each house draw a picture of a piglet or use the appropriate sticker, add a switch and an hourglass.
- That's what a wonderful toy should you get!