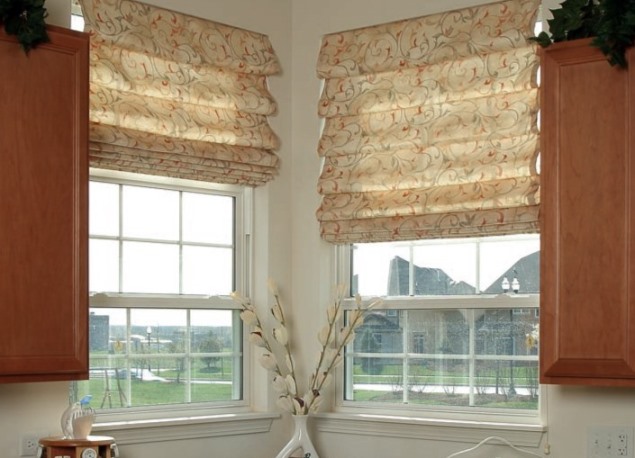
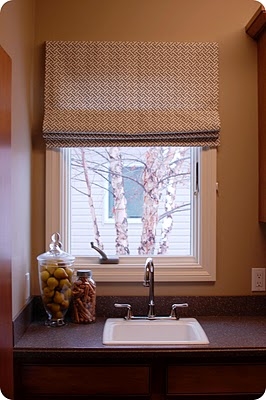
One of the most popular and fashionable types of blinds today are Roman blinds, which have a number of advantages over other types of window draperies. Such curtains will make your room more light and spacious. Roman blinds are functional, easy to manufacture and install, also beautiful and elegant.
Roman blinds are used in any living space: in the living room or bedroom, in the office or in the kitchen and even in the bathroom.
Today in the market you can find different variants of blinds. But you want to make blinds with your own hands? Then use our advice, and you will get the original window curtain.
Production of window blinds with their own hands
In order to sew Roman blinds, choose a cut of beautiful thick fabric or a transparent light tulle. However, remember that the fabric should be quite stiff. In this case, it will keep the shape well, and the folds - it is nice to lay down in the assembled form of the curtains.
Do not forget that your Roman blinds in their color, pattern and texture should match the general style of the room. So, monophonic fabrics perfectly fit into any interior. Fabric in a cage, with a floral pattern or with a gastronomic motif will successfully emphasize the country style , country or provence. And abstraction and geometric shapes will suit the design of modern cuisine.
It is very important to correctly determine the consumption of cloth on the Roman curtain. And for this it is necessary, first of all, to decide how your blinds will be fixed: in the window aperture or on the wall above the window.
In order to make horizontal blinds with our own hands, we will need the following materials:
- fabric for curtains;
- lining fabric;
- round wooden rods 0.3 cm in diameter;
- two wooden slats;
- nylon cord;
- plastic rings;
- fixing hook for cord;
- furniture stapler.
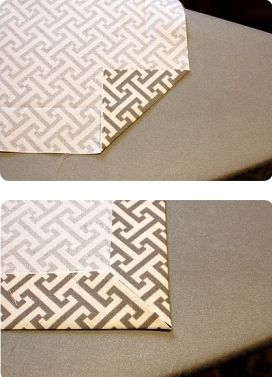
- Measure the window. Add to its width of 10 cm, and to a length of 21.5 cm. This will be the necessary size of fabric for curtains. We lay the main fabric face down, we turn the edges of the fabric from below and on the sides by 5 cm, smooth them and straighten them again.
- We wrap the inside of the corners of the fabric and press them. Fold the pressed edges, as shown in Fig. 2. Similarly, tuck the wrong fabric with bends of 6.25 cm.
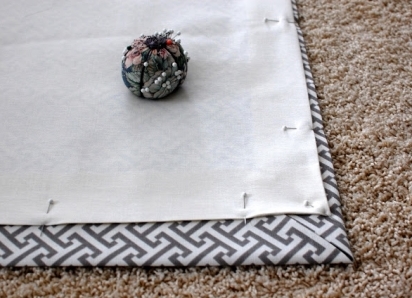
- We fix the main and lining fabrics with pins and sew them on the sides and the bottom.
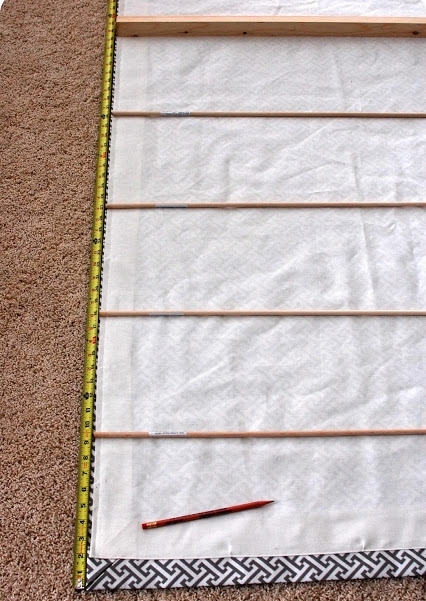
- We distribute the future folds. In order to fold beautifully, it is necessary that the distance between them be 20-30 cm. But the position of the lower rack can be defined as follows: the distance between the folds should be divided in half and added to the obtained number 1. For example, between the folds we will have 20 cm, then 20/2 + 1 = 11. This means that the lower rack must be 11 cm above the bottom edge of the curtain. And the top slat should be about 25 cm from the top of the fabric.
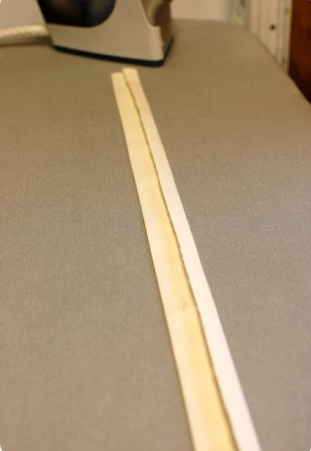
- We make pockets for the rods. Cut the tape width of 7.5 cm, and the length equal to the width of the lining. Folding it together, we smooth the fold. Then bend the lapel by 1.7 cm and also smooth it.
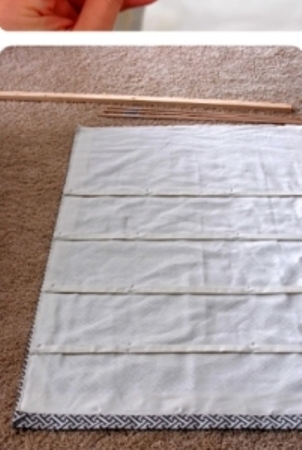
- We lay out the ribbons on the wrong side of the curtains in the places of future folds, pin the pins and sew.
- We insert the rods and the lower rail into the manufactured pockets.
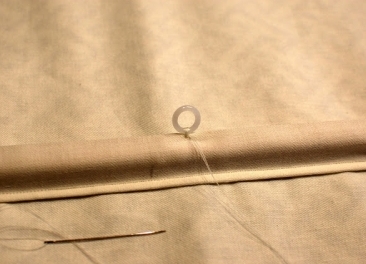
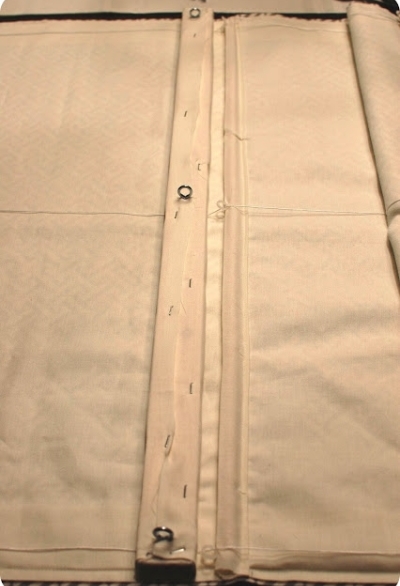
- To the stems, sew three rings: one in the middle and two on the edges.
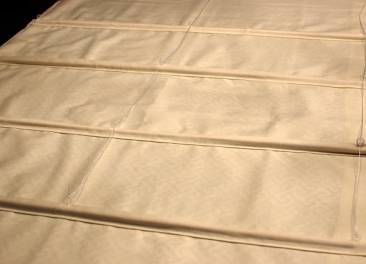
- Cut the cord into three equal parts and tie each part to the lower and upper ring, passing through the other middle rings.
- The upper rack should be shorter than the blind about 1.5 cm. Wrap the rack with a cloth, which is secured with a stapler. Attach it to the curtain and make marks on the level of the three rings.
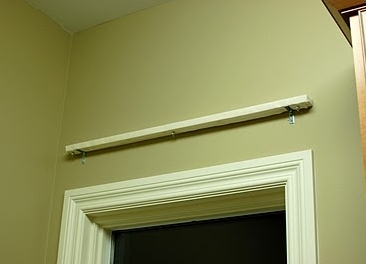
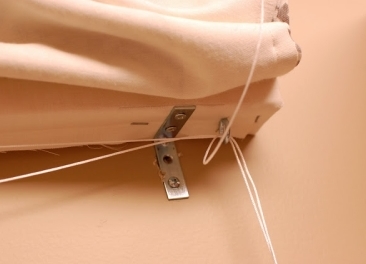
- In the marked places on the rail we fasten three hooks with rings and attach the rail to the wall above the window. The upper edge of the curtain is sewn and attached to the rail by a stapler.
- We pass the cord through the rings in the top rod.
- To the frame on the window we fasten a special hook for the cord, which will keep the curtain in the assembled state. Installation of blinds with your own hands is over.