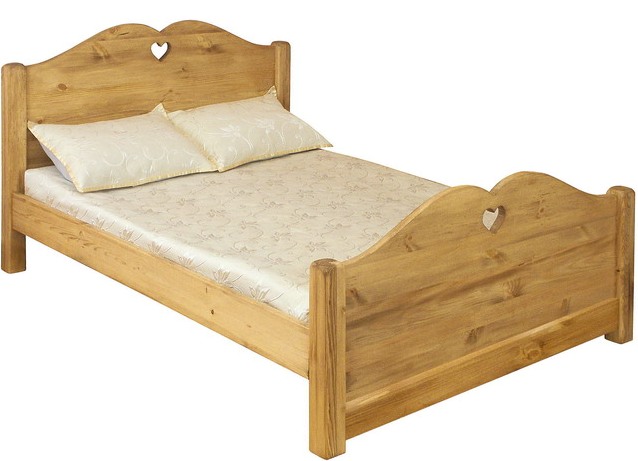
Making a bed with your own hands is quite a troublesome business and requires a certain amount of time, but, undoubtedly, profitable. This product will cost much less than the store, besides, you can make this wooden bed with your own hands, which you want. To work quickly and efficiently, you need to follow a clear algorithm of actions, and everything will turn out the best way.
Step-by-step instruction for making a bed at home
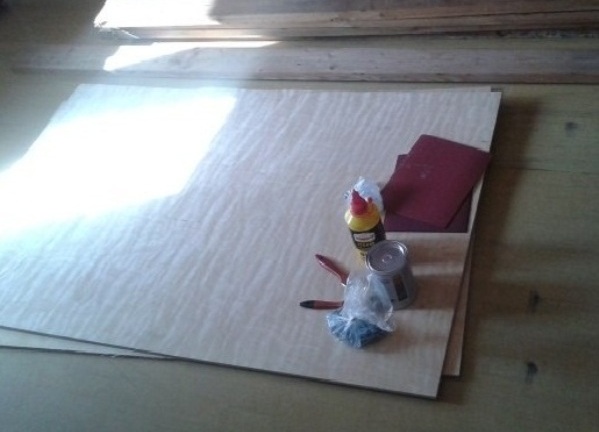
- So, we make a standard bed for one person. To do this, you first need to purchase the necessary materials. It is necessary that at hand was the following: a 120x30 mm floorboard 14 running meters; 10 mm sheet of plywood 2х1,5 m (better 2 pieces); brushes; paint; joiner glue; sandpaper; screws and screwdrivers; corners; hammer and other construction tools.
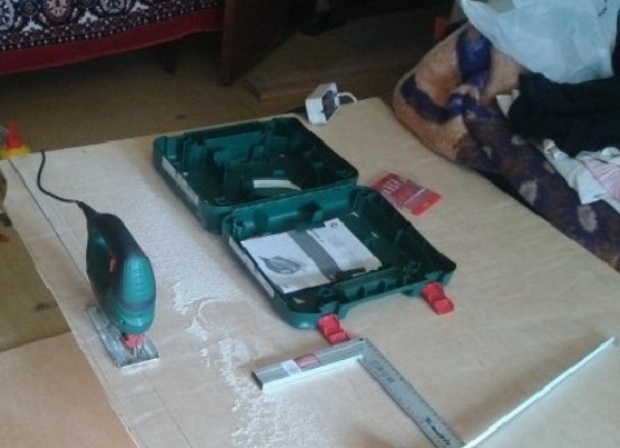
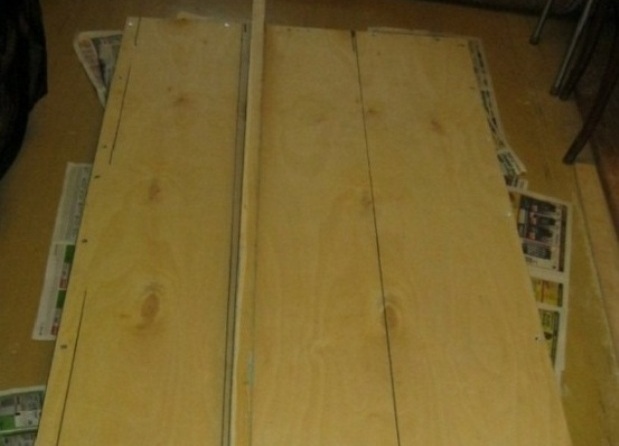
- First, we need to cut out a rectangle measuring 195x92 cm from the plywood sheet. We use a ruler and pen or a felt-tip pen to mark out and saw on the plywood. Wooden beds with their own hands are made solely in the presence of drawings that need to be pre-executed, carefully thought through and calculated. The work is worth doing, starting from the plans and measurements in the drawings. The marking on the sheet of plywood is made based on the initial miscalculations. Next, along the lines we saw, we saw out the basis for the frame.
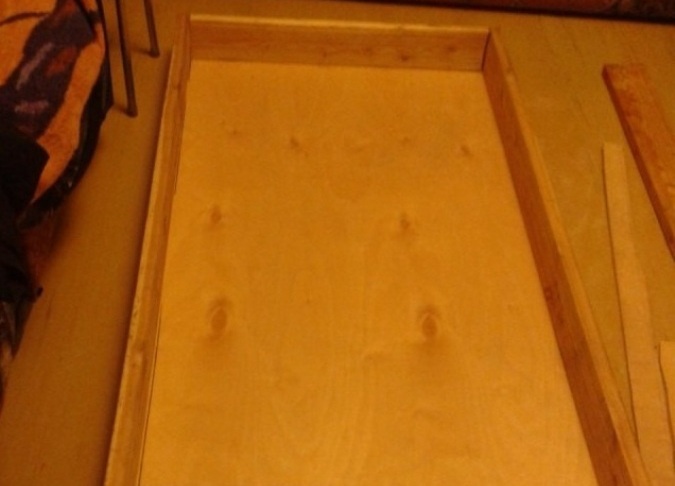
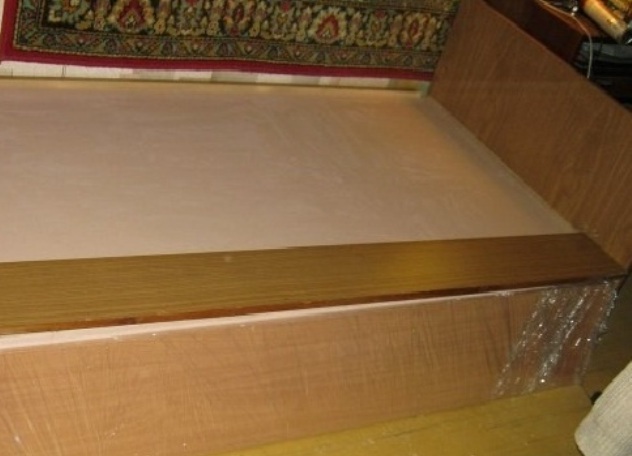
- Proceed to the manufacture of the bed frame. For this, cut off the boards of the correct size. The next thing to do is to fasten the boards to the plywood, using joinery glue and a screwdriver. It should be about such a frame.
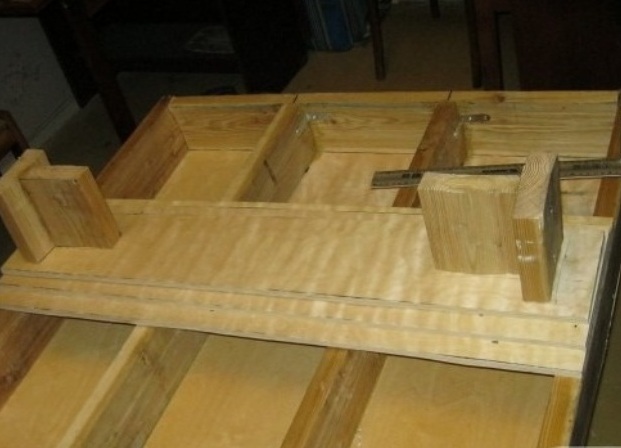
- We plan on the frame of the line, where there will be additional beams. To do this, refer back to the drawing. Correct markup is very important in this kind of work.
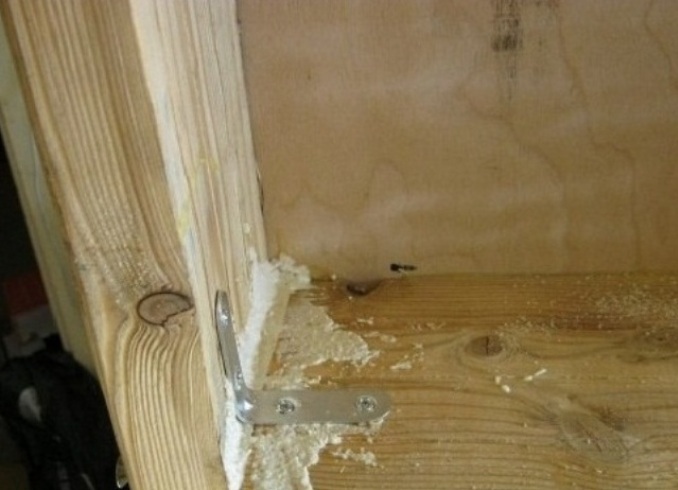
- Further, beams must be attached to the plywood and sideboards with screws and glue, and for the sake of fixing them with corners. In this case, the joints between the plywood and the boards are covered with a mixture of sawdust and glue.
- Let's go to making the legs for the bed. To do this, you first need to make a base of plywood and attach it to the frame. Next, we make the legs from the pieces of the boards and in exactly the same way attach them to the base. We already habitually use glue and screws. That's how the legs of the bed should look like in the end.
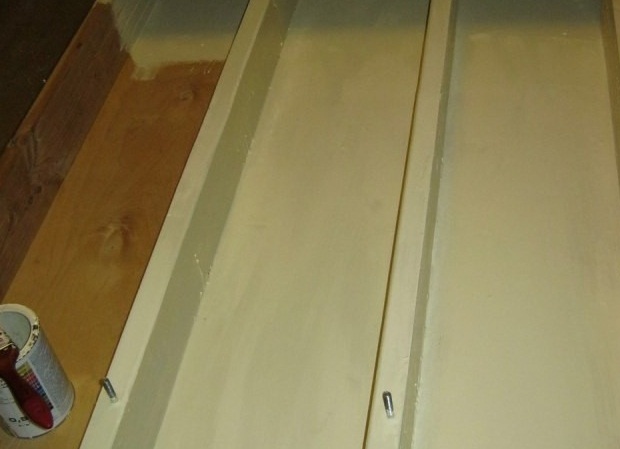
- The next stage is polishing and painting the bed. This will come to the aid of a pre-prepared sandpaper, as well as a can (and maybe not one) of paint and a comfortable brush.
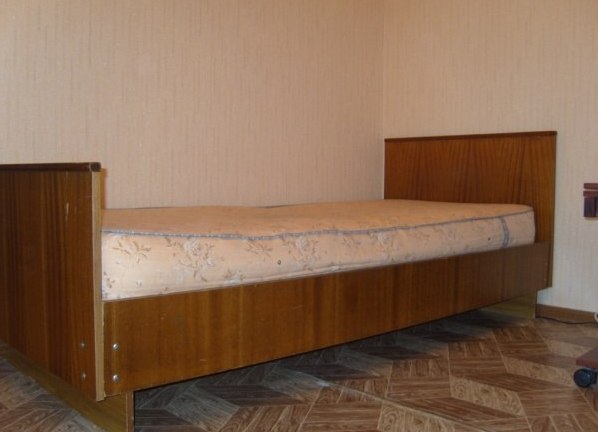
- Next is to attach the sides and backs of the bed to its frame. We do this work all the same with the help of screws, building glue and corners. You need to act carefully, because the bed is already painted.
- The wooden bed is ready. You can put a mattress on her and calmly sleep on it.
Of course, the cost of the bed will depend directly on the materials used. For example, here we describe the manufacture of this product from a sheet of plywood and floorboards. You can also make a bed entirely made of natural wood, it will look just chic. However, the cost of such a piece of furniture is high, so that savings here do not work out. If nevertheless a preference is given to the tree, you should carefully choose it. The main criterion - raw materials should be very well dried, otherwise the bed may deform with time.
Experiment, create, and you will succeed.