Repair in a house or apartment is a real disaster! And if with the design of the walls there are no special problems, then there is a lot of trouble with the ceiling. The main difficulty arises with its alignment. To make everything perfect, you'll have to call the masters. And the most offensive, that in a few years it will have to be re-done.
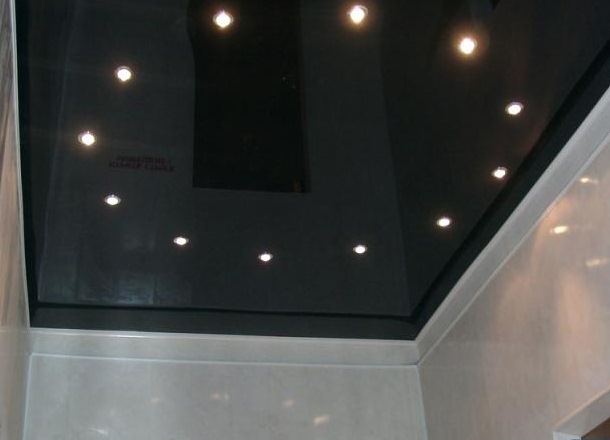
But today there was an alternative to frequent repairs - installation in your home or apartment stretch ceiling . This type of ceiling design is distinguished by its beautiful appearance, ease of care, relative simplicity and cleanliness of the installation. Unlimited choice and color solutions for stretch ceilings.
This work is, of course, quite costly. But this is the case if the installation team will deal with a team of professionals. However, if you have special equipment, as well as some knowledge and work skill, you can mount a stretch ceiling with your own hands.
We make the stretch ceiling with our own hands
For work we need such materials and tools:
- a heat gun and a gas cylinder;
- perforator or drill, hammer, screwdriver;
- laser level, sharp knife, blade of thick stainless steel;
- self-tapping screws or dowels, 4 clamps in the form of clothespins;
- fixing profile, the length of which should be equal to the perimeter of your room, it can be plastic if the walls are uneven, and aluminum for more or less even walls;
- vinyl film stretch ceiling.
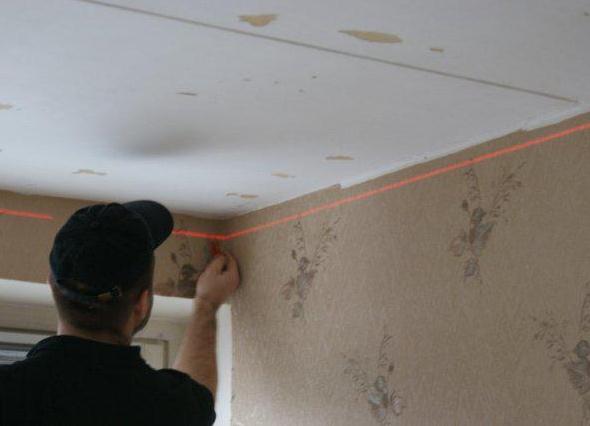
- Before you begin work on installing the stretch ceiling with your own hands, you need to change the wiring if necessary, prepare a foundation for future lamps. Now it is necessary to draw a perfectly flat line on the wall under the ceiling with the help of the level, along which we will fasten the profiles.
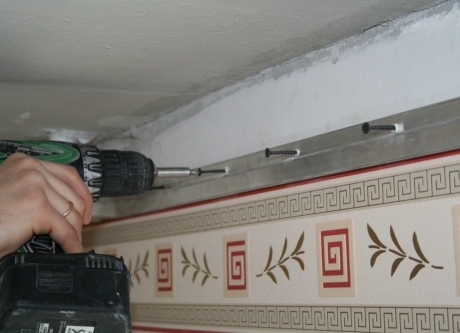
- The next stage of the work will be the installation of profiles to the wall. Focusing on the line, using screws, we attach the profiles to the wall. For convenience, the profiles can first be glued to the wall. Make sure that the screws do not sit very close to the edges of the profile. The step between the fasteners should be no more than 8 cm.
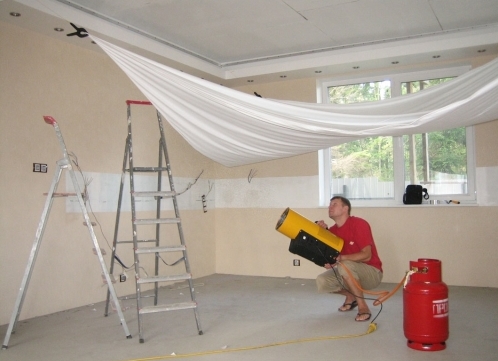
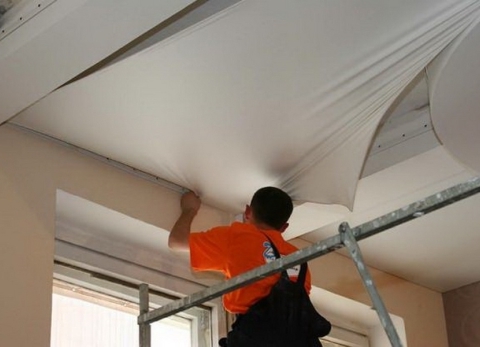
- It was the turn of the direct installation of the stretch ceiling. Wash thoroughly and dry the floor in the room. It should not have any sharp objects that could tear the film. Now it is necessary to warm up the room well, using a heat gun. The temperature in the room should reach 40 ° C, and only after that you can pull the canvas. First we need to fix the film to four corners: fix the film with a special clothespin in one corner, then fasten it in the opposite corner, without forgetting to warm it well with a gun at the same time. We also do the same with two more corners.
- We fix the sheet in the profiles. Continuing to warm up the canvas in one of the corners, unfasten the clothespin and with the help of the spatula carefully insert the film into the profile on each side of the corner by about 10 cm. Now we do the same on the opposite corner, and on the other two.
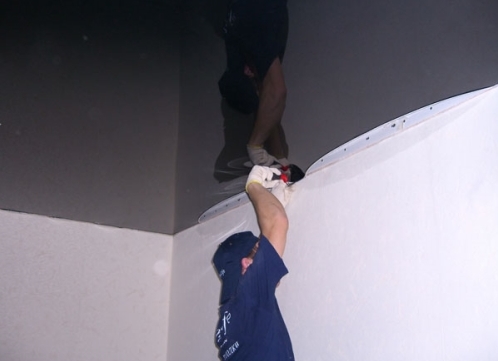
- After that, starting from the middle of either side, we fill the film with the same profile on both sides for the same 10 cm. We do exactly the same on the opposite wall, and on the other two. Then we select the middle of the free sections of the film and fill their midpoints. Thus, the circle closes, and all the fabric of our stretch ceiling will be tucked under the profiles.
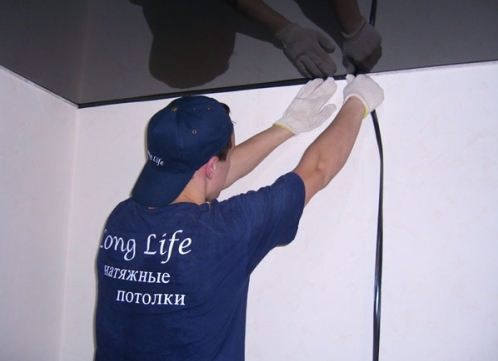
- Now you can turn off the heater and within 30 minutes the room should gradually cool down with closed windows and doors. At this time, the canvas will cool and become smooth and even. It remains in the grooves of the profiles to insert a special rubber molding, which will hide the places of joining the film with the wall. Now you can attach the fixtures, and the installation of the tension ceiling with your own hands is finished.
As you can see, it's quite possible to make a stretch ceiling with your own hands, although not quite easily.