Fashionable among Hollywood actresses in the 20's, the lunatic manicure again won the hearts of girls in 2009 with the light hand of the fashion house Dior . In the twenties, the girls preferred not to paint not only the lunula (the area at the base of the nail), but also the jacket (free edge). In the 30's, this manicure became more strict - not only the lunula was painted over.
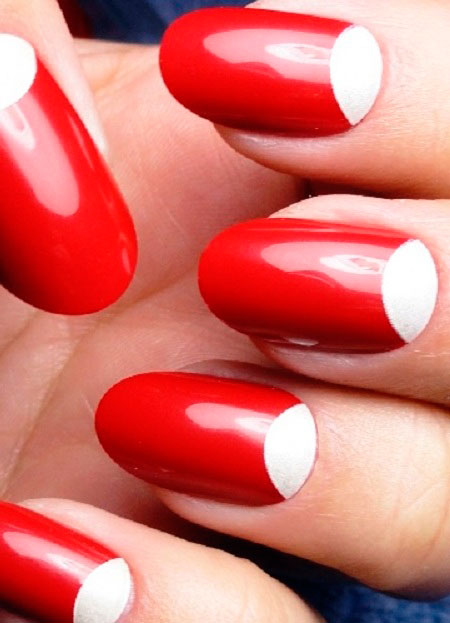
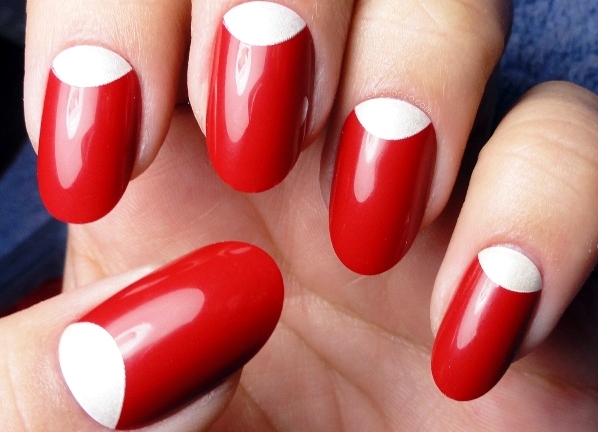
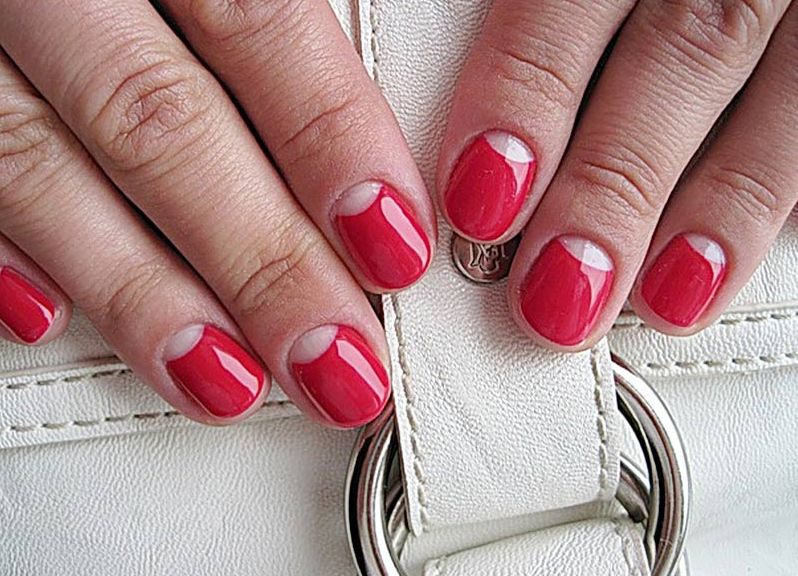
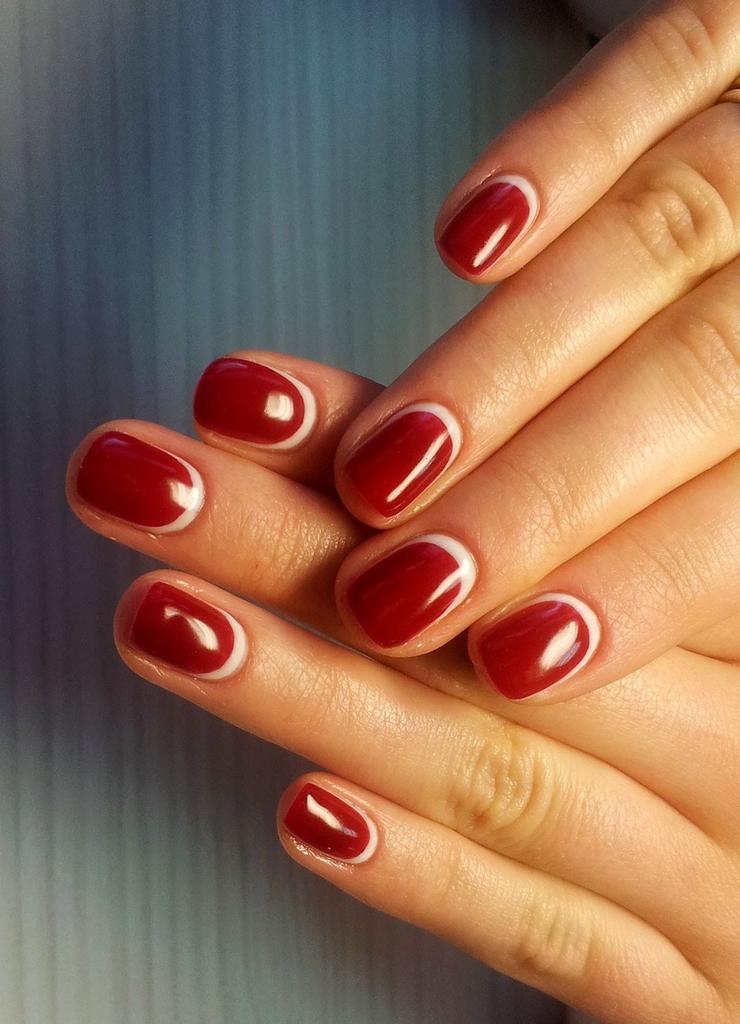
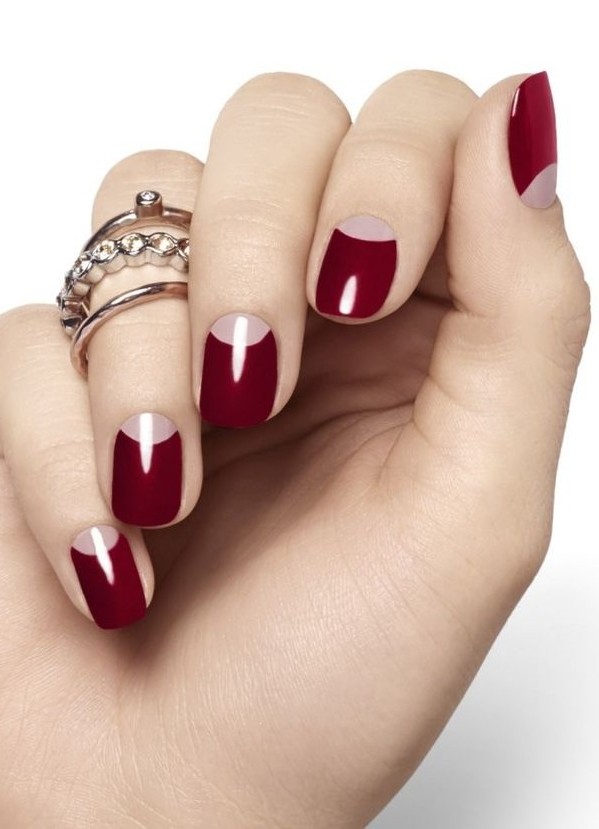
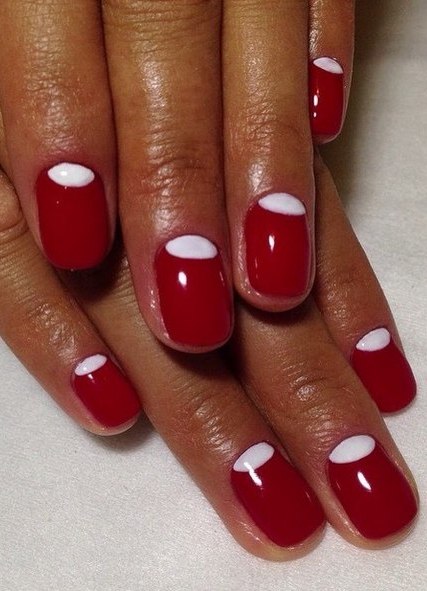
Red moon manicure with white lunula
A classic vintage moon manicure is a red nail with an open lunula. It can also be painted with a clear or white lacquer. The combination of red and white is considered one of the most advantageous options. To make such a manicure at home is not difficult:
- Treat the nails - give them the necessary shape with a saw blade and remove the cuticle in a way that is familiar to you.
- Degrease and apply a base.
- Paint the nail with a white or transparent varnish, and after drying it, gently stick special stickers (stencils) on the area of the lunula. Apply a nail polish on the nail plate. If you decide not to paint the lunula completely, then stick the stickers right on the base layer. If desired, the crescent can be either convex or concave.
- After a few minutes, when the red varnish dries, carefully remove the stickers and apply a top layer.
If for some reason you did not manage to buy stickers, or you are sure of the hardness of your hand, you can make a red moon manicure without a stencil:
- Also, as in the first case, apply to the treated nails base and wait for it to dry.
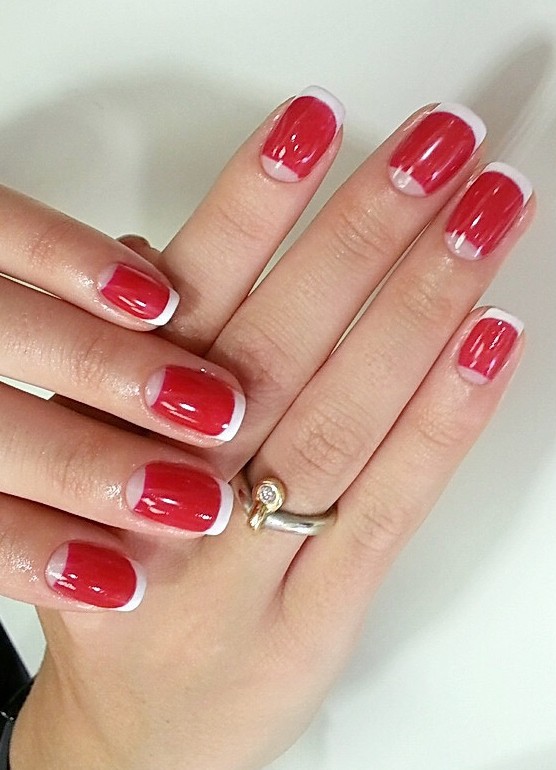
- For a manicure with a colorless lunula: a thin brush, draw the border of the lunula, and paint the rest of the plate with a red lacquer. After it dries up, apply a base coat to fix the varnish.
- For a manicure with a white lunula: just completely paint your nails with red lacquer, and when they are completely dry, apply a white lacquer on the area of the lunula with a fine brush.
If you want the beauty on the nails to stay longer, use modern gel-lacquers. True, they are more expensive, but they last 2-3 times longer.
| | | |
| | | |
Lunar manicure with red lacquer - how to diversify the classics
Even in the classical style, you can always add a holiday, which we so often do not have in everyday vanity. Here are a few ways to improve the classic lunar manicure on red nails:
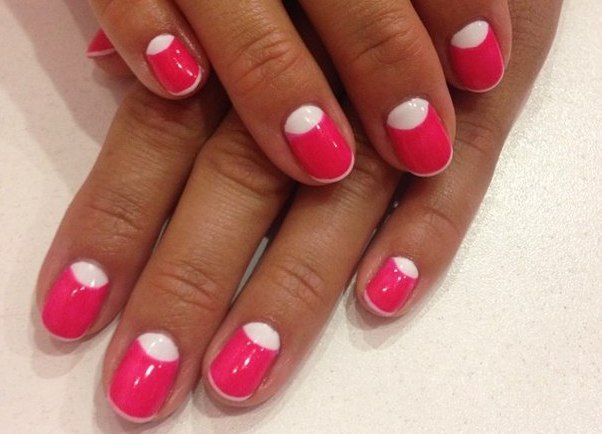
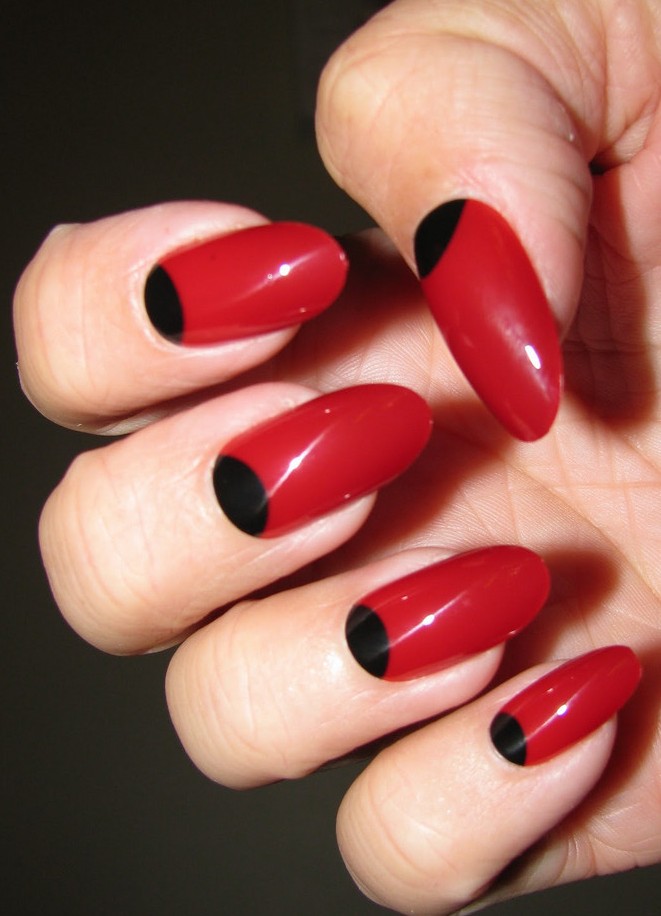
- Lunula can be distinguished not only by white color, but also by any other. The main thing is that it contrasts with the red, that is, it does not merge. For example, a red-black moon manicure will always look stylish, because this is a classic combination of colors.
- It is not necessary for the lunula to be strictly oval in shape - it can be triangular, square or in the form of the letter "W".
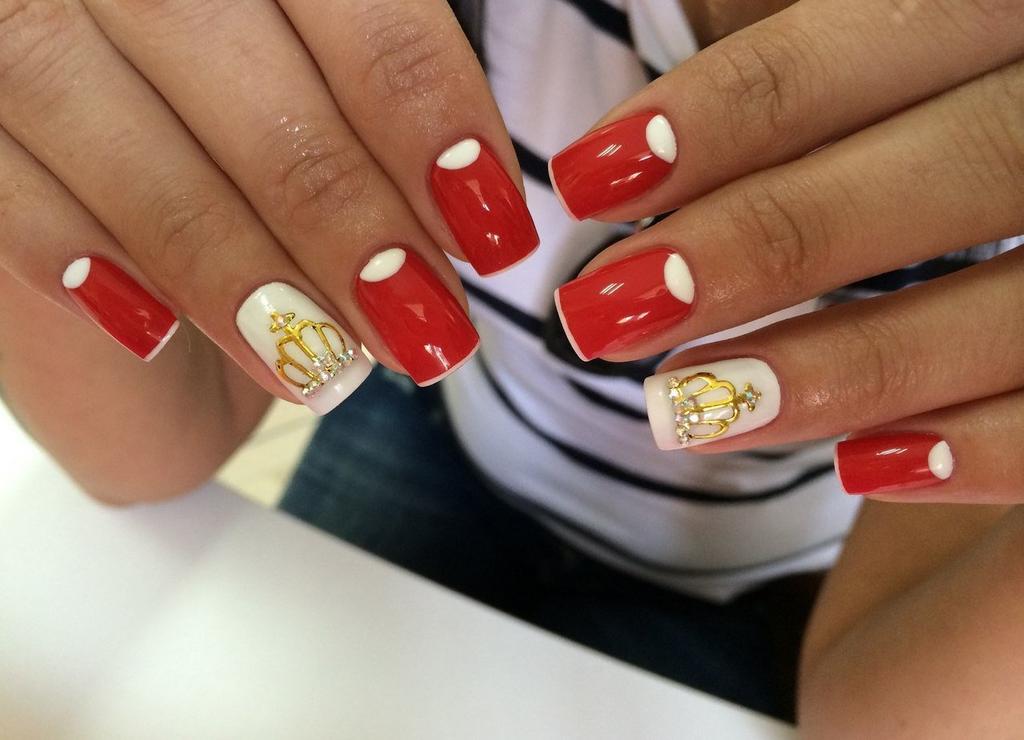
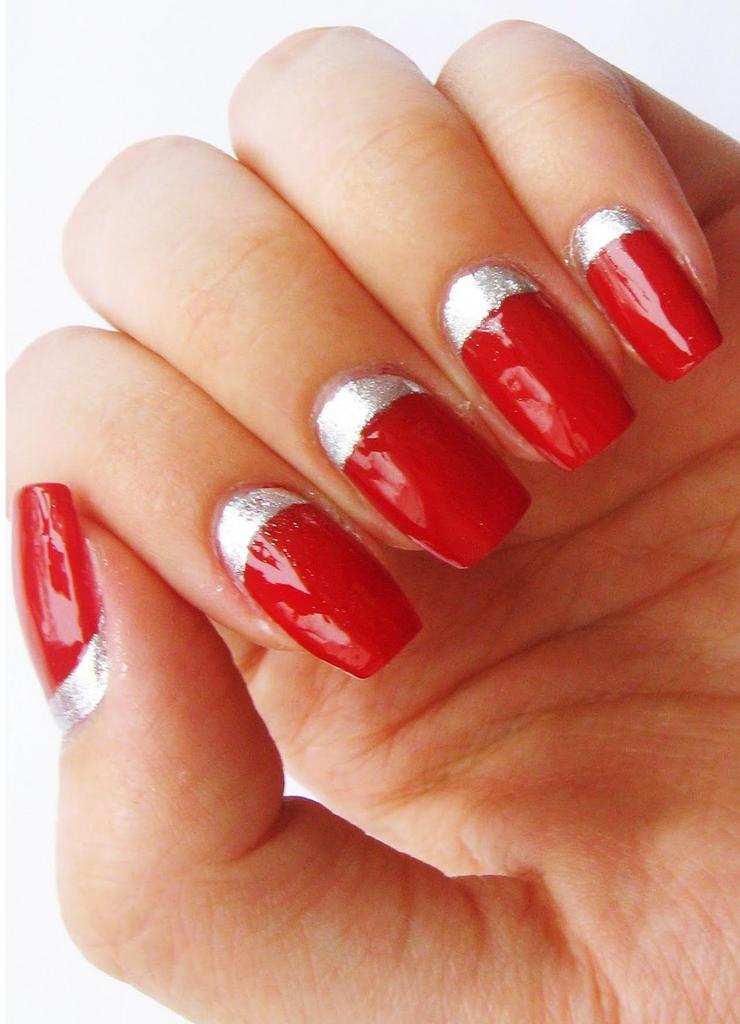
- Red moon manicure with gold on the lunula is an ideal option for an evening celebration.
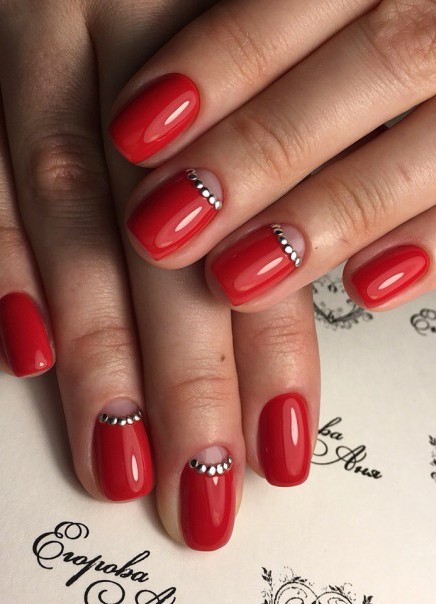
- Red moon manicure with rhinestones is suitable for both celebrations and everyday life. Attach a few rhinestones on the dried lacquer with the dots or conventional tweezers, and from above necessarily apply a topcoat so that the decorations do not fall off at the most inopportune moment.
3 tips for creating a lunar manicure on red nails:
- Lunar manicure is ideal for medium length nails. If your nails seem short, just make a crescent smaller.
- Apply two layers of red lacquer - so the color will be juicier and create the desired contrast.
- Do not apply volumetric decor elements (for example, rhinestones) to all nails at once - this may look alapisto. It is enough to select one or two fingers.
| | | |
| | | |
| | | |