What unites young parents, adherents of a healthy way of life and fans of culinary experiments? Of course, the fact that all of them in the household simply need a device for quick grinding food. But whichever firm would be purchased blender - Bosch, Redmond, Vitek, Polaris or Braun - with time, there will certainly be a question how to disassemble it. We will try to solve this rather difficult problem together.
How is the submerged blender?
The design of a hand-held or, as it is also called, submersible blender is as simple as possible - the engine, control system and nozzles. The working elements are hidden in a plastic or steel body in a streamlined form. The most common reason that the device flatly refuses to perform immediate duties is the failure of one of the elements of the control system or burnout of the engine. In most cases, the appearance of any of the faults has one logical conclusion - the acquisition of a new device, since the repair is not rational. But if there is a certain knowledge of electrical engineering, a minimum set of tools and a desire to tinker, then it is quite possible to try to disassemble and repair the submersible blender yourself.
How to disassemble a Vitek blender?
Most models of Vitek submersible blenders have the appearance of an all-molded part with a non-removable ring in the base, which can not be disassembled without disruption of integrity. Therefore, it is necessary to act as follows: carefully poke a thin screwdriver under the ring holding the nozzles, and moving around in a circle, gently break through the place of gluing. After that, pull the ring down and detach it from the rest of the casing. Thus, the body breaks up into two parts, which you can then try to glue together.
How to disassemble a Redmond blender?
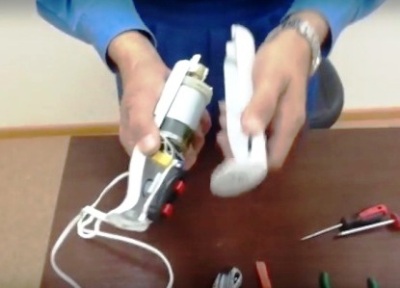
In blenders Redmond the case consists of two halves, fastened by screws. The sequence of disassembly in this case is as follows:
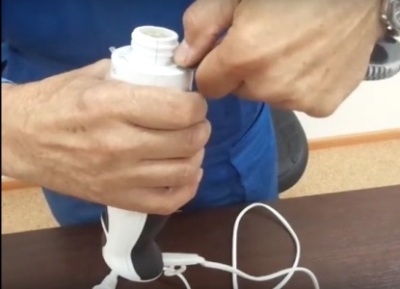
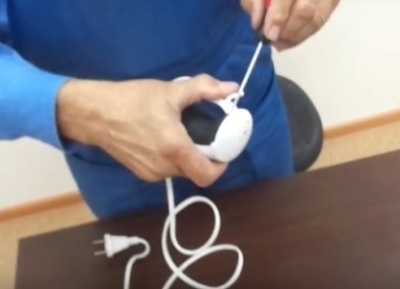
- Remove the nozzle and use a clerical knife to carefully remove the protective ring in the base.
- With a thin screwdriver, the underlays have an overlay of contrasting color, located at the top of the blender.
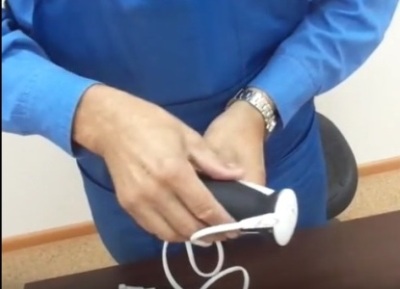
- Remove the overlay, sliding it towards the base of the device.
- We find the connecting screws under the cover and twist them.
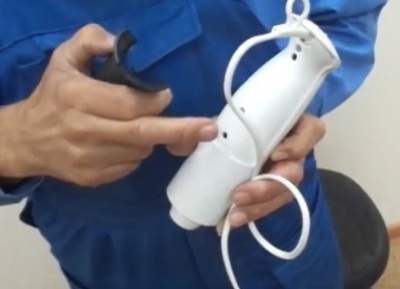
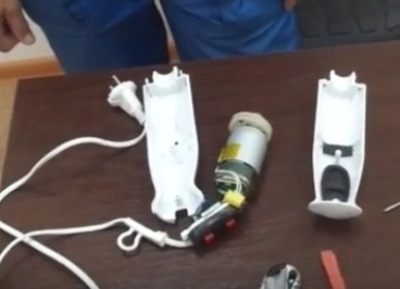
- We disconnect the two halves of the case.
- In disassembled form, the blender looks like this: