Many people do not go into the question of why a waterproofing of the floor in the bathroom is needed. But after all, saving often leads to big losses. Accidental flooding of the room becomes a real disaster for your own home, and for neighbors who are from the bottom. A damaged valve of the washing machine or a faucet leads to a cash loss far exceeding the cost of waterproofing. In addition, moisture can be attracted to your housing from under the floor from the bottom, from the basement or the basement .
How to make a waterproofing floor in the bathroom?
- First, the surface of the floor should be primed with a composition of deep penetration. This simple operation will help you save on putty, sealant, paint. The primer protects well against rapid drying of the floor, preventing crevices or detachments from forming. The next step after priming, you can go after 10 minutes.
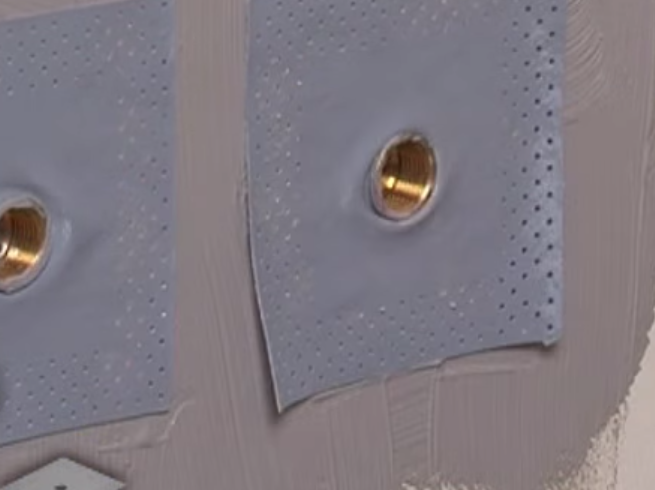
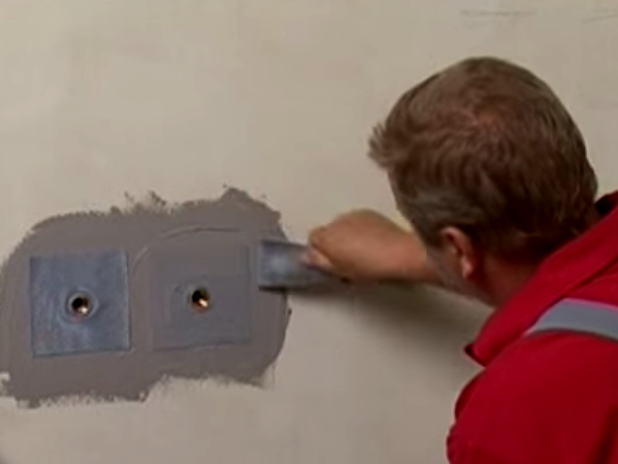
- In the outlet to the outside of the water pipes, it is better to install special flexible elastomeric gaskets. The floor or wall under them is treated with a waterproofing compound.
- Then, with the same solution, we cover the sealing patches on top.
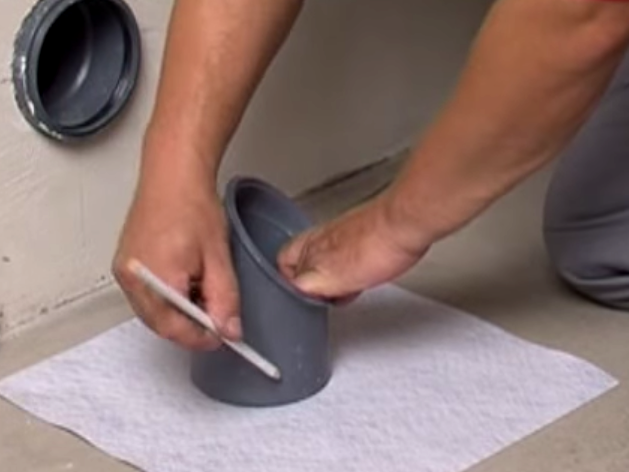
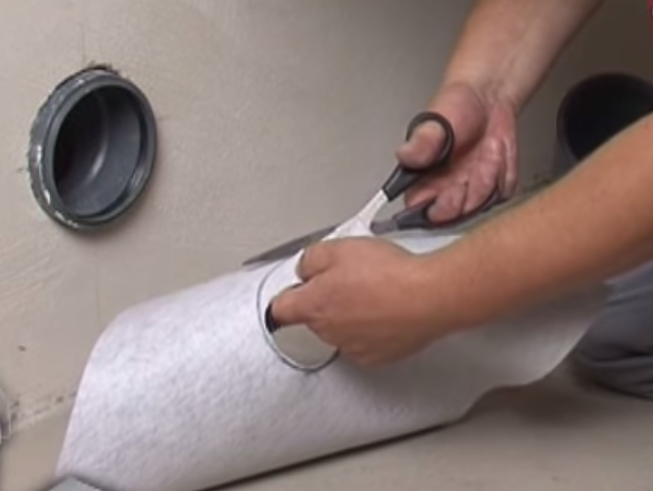
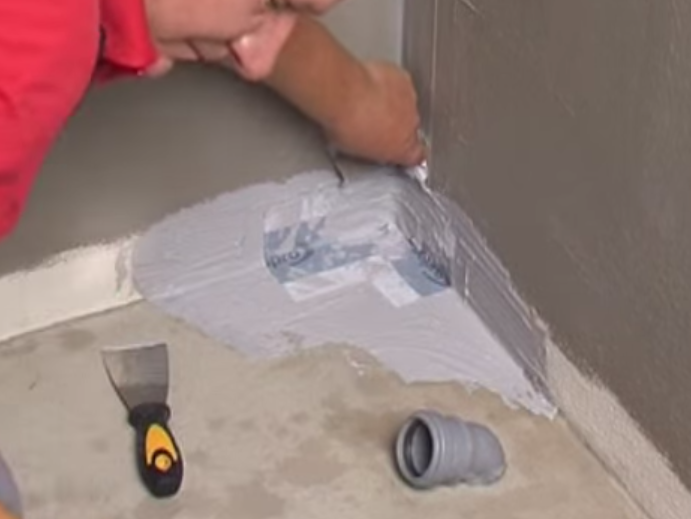
- There are sealing materials for the floor, which are well suited for surface treatment near sewer pipes. First, mark the hole under our pipe, attaching it on top of the patch.
- Cut out the circle carefully, so that its size is a little less than the diameter of the pipe.
- We process the wall or the floor in the place of the outlet of communications with a waterproofing solution.
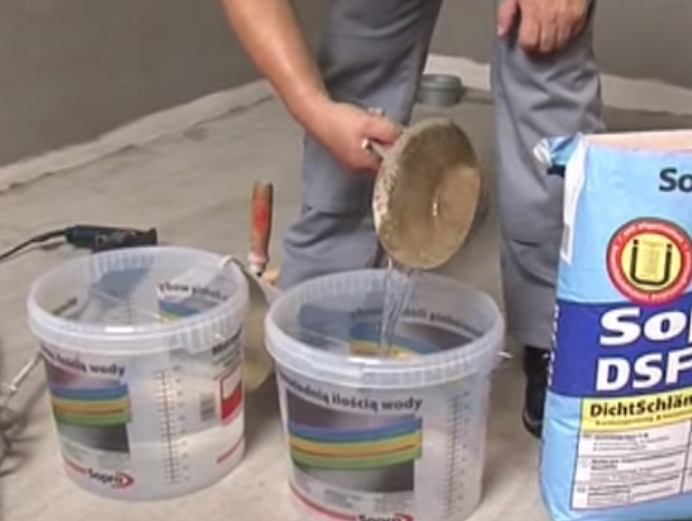
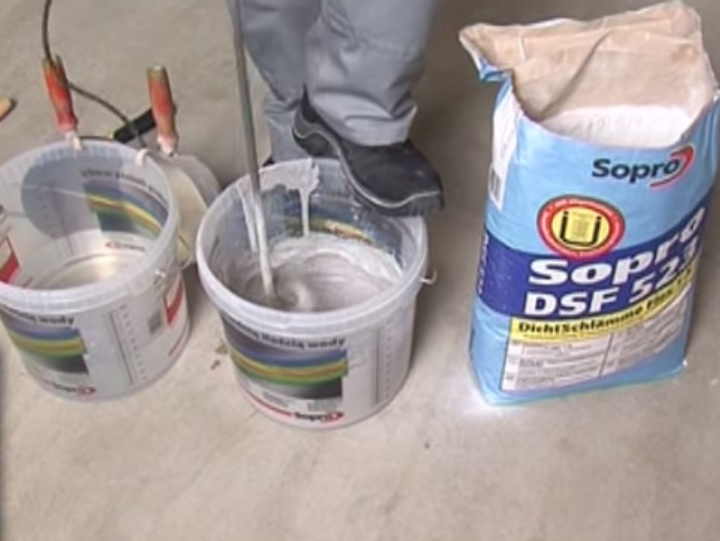
- We prepare the working solution for the floor. Dilute the composition with water, following the instructions. We used a high-quality flexible waterproofing Sopro DSF 523 based on cement.
- Beat the mixture with a mixer until it is ready.
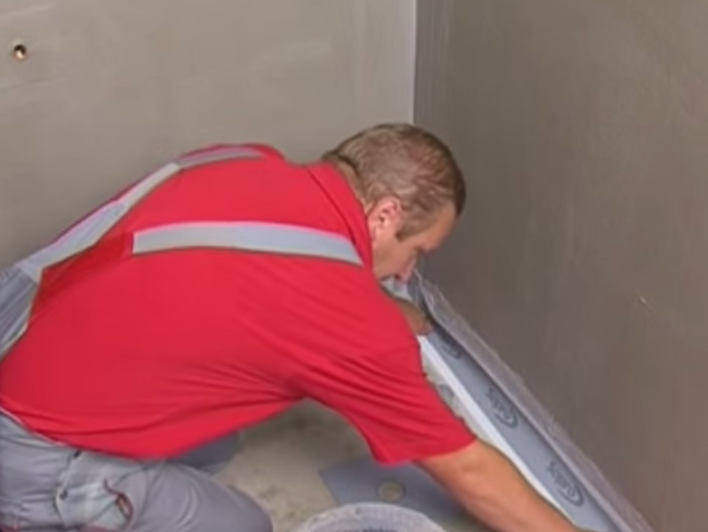
- Waterproofing the floor in the bathroom consists of several stages. First glue the sealing corner.
- We connect the corners with sealing tape.
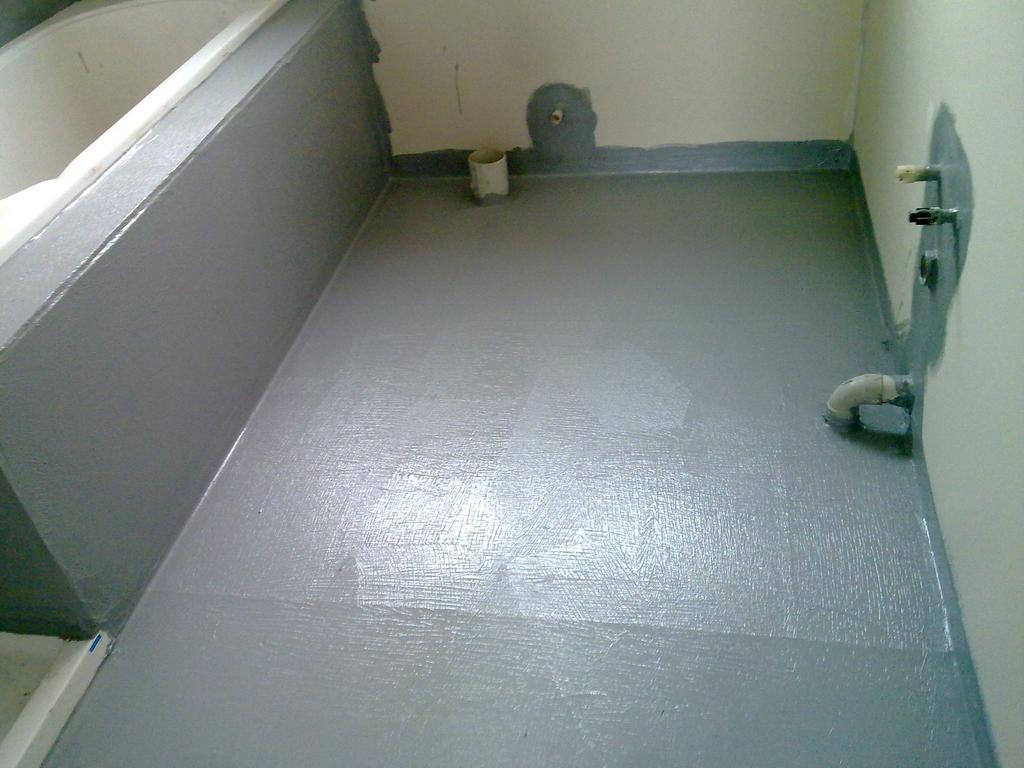
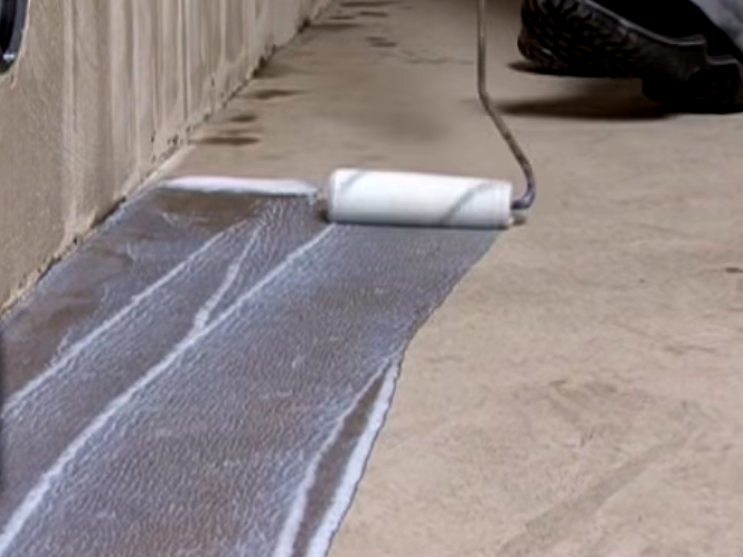
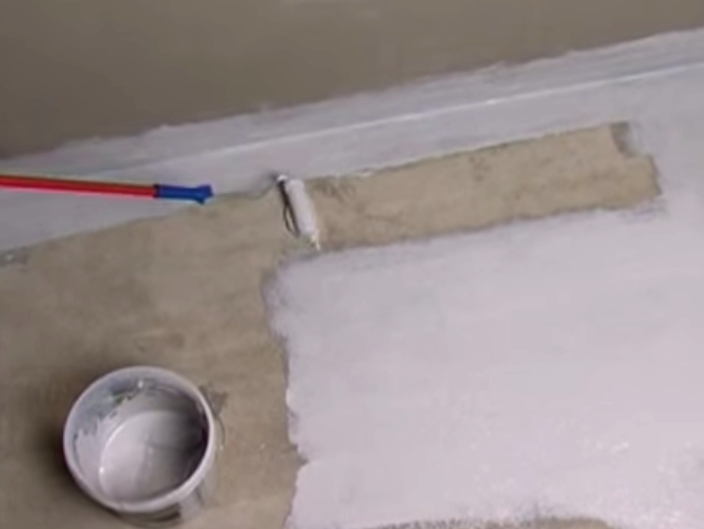
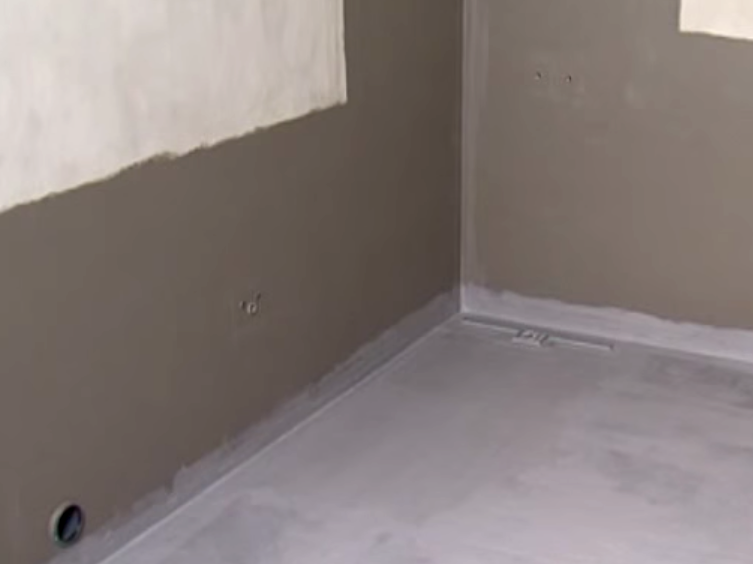
- We put the first layer of waterproofing mortar on the floor. This can be done with a spatula, roller and other tools. After 3 hours, we apply a second layer of waterproofing.
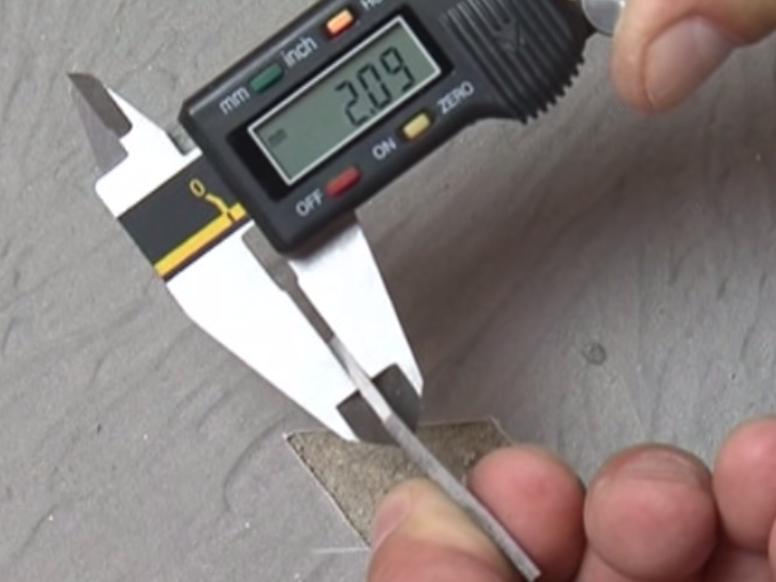
- If the work is done correctly, then after drying, a strong film with a thickness of 2 mm is formed.
- The works are finished, you can glue the tile on top or lay another floor covering. We hope that you understand from our instructions how to properly waterproof the floor in the bathroom.