Make an extension to the house is not so simple, but following simple advice, in a short time you will be able to transform your dacha . Reserve time and building materials. You can build an open or closed veranda . The latter has glazed windows. In the open model, the upper half of the walls will be absent, the roofing part rests on the beams. We suggest to consider this option.
How to build a veranda with your own hands: get down to work
The optimal size of the extension is 3x4 m. It is important to think over the structure in such a way that it harmoniously blends with the house itself. If the house is built of bricks, you can quite make a veranda of wood. If the brick is ordinary - the tree can be darkened, if the brick is silicate - paint the extension in white, for example.
Let's start the work:
- First of all, you need to clean the area of debris and demolish the previous extension: remove the slate, disassemble the racks.
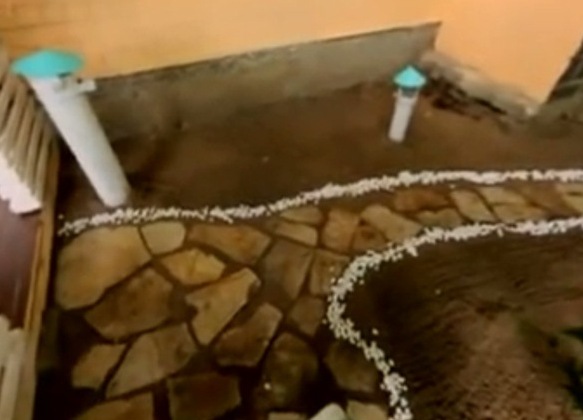
- If you want the construction to stand for many years - pay special attention to the foundation. In our case it is appropriate to fill in the columnar foundation. For this, a small "wooden formwork" with 4 bayonets is made, which is inserted into a dug hole. In the middle you need a welded reinforcing cage.
- You will need a small concrete mixer. The volume of the solution will be small. The verandah itself will be light, as it adjoins the house. The load on the foundation will consist only of a roof, vertical racks and horizontal wooden plating. Concrete is poured into the pit with a reinforcing cage.
- Now you can start building racks 100x100 mm. For the rigidity of the construction we attach them to the walls of the house on anchor bolts, on the other hand there will be braces.
- Racks can be fastened in the usual way, but it is possible to make special holes where the dowels will then be driven in and the next element is "planted".
- When the vertical part of the frame is ready, proceed to the horizontal - to the roof.
- The rafter part of the roof is covered with planed boards 100x25 mm by the method "in the joint". Fastening is made by nails.
- The roof of the veranda is run to the old roof, so that in the future there will be no leaks. When installing, you can not do without a hydraulic barrier, which is attached to the boards by a construction stapler. Then the final roofing will follow.
We have:
How to make a veranda yourself: finishing work
- There are many ways of skinning with wood. You can make this joint in a joint, obliquely, across. However, if you want to leave a maximum of air in the veranda so that it does not get too stuffy in the heat, then you can fix the bars at a distance of several centimeters from each other. Windows should not be glazed. Fastening is made by screws.
- The frame is completely ready, now proceed to finish the walls and floor. Do not forget about the lighting. If the walls are brick, you can paint them. Add a creative decor, for example, wooden shutters.
- The floor in the veranda should be practical, so it is better to cover the wooden base with stain, then with varnish.
- If possible, draw the water to the extension. Working area will allow to wash vegetables, prepare dinner. As for furniture, it can also be wooden in the tone of the extension itself. In our case, the lining was painted white. Ordinary benches and a table perfectly fit in the interior: it's functional and practical. Bring a path to the veranda from the slate.
| |
| |
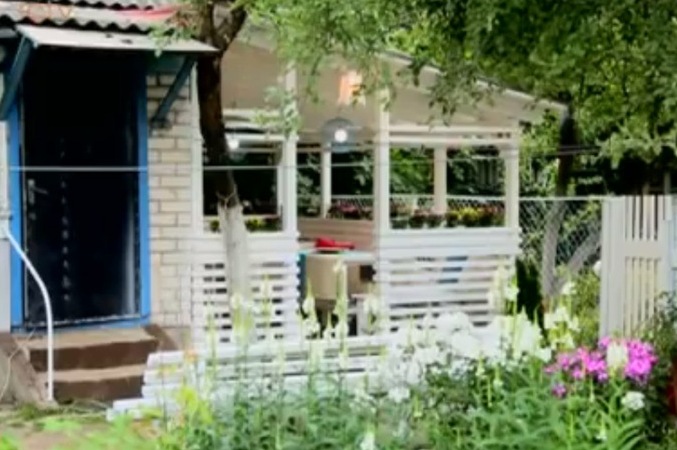
The veranda, attached to the house with your own hands, is finished. You can only enjoy the result of your efforts and warm evenings.