When it comes to repairs in the bathroom, the last thing we think about is the ceiling. It should not only be beautiful, but also reliable, and that is why today it is very convenient to use lath ceilings to finish its decoration. They are not afraid of temperature changes, constant steam, high humidity and, as a consequence, condensation, which prevents reproduction of such damp lovers as fungus and mold.
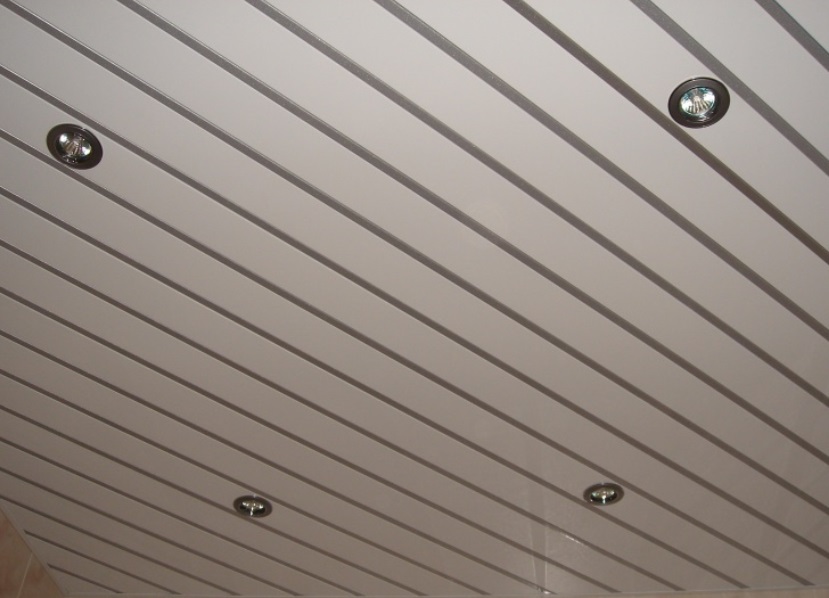
In addition, the ceilings are also a wonderful decorative element. Chromed, mirror, perforated and matte surfaces give the bathroom a special mood, under them you can hide all the unevenness of the ceiling and hide the communication.
Strange as it may seem, it's easy to install a rack ceiling. If you have ever watched the work of a master or tried to do it yourself, then you will certainly succeed.
In our master class, we will show you how to install a metal rack suspended ceiling with your own hands. This material gives the bathroom more chic and shine without harm to health, and besides, metal bars last much longer than plastic ones.
So, to make a lath ceiling with our own hands, we need:
- rails;
- spot lights - 9 pcs;
- perforator or drill;
- scissors for metal;
- screwdriver;
- laser level;
- a felt-tip pen;
- guide profile (corner);
- roulette;
- stringers;
- self-tapping screws;
- dowels;
- crown.
Installing the lath ceiling with your own hands
- We determine the height of the lowering of the ceiling, taking into account the size of the fixtures, which will then be built into it. From the calculation: the length of the luminaire + 1 cm, in our case we let the ceiling by 13 cm.
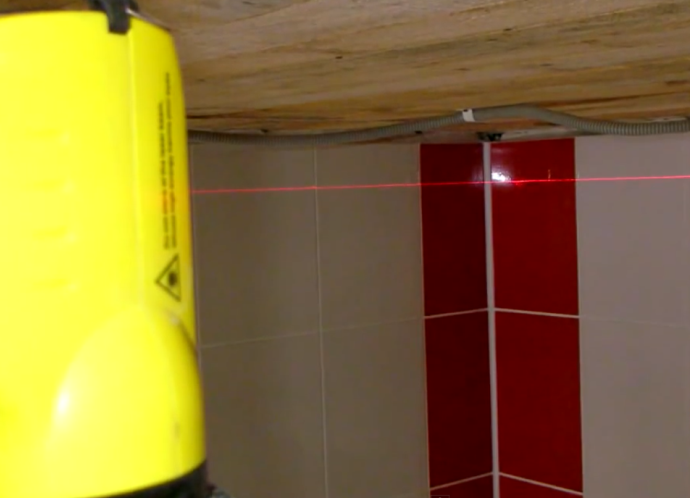
- We set the laser level, turn it on and draw a straight line along the perimeter of the bathroom with a felt-tip pen.
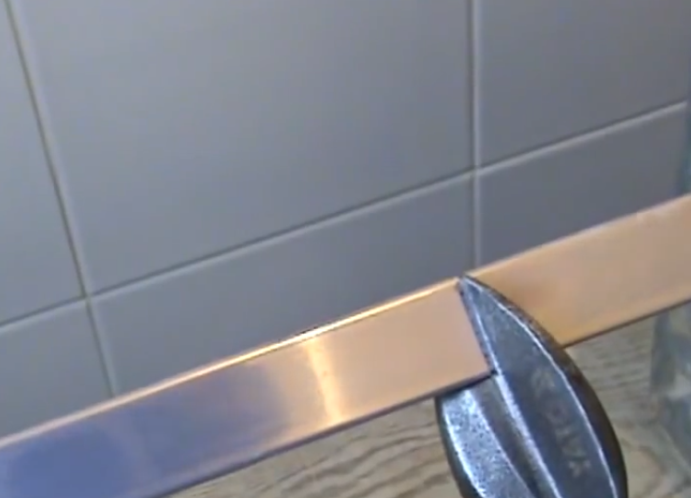
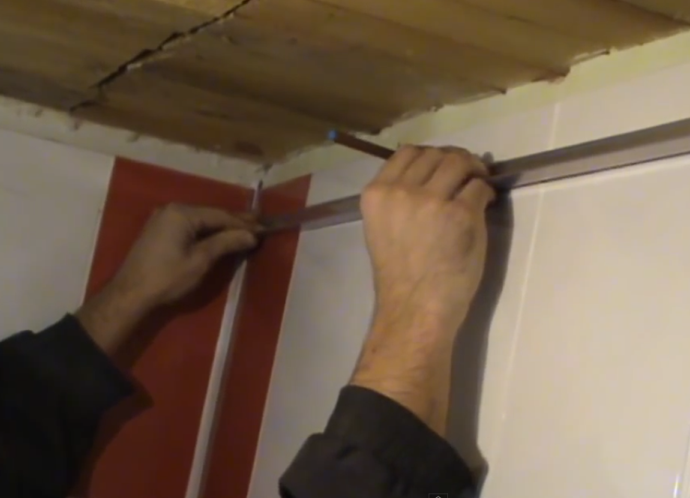
- We measure the sizes of walls by a tape measure and scissors on metal we cut off necessary length of a directing angular profile.
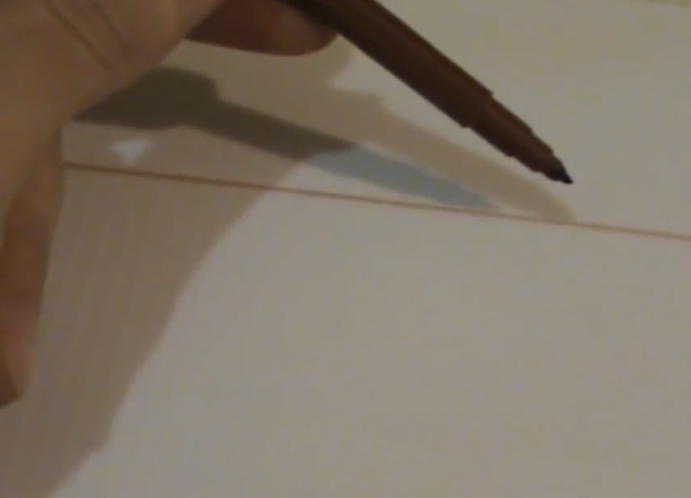
- We attach the profile with a wide side to the wall at the marked level and a felt-tip pen making marks with an interval of 40 cm. It is important that the mark does not fall on the joint of the tiles, otherwise they will be broken after drilling.
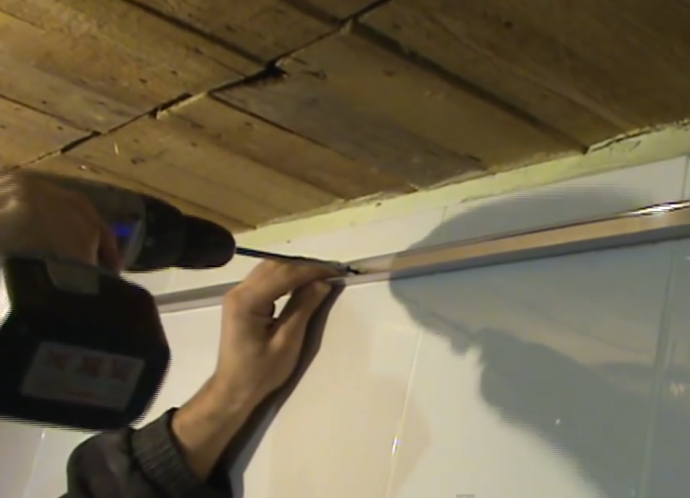
- Drill drill to mark the hole in the corner.
- We put the corner to the wall and again mark the points where we will mount it with screws to the wall.
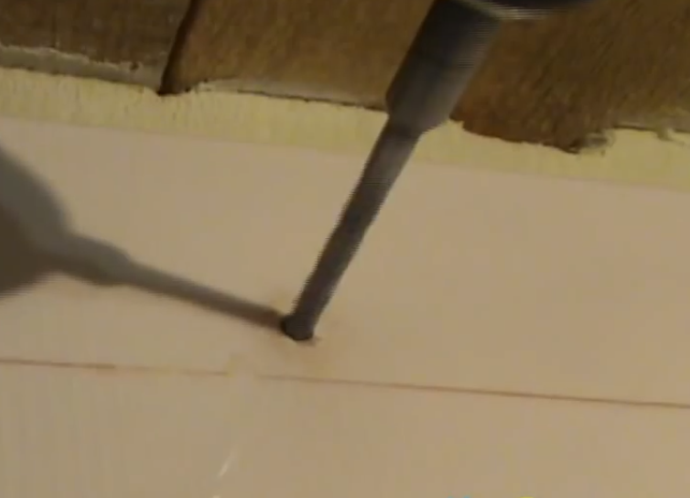
- Drill a diameter of 6 mm drill holes in the wall on the marks.
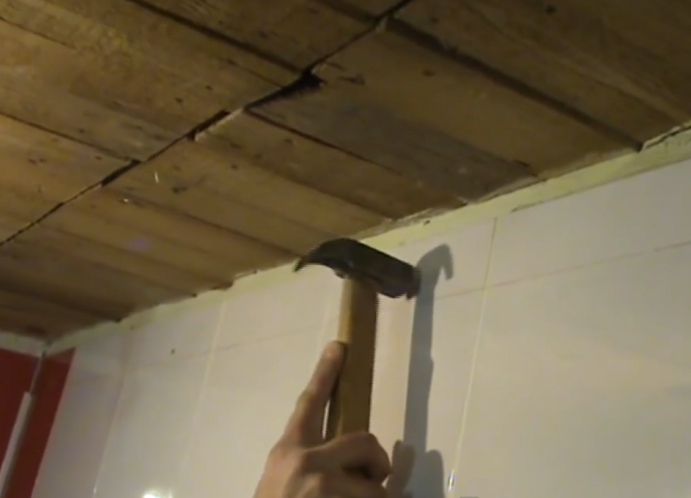
- We hammer into the holes of the dowel with a hammer and twist the screws in them. Corner is attached around the perimeter of the bathroom.
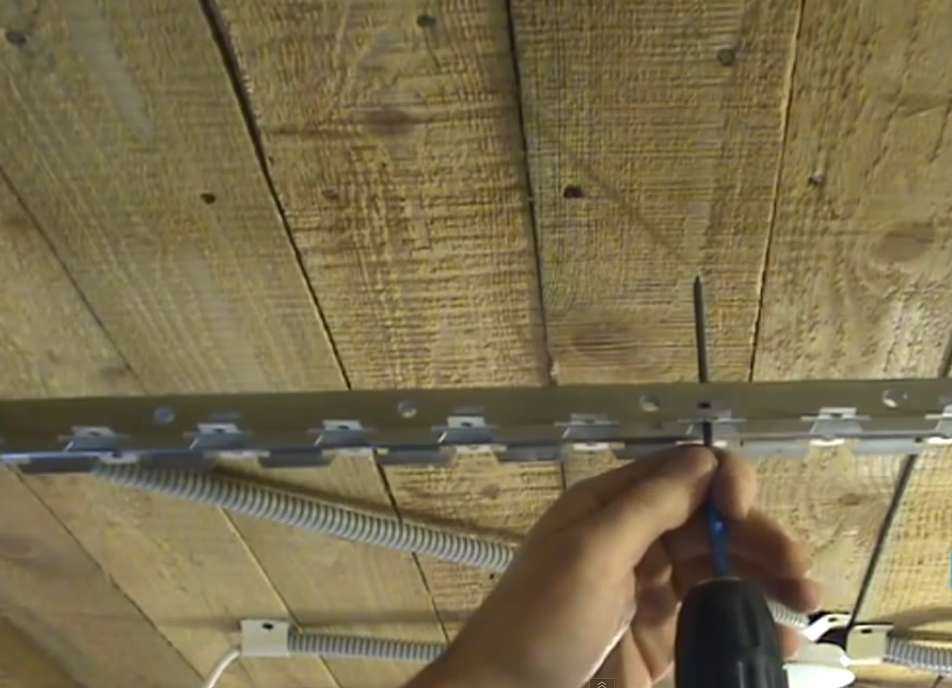
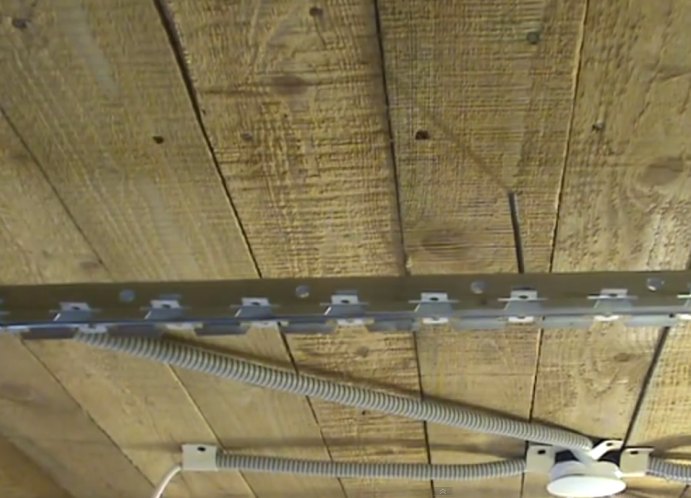
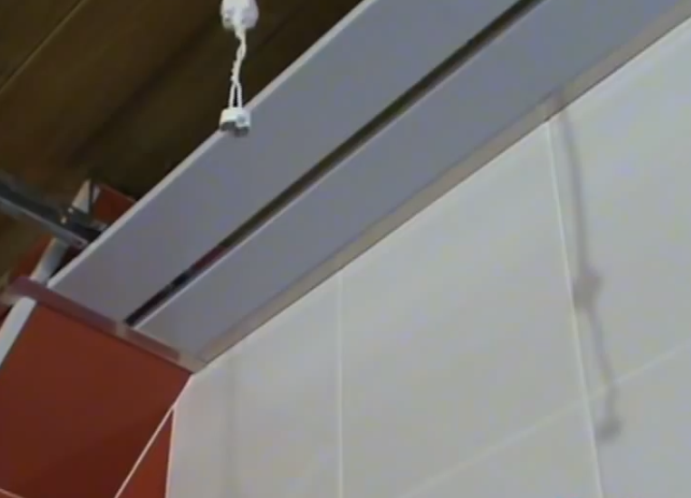
- We establish on the attached corner stringers, one on the center and two on edges on. In this case, each of them has a gap of at least 7 mm from the wall.
- We fasten the stringers with screws to the wooden ceiling with an interval of 70 mm, without pressing to the ceiling, and so that they freely adhere to the guide corners.
- Now the most interesting stage of the work is that we fix the rack suspended ceiling with our own hands. We start from the wall parallel to the entrance. We click the first rail in the projections on the stringer. And then we fix the second rail.
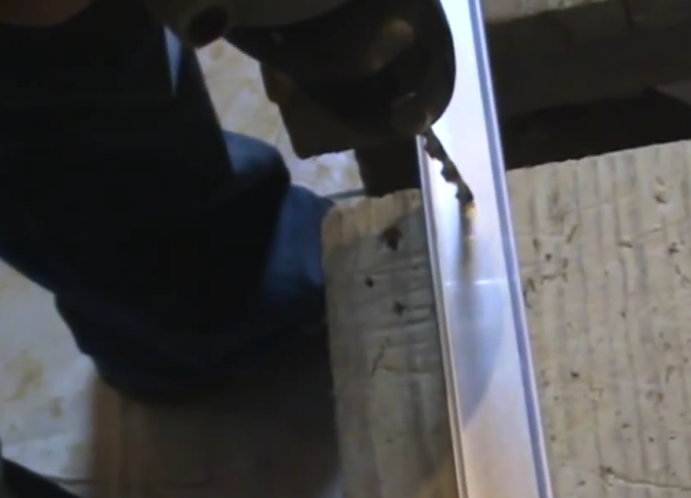
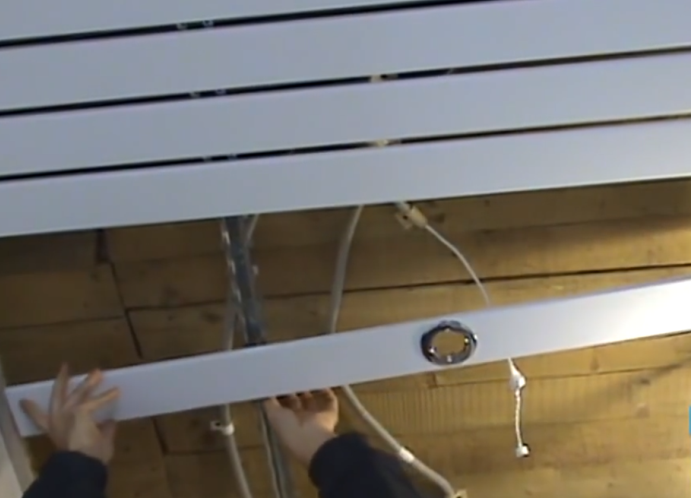
- In the third rack we drill a hole for the installation of a spotlight, and immediately insert the housing into it.
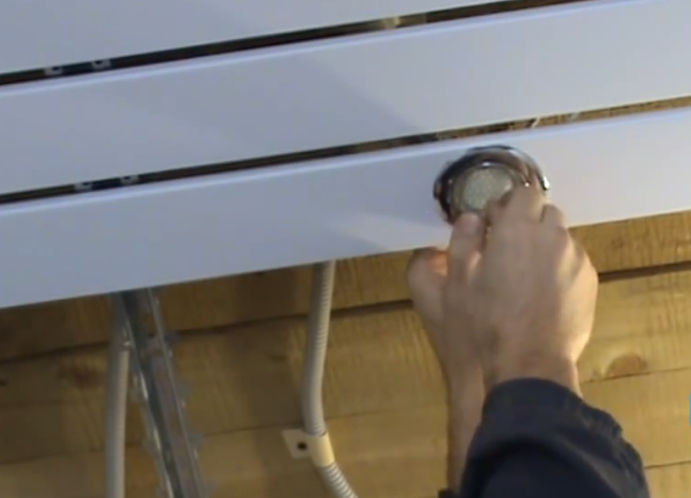
- We install the rail on the ceiling, let's pass through the hole wire with a shoe and fix the lamp.
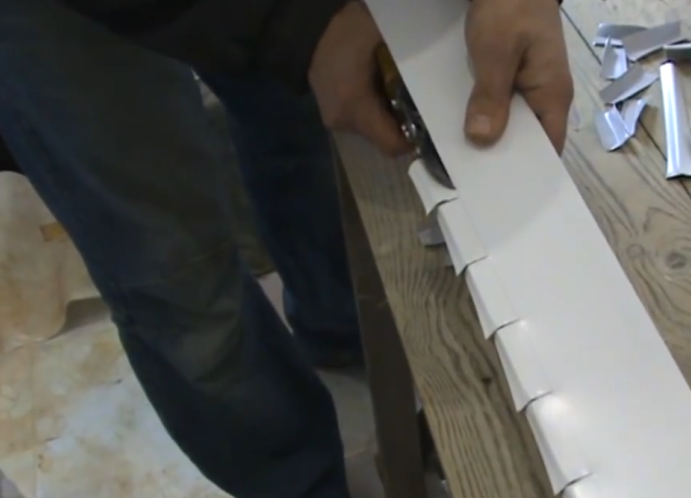
- Next, install the lath ceiling with your hands, until the entire area is filled with slats, making 9 holes for fixtures. If the last rack is not in full size, you can cut it.
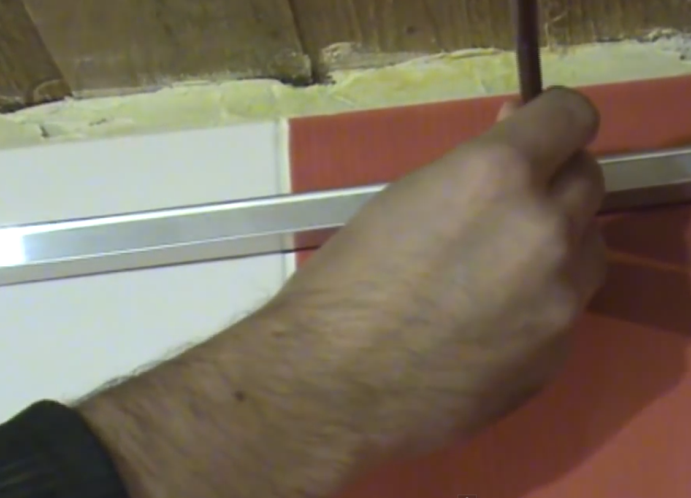
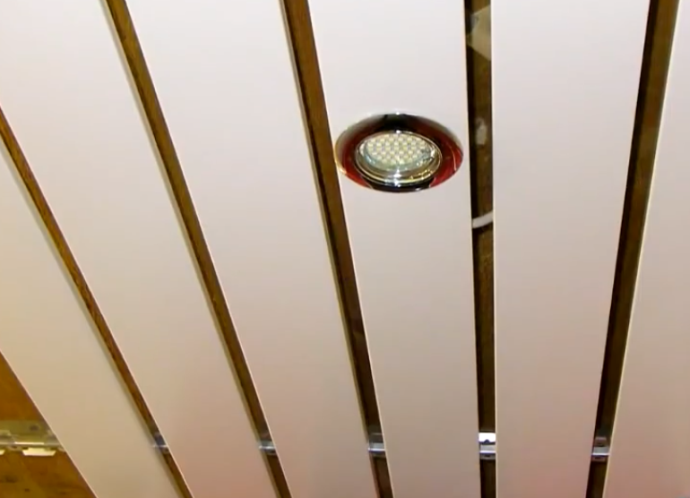
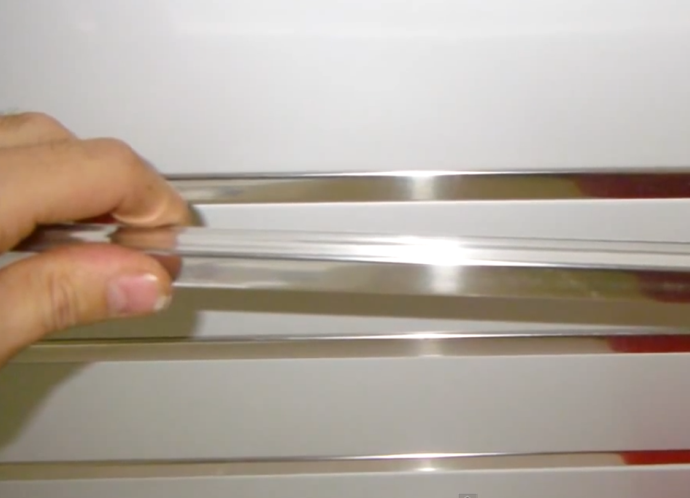
- In the gaps between the bars we insert and snap the shiny aluminum bars. If the bar is larger than the size, you can simply cut it with metal scissors. They significantly thicken the ceiling and make it much brighter and richer.
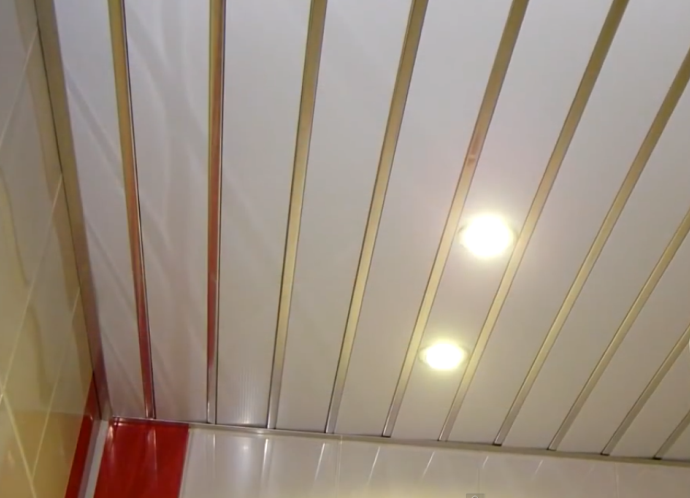
- That's what we got a suspended ceiling rack assembled by our own hands.