When a person who really wants to do a good thing takes a tool, it's only the inspiration that matters. Manufacture of home furniture with your own hands is currently a topical issue, therefore we suggest that we consider two master classes for creating a closet and even a mini children's room.
Making furniture in a niche at home with your own hands
In many even very old buildings, niches or small caches have been preserved. They are boldly used to build a cabinet, sometimes gypsum plaster constructions are built especially for such furniture. As for the tool for making furniture with your own hands, here is a standard set for fasteners. The only thing that you can hardly be found at home is a tool for drilling so-called pockets for fasteners. Then all the screws will be hidden in the thickness of the shelves.
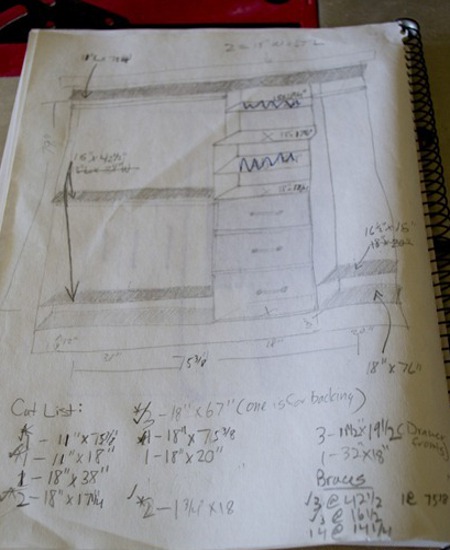
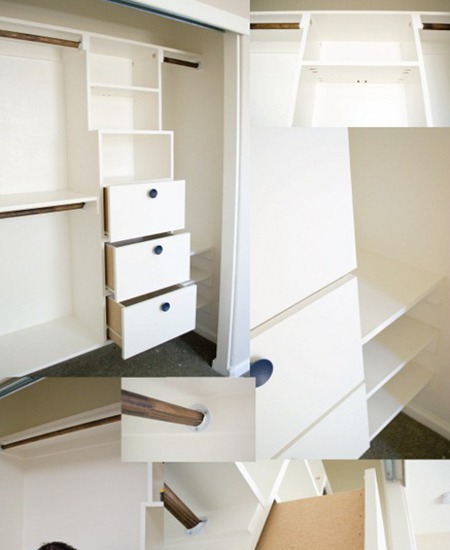
- So, we have a niche where a wardrobe was previously built. He left only the crossbar under the hangers. Our task is to draw a sketch with the layout of future shelves and boxes.
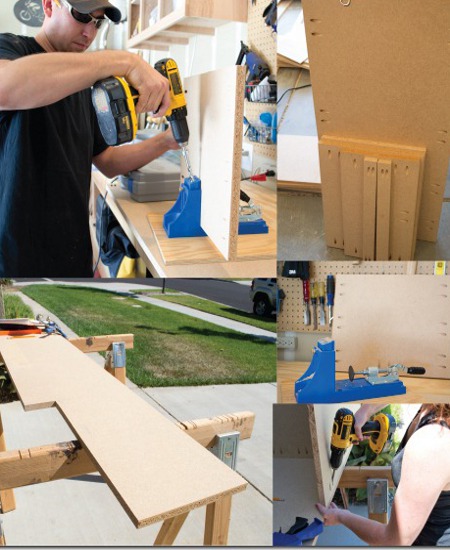
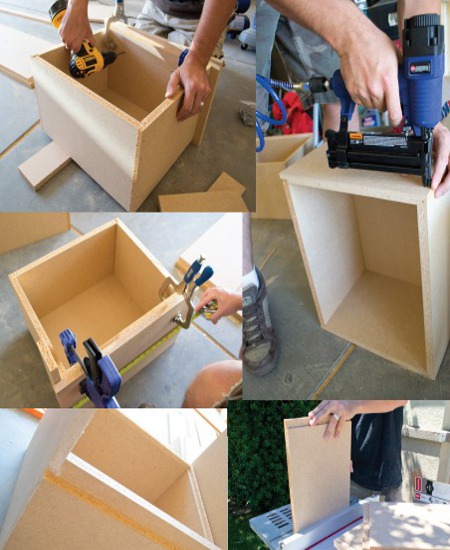
- As a material for making furniture with our own hands, we take the chipboard. Using a special tool, we make pockets under the fasteners.
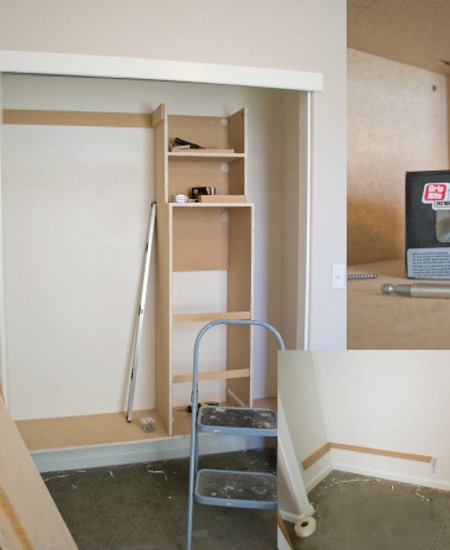
- Next, we begin to assemble the frame of our cabinet. We install the base under the shelves and drawers.
- Separately, we collect the boxes ourselves: using clamps we fix all the details, then finally fix them with fasteners.
- Separately we paint boxes. In the lower part we install additional crossbars for hangers. Also we paint the frame.
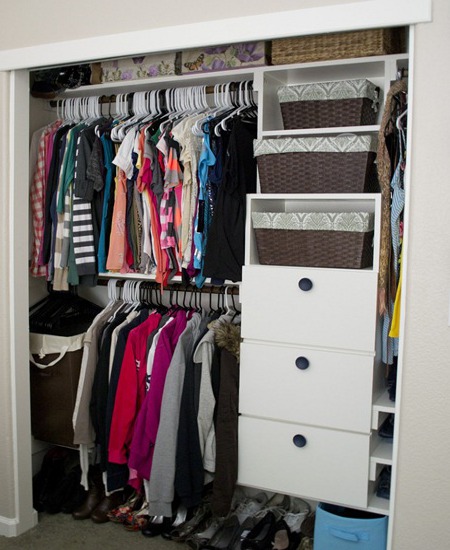
- Shelves can be used as boxes, if you put small baskets there. As a result, making furniture yourself will cost you a completely democratic amount, and the cabinet will be spacious.
Manufacturing of multifunctional furniture by own hands
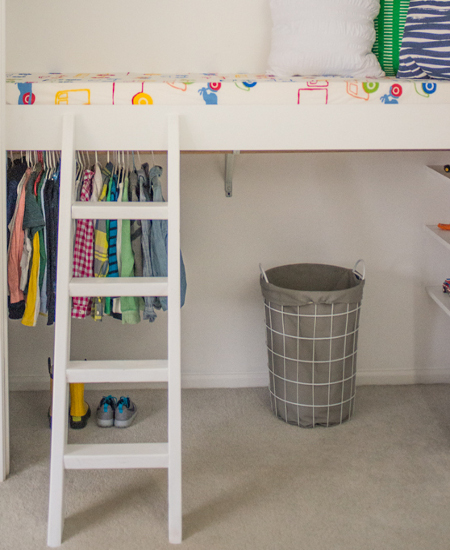
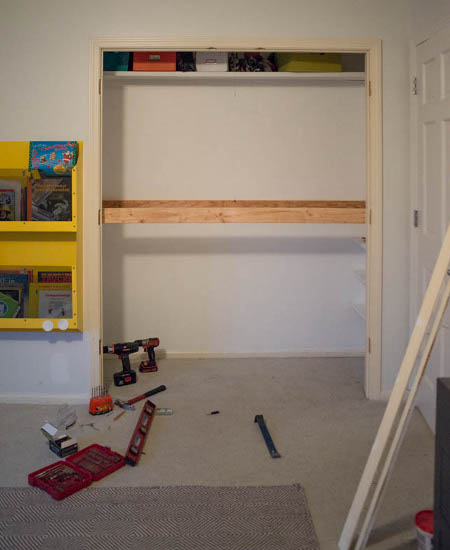
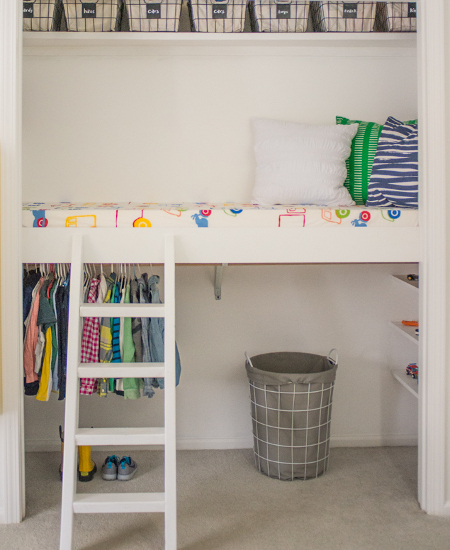
And again we have a niche used earlier as a wardrobe. This time we will make from it simply a roomy closet, and a small corner for a child with a bed.
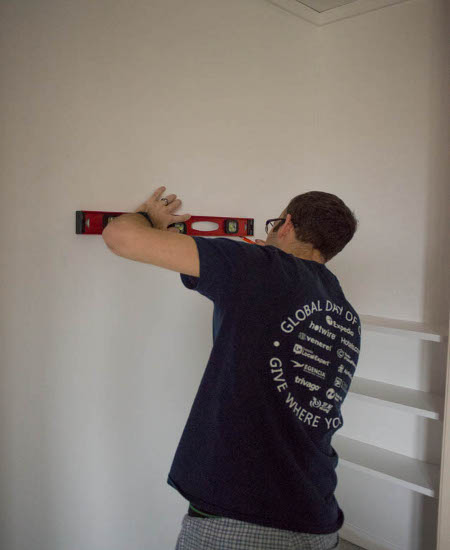
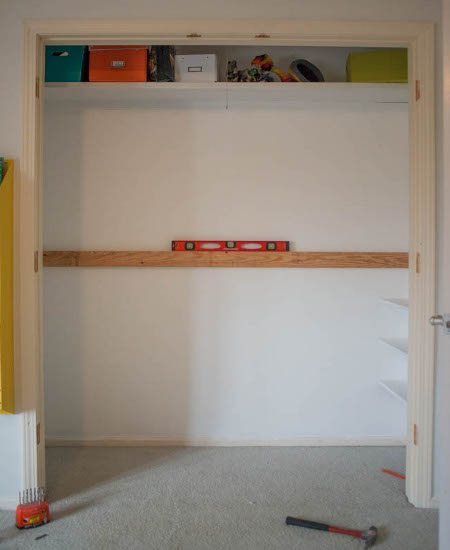
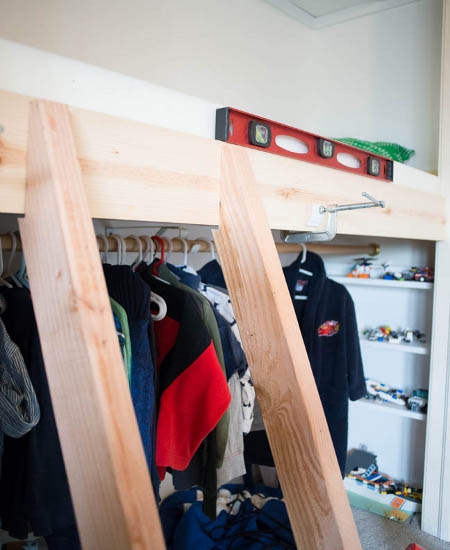
- In the upper part there is a shelf for the entire length of the niche, it can be completely left, and in the meantime we begin to form a frame for a berth.
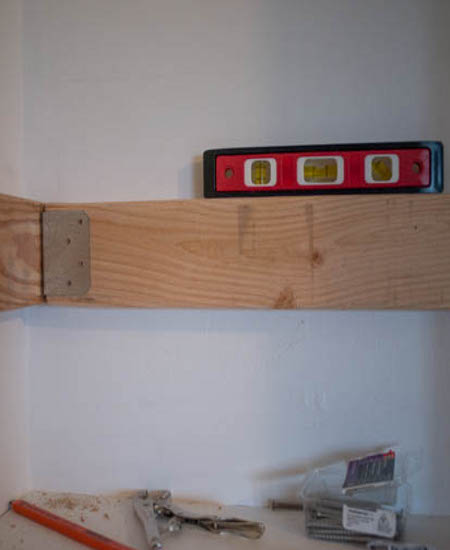
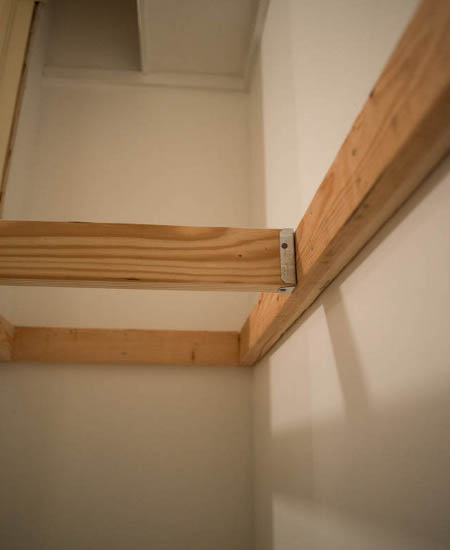
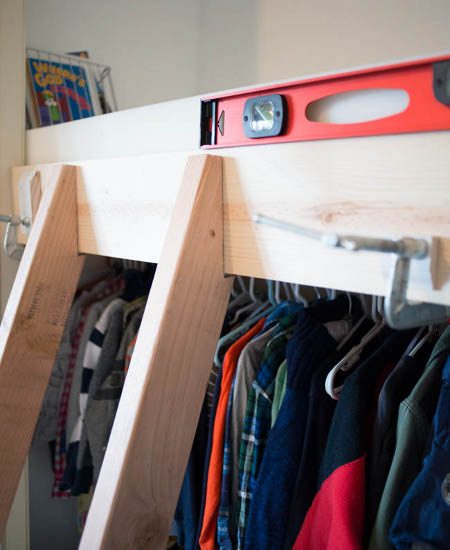
- First fasten the entire length of the niche beam. It will be strong beams that can withstand the weight of the child. To the wall we fix thoroughly with anchor bolts.
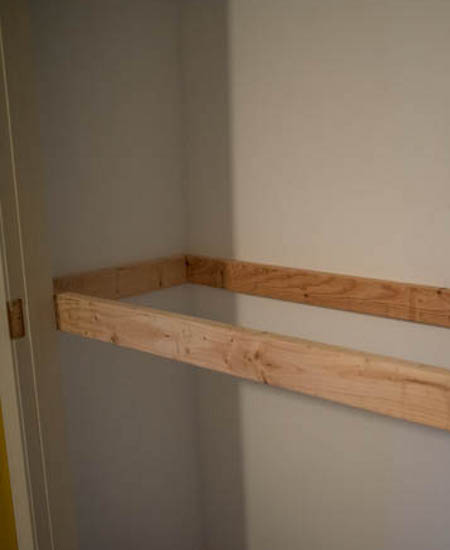
- The frame for sleeping is assembled.
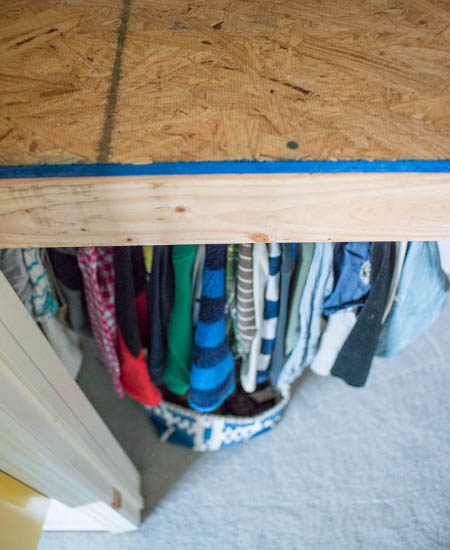
- Next, we begin to strengthen the bulkheads for the rigidity of the structure. After the assembly, we lay another chipboard board as the basis for the mattress.
- We close the entire structure of the decorative board.
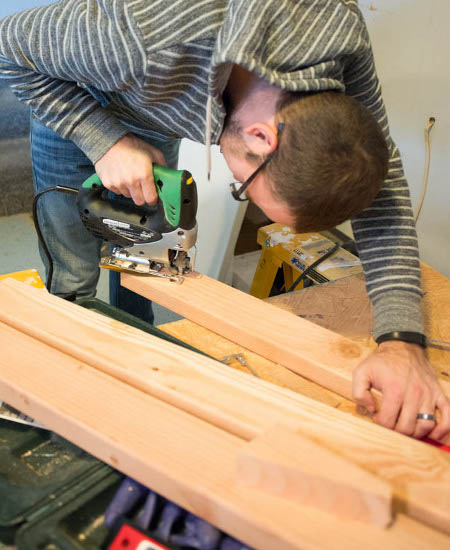
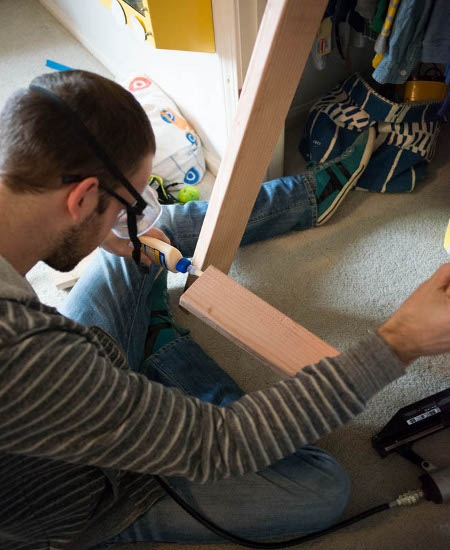
- We will attach a ladder to it. First, fix the clamps and collect the ladder.
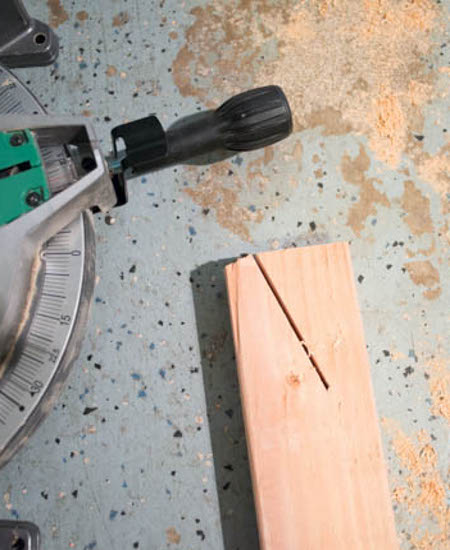
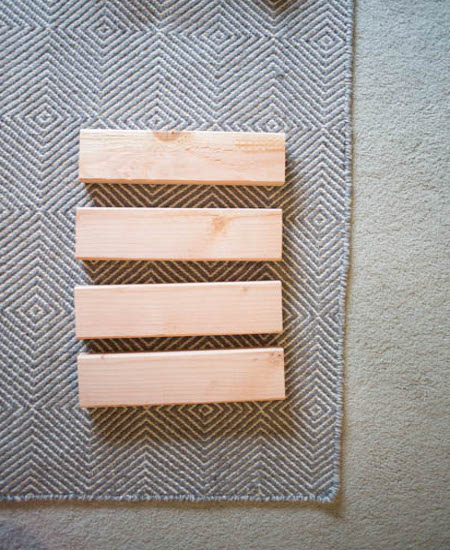
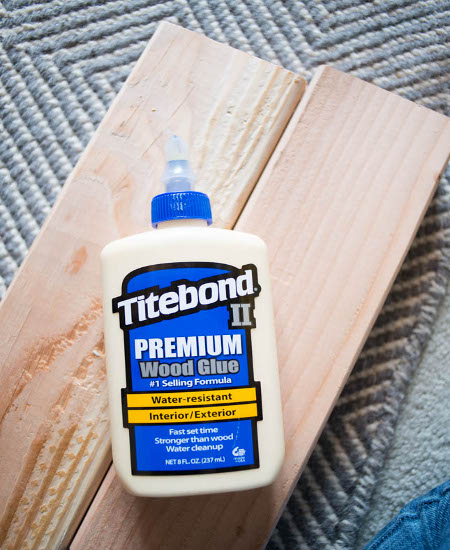
- Now we begin to fasten the steps. We will make stairs from wooden boards. Cut the desired length of the workpiece. First we glue with building glue, then with additional screws.
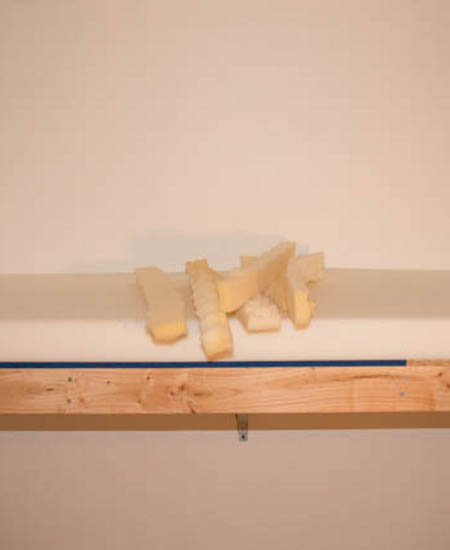
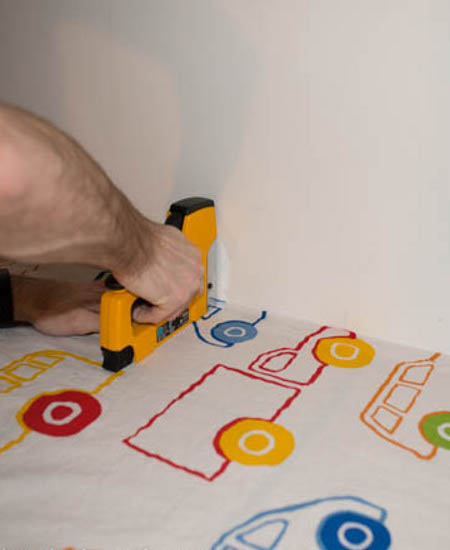
- Before you finally fix the ladder, you need to finalize the sleeper. For this we put a layer of strong foam on the board. Crop the right size. To fix the foam, we will use a strong fabric, something like upholstery.
- With the help of a tool, the so-called construction pistol, we use the fabric to make furniture ourselves.
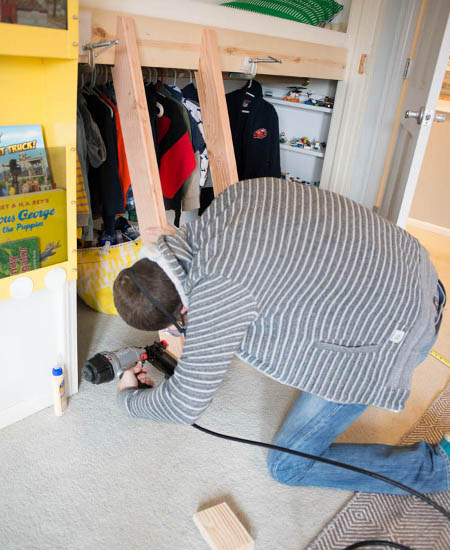
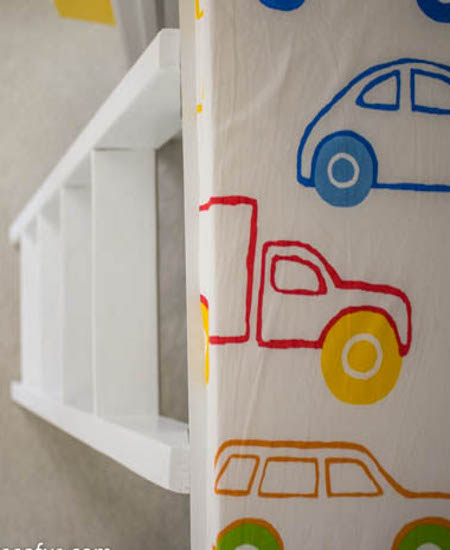
- Now you can install a ladder and close the bed with wooden stitching.
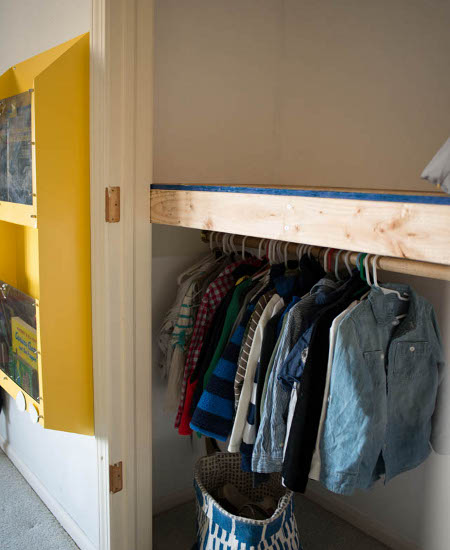
- From the side, we still had shelves, they also did not have to be dismantled. Under the bed, we additionally fixed the crossbar under the hangers, now there is a small wardrobe.
- As you can see, making furniture at home with your own hands, though, will require the purchase of a specific tool, but it will save money at work and will allow you to make furniture according to individual sizes.