To buy a ready-made hood in a construction hypermarket is no small matter. But not always its appearance fits into the style of the kitchen and thus can spoil the whole appearance. In such situations, they acquire a ready built-in structure and hide it behind a decorative box. Making the hood by yourself according to the style of the kitchen is very creative and takes time, but the result will please every day.
How to make a hood with your own hands?
For work, we need to purchase the finished construction according to the dimensions. Further for the manufacture of kitchen hoods with our own hands, we will use MDF sheets, special carpentry glue or other fasteners, paint and of course the decor.
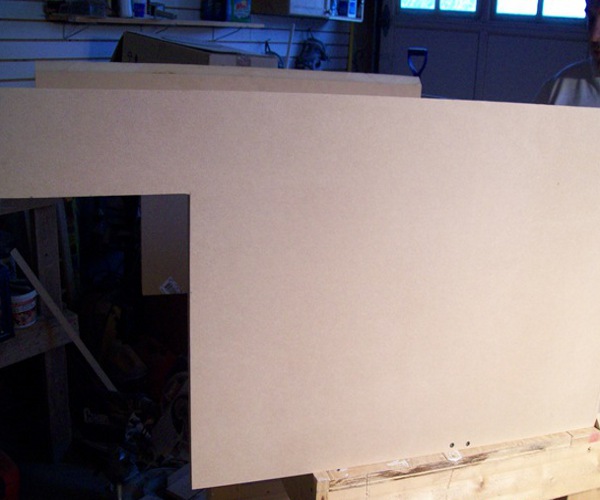
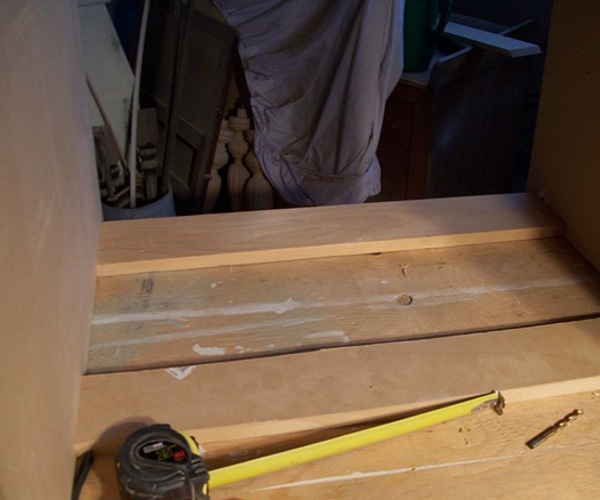
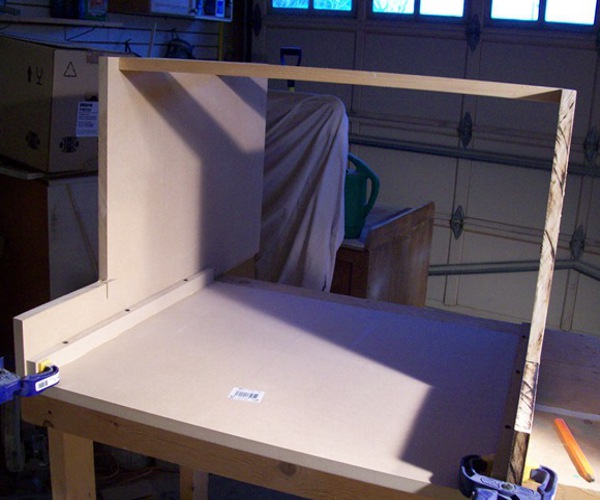
- The first step in designing the hood for the kitchen with your own hands will be assembling the frame. As you can see in the picture, the whole construction will be quite high and reach to the ceiling. The sidewalls have a shape with these such pieces under the ceiling.
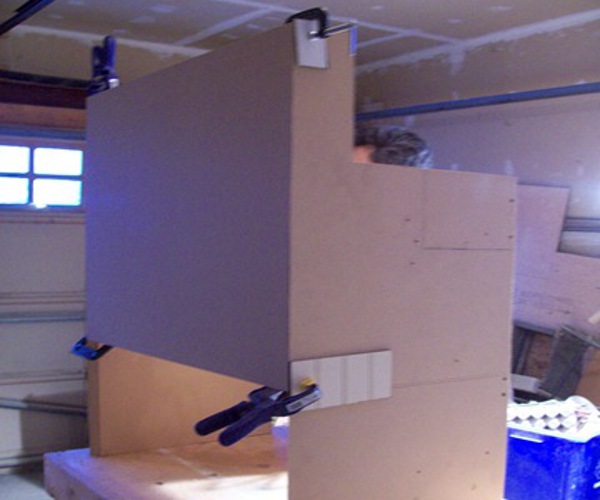
- From the back, we will not attach another solid sheet of MDF. It is enough to make here such connecting partitions. These partitions look a bit like braces, which will hold together two sidewalls.
- There will be two such partitions. Constantly control the external dimensions of the structure, because it will be impossible to fit it after the assembly.
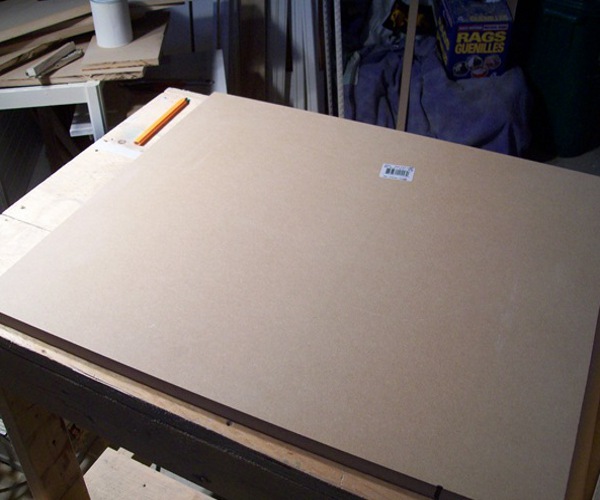
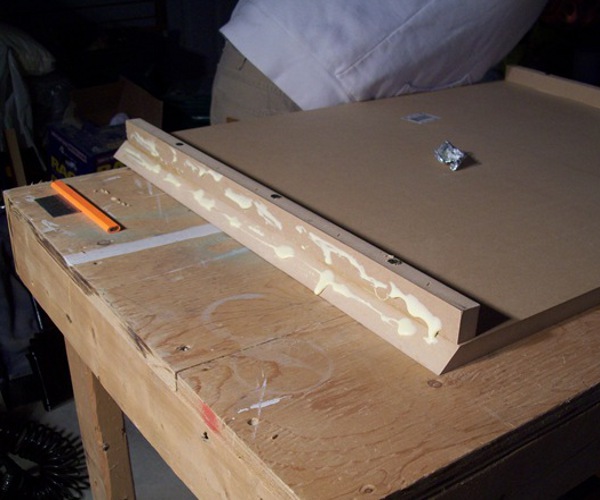
- Also, to increase the rigidity and stability of the entire structure, we will use additional bars. They will be located in the inner part.
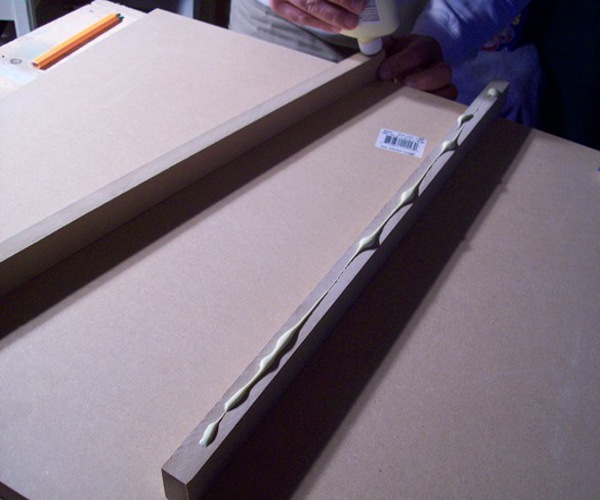
- First, we glue the blocks with joinery glue, then add it with screws. The distance from the edges of the outer panel is equal to the thickness of the sides.
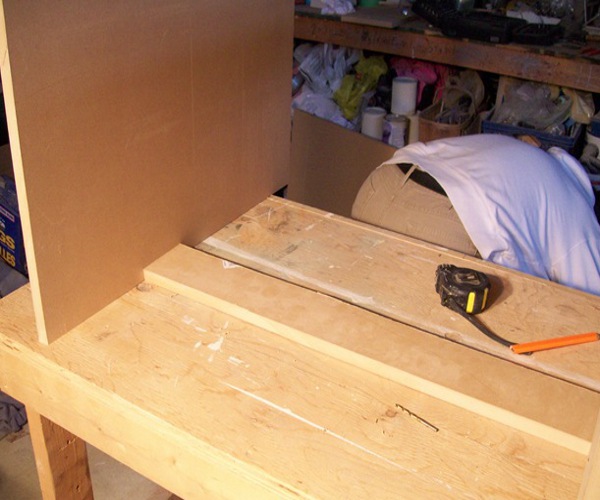
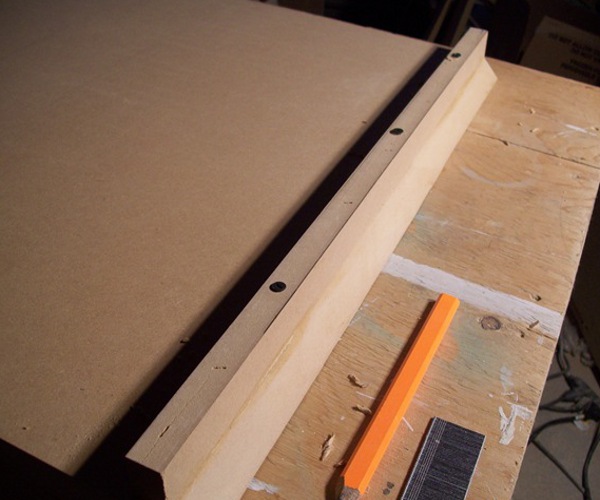
- It's time to make a frame for the kitchen hood with your own hands. First we collect lateral details. To make the glue dry and the structure does not fall, fix each knot with clamps.
- At this stage it looks like this. For the rear partitions, it is not absolutely necessary to use MDF. You can take any other suitable materials if you do not have a piece of leftovers.
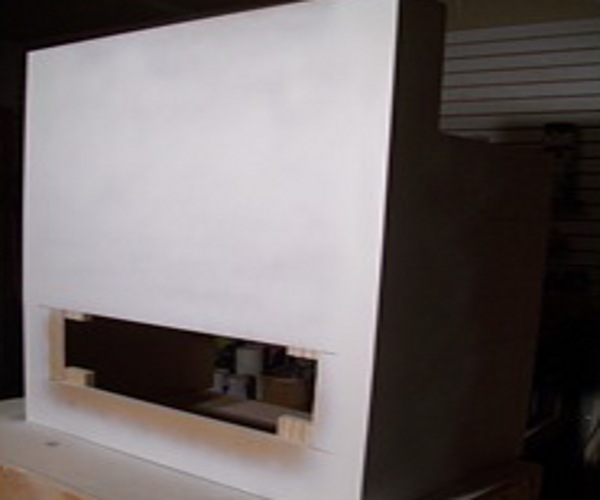
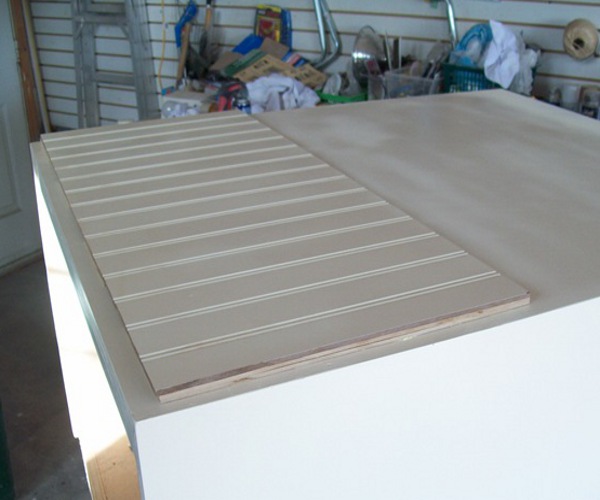
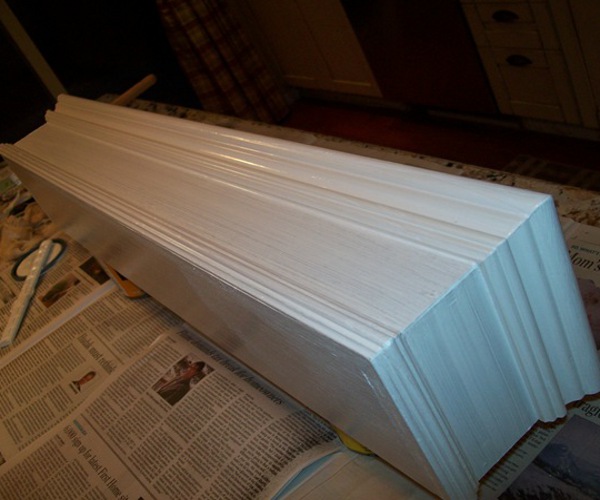
- At this stage of making kitchen hoods with our own hands, we paint the front wall with soil and paint.
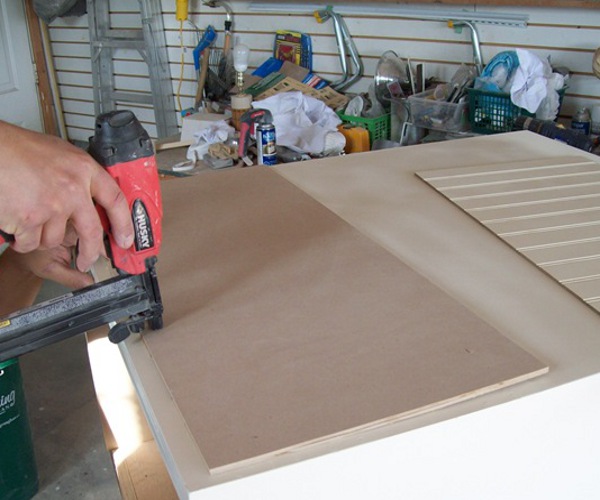
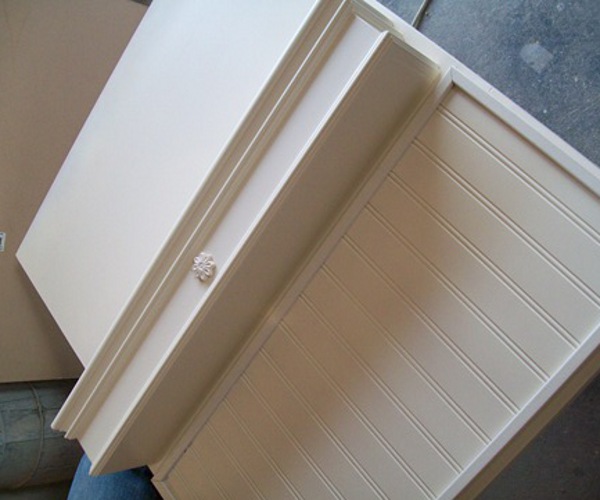
- Now we will decorate the front part. Here you can use any available materials. In our case, we attach this decorative panel.
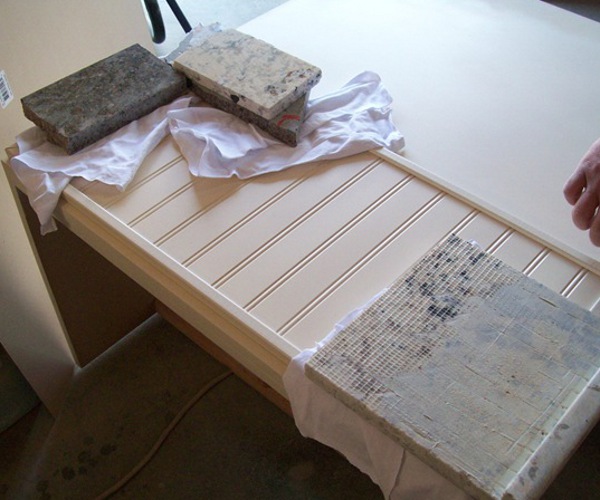
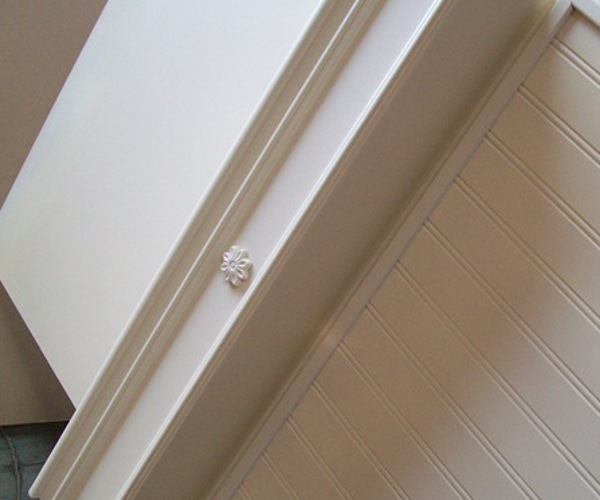
- To fix all the decorative parts of the hood for a kitchen made by our own hands, we will be a building glue and press it with heavy plates. First, fix the panel itself, then along the edges we lay the decorative edge from the wooden rails. If desired, it is possible to use decorative moldings made of polyurethane or foam.
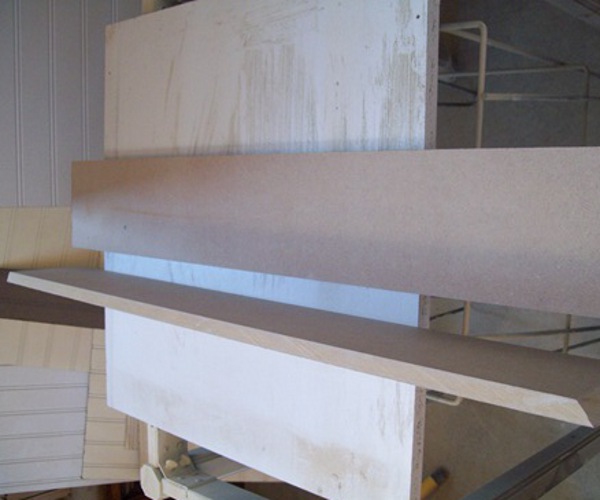
- Now let's see how to make your own hands a decorative shelf for hoods. We will collect it from MDF. We cut according to the dimensions of the billet hood in the form of such boards.
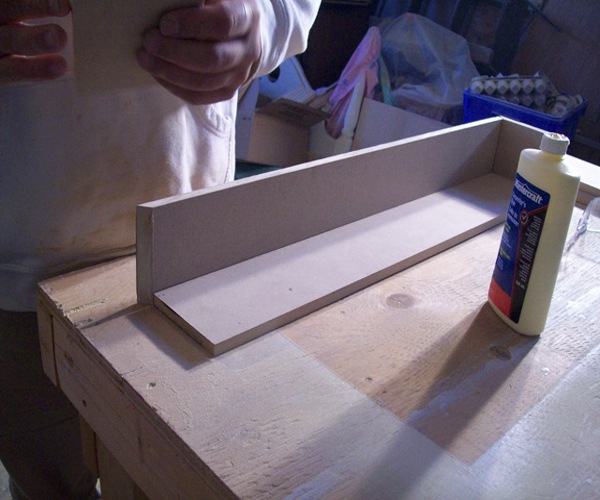
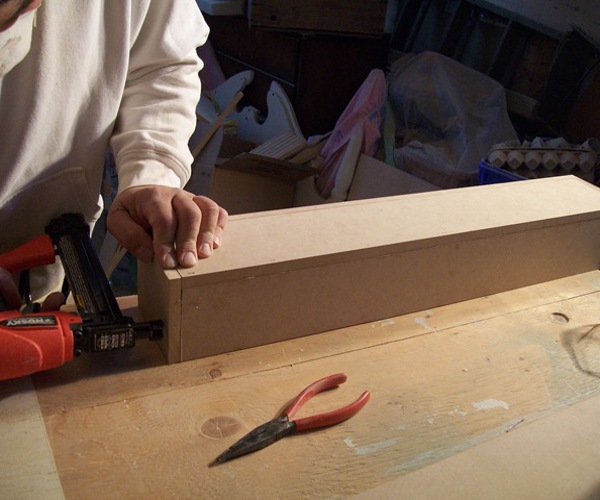
- With the help of building glue we assemble the frame.
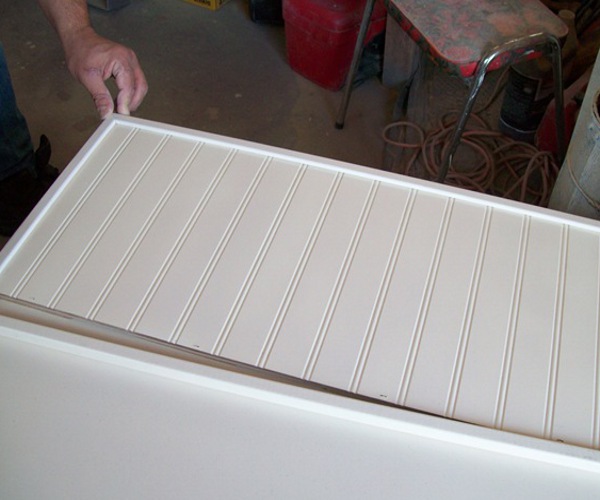
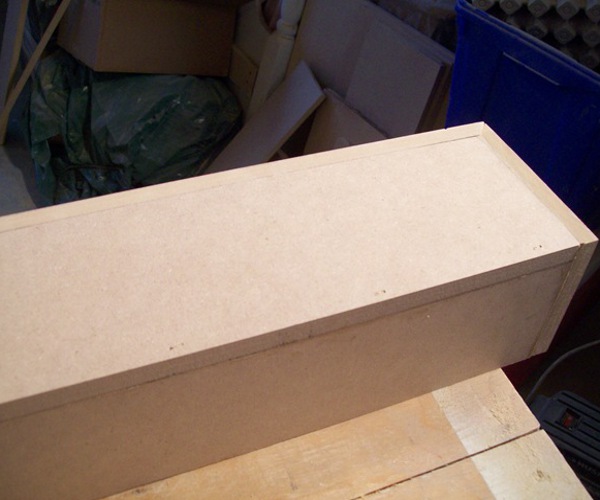
- We will decorate the joints with carved laths. You can use wooden or polyurethane moldings. For fixing we also use building adhesive. Then carefully work the joints with acrylic putty if necessary.
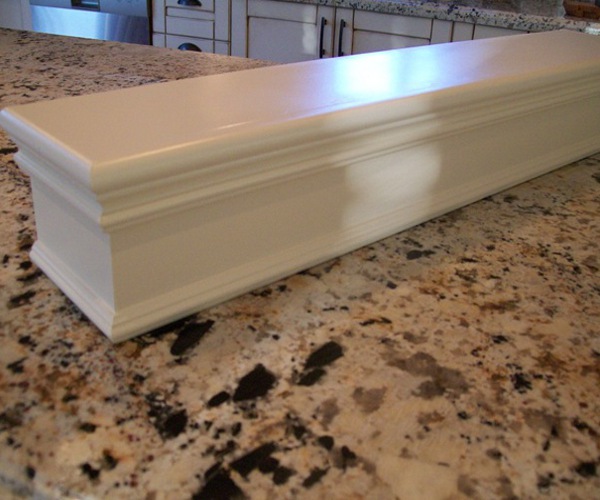
- We paint the design in the tone of our hood.
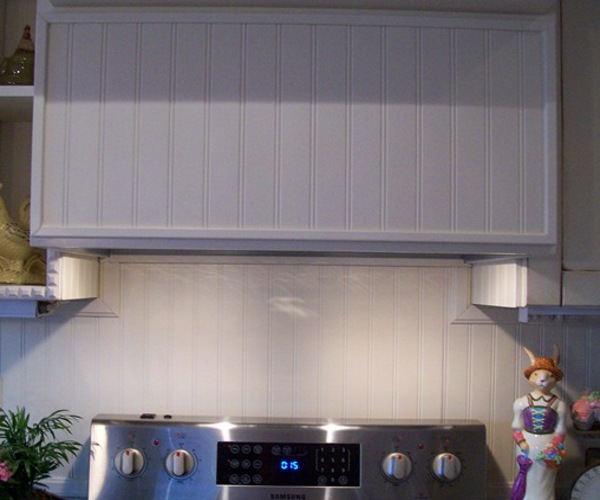
- That's how it will look on the design.
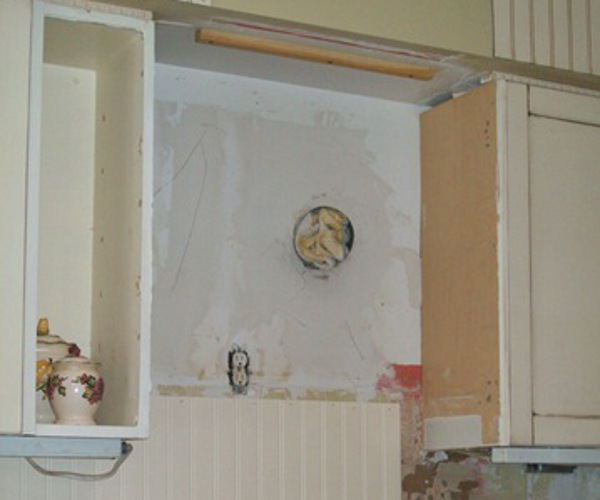
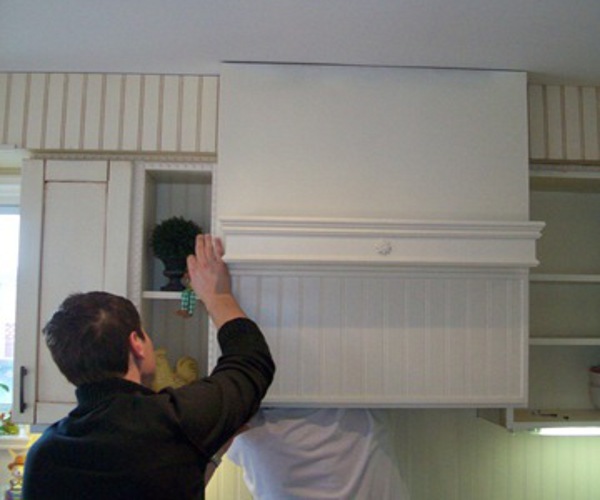
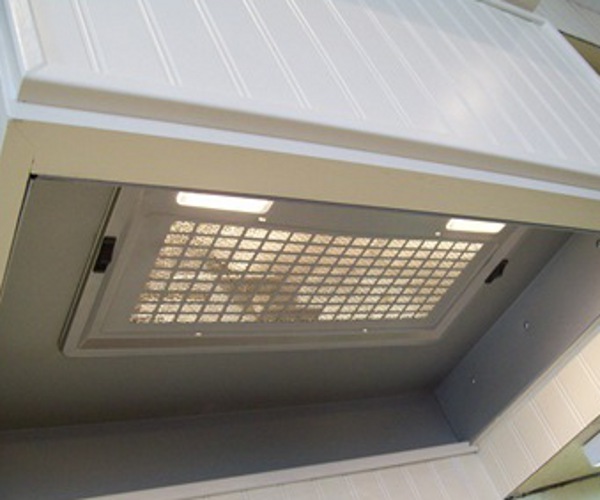
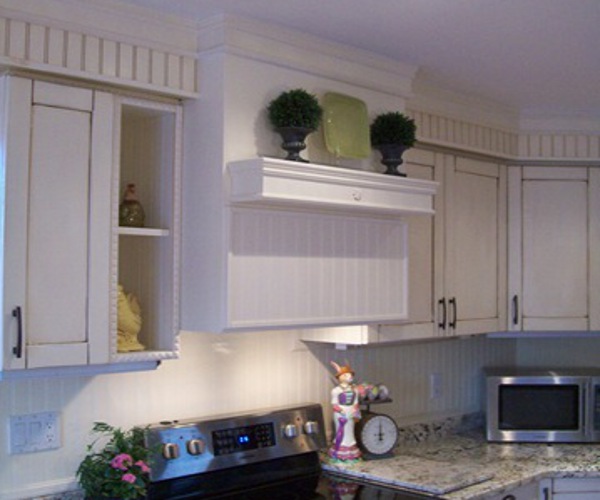
- It's time for editing. First we mount the finished hood in our box and attach it to the wall. From the top we close everything with a decorative skirting board.
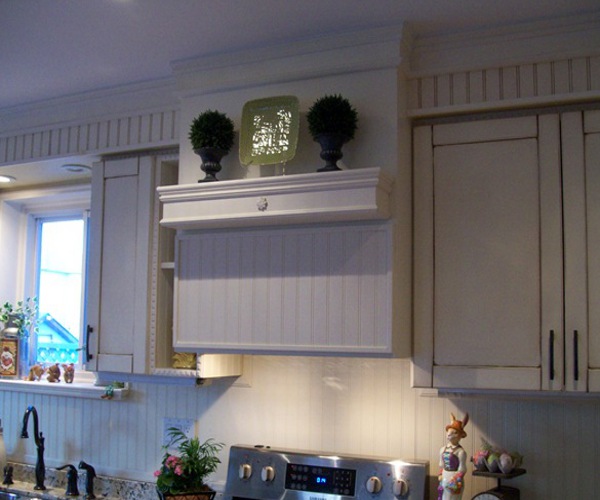
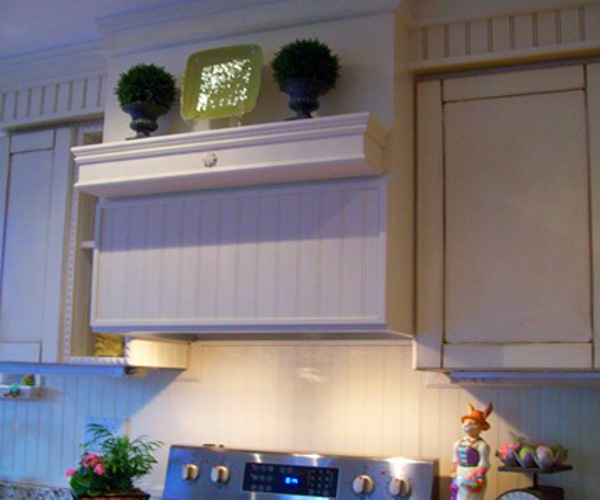
- Here is a stylish look for the kitchen hood, made by own hands, in its place. A great solution for the kitchen in the style of Provence . If you cover the structure with a darker brown paint or apply a coating of marble or stone, it will be an excellent option for classics .