Mosaic is an original design move that allows you to make the room more original. The first mosaics were made in Greece, and for the master's works used the improvised elements: stone, wood, paper, granite. Over time, the art of making small pieces of material different compositions began to be highly valued and mosaic drawings could be observed in churches, residences and palaces. The most outstanding works were panels with images of the "Battle of Poltava", "Battle of Issa", "Pompey", etc. Sometimes, laying out a drawing required several thousand pieces.
Today, everyone can make a mosaic with their own hands. You just need to stock up on time, patience and a few dozen bright pieces of tile, glass, stone and or other material.
Glass mosaic with own hands
The common material for the panel is glass. It cuts well enough and is easily fixed with glue, and when the sun comes in color, the pattern begins to beautifully pour. How to make a mosaic with your own hands? About this below. Before you make a mosaic by yourself, you need to select the schemes. To begin, choose a simple drawing, for example a butterfly. Having decided on the topic, you can start selecting tools. For a mosaic, you might need:
- the image on which the panel will be laid out;
- glass base for mosaic (or plexiglas);
- colored glass to create a picture;
- glass cutter and wire cutter to break the glass;
- medical syringe;
- a felt-tip pen;
- black tile grout;
- clear silicon.
When all of the above is purchased, you can start making glass mosaic with your own hands. All work will be carried out in stages.
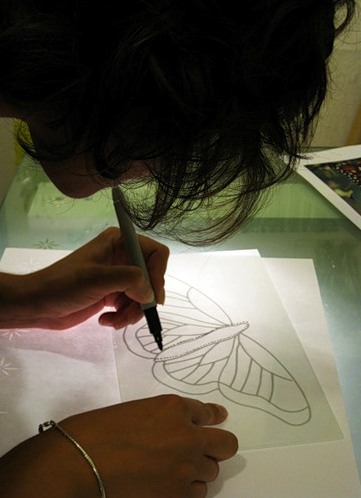
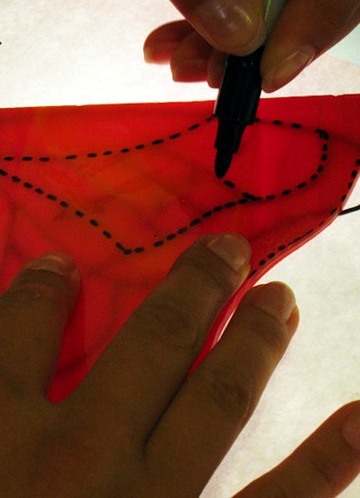
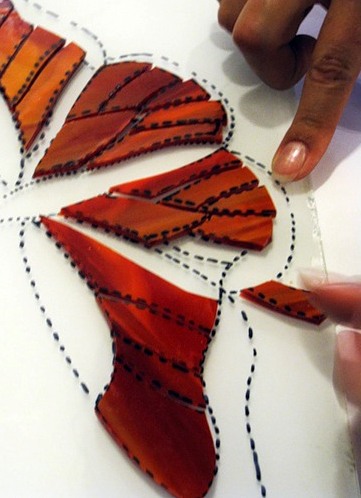
- Using a marker, transfer the image of the butterfly to the glass-base. Simultaneously, copy the drawing onto the colored glass from which the mosaic will be collected.
- Follow the lines on the colored glass to reveal the wings of the butterfly.
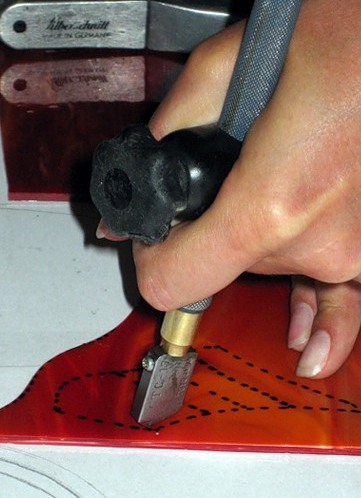
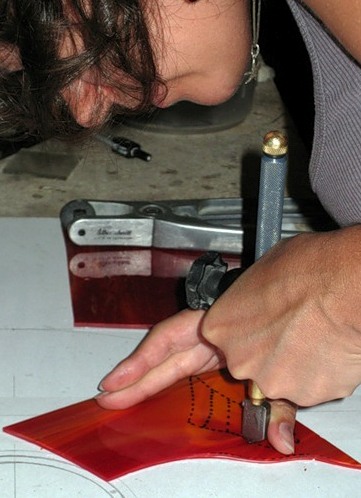
- Cut the wing cutter carefully with the cutter.
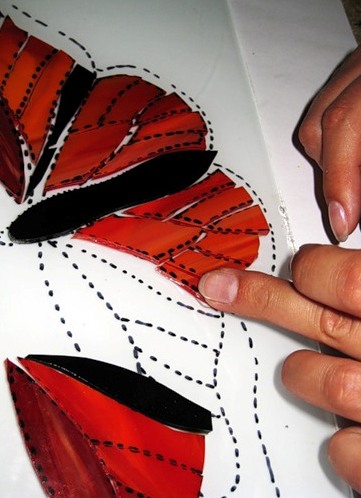
- Place the cut glass on a prepared base for a mosaic.
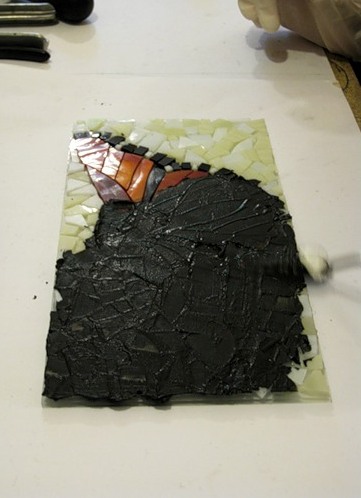
- On each part you need to put a little silicone and attach it to the base of glass. When gluing fragments, do not forget that you need to leave some space between the panes. Subsequently, the gaps are treated with a trowel.
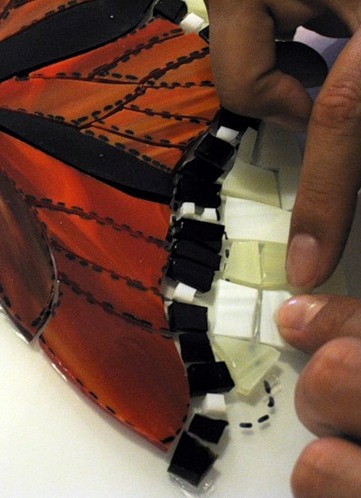
- The background surface is filled with frosted milky glass.
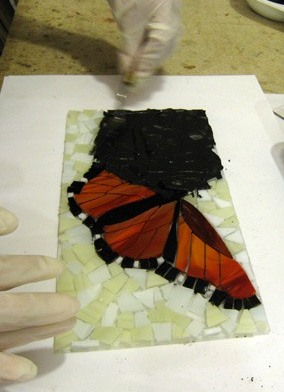
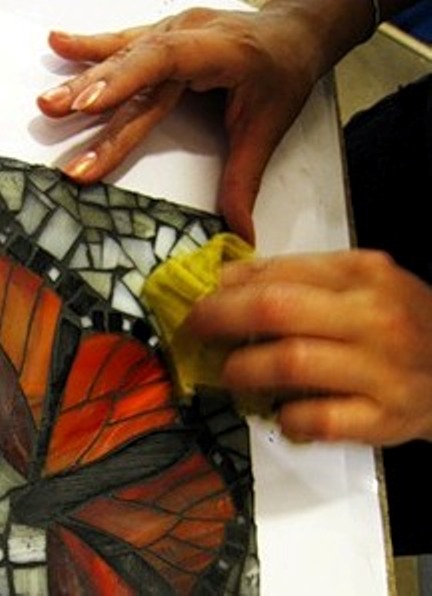
- Wait for the glue to seize and start rubbing the seams. Grout can aggressively affect the skin of hands, so be sure to use dense gloves.
- Dilute the grout according to the instructions. By consistency, it should resemble sour cream. Make a full groove of the gaps of the finished panel.
- When the mixture dries with a damp cloth / sponge, remove the excess from the glass.
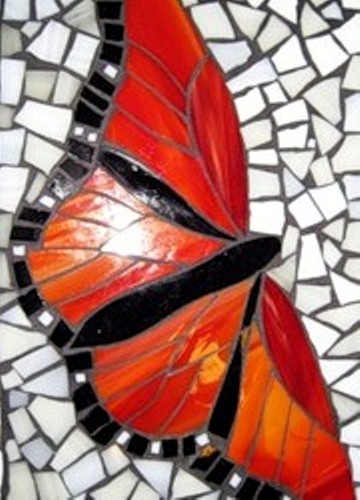
- In the end, you get a beautiful glass butterfly!
| | |
With a similar example, you can lay out any image.
Making mosaic tiles with your own hands
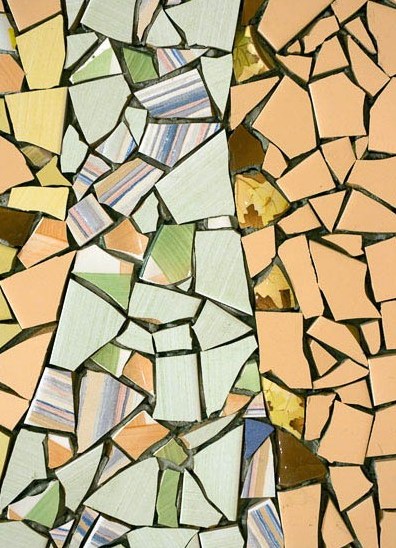
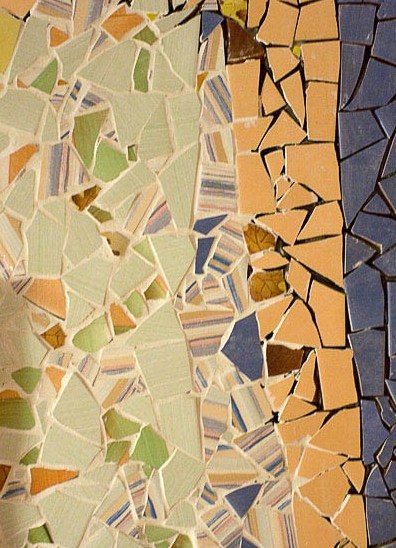
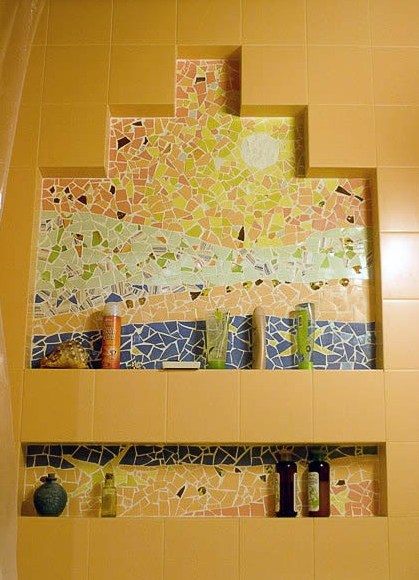
Very often after repairs in the apartment there is an old unnecessary tile. You can find her application and try to make a mosaic on the wall with your own hands. All work is carried out according to the plan proposed above, but it has its differences. The step-by-step instruction will look like this:
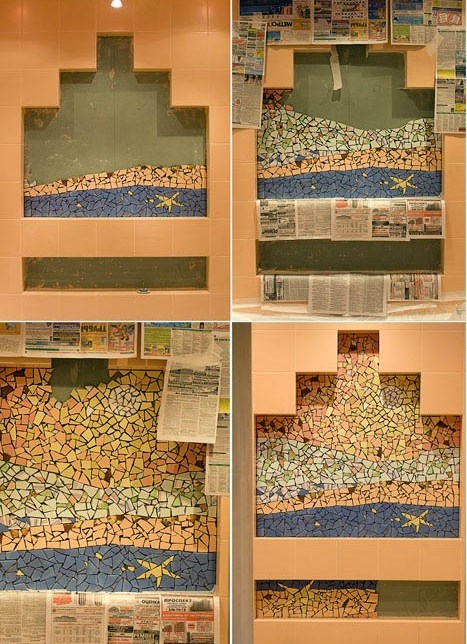
- Sketch the sketch on a cardboard in a natural size. On it lay out pieces of tile, previously broken by a hammer. Pick up pieces in shape and color until you get what you need.
- Transfer the structure to the wall. For fixing, you can use glue for ceramics or "liquid nails". Piece the mosaic with glue and place on the wall. The gaps between the pieces must be as much as possible.
- When the glue dries dry, wipe the seams. Use a powder for grouting, preferably white. Use rubber spatula during use. Remove excess grout with a damp cloth.
- In the end, you get such beauty.
| | |