This type of interior decoration is very popular, but many are lost when they start working, not knowing exactly how to start it right. In connection with the small format of the article, we in this note will miss some of the nuances associated with pruning ceramics and drilling it at the point of exiting communications. But instead, a very quick, simple and original way will be presented here, how to install the first two rows of facing material and apply glue to the wall.
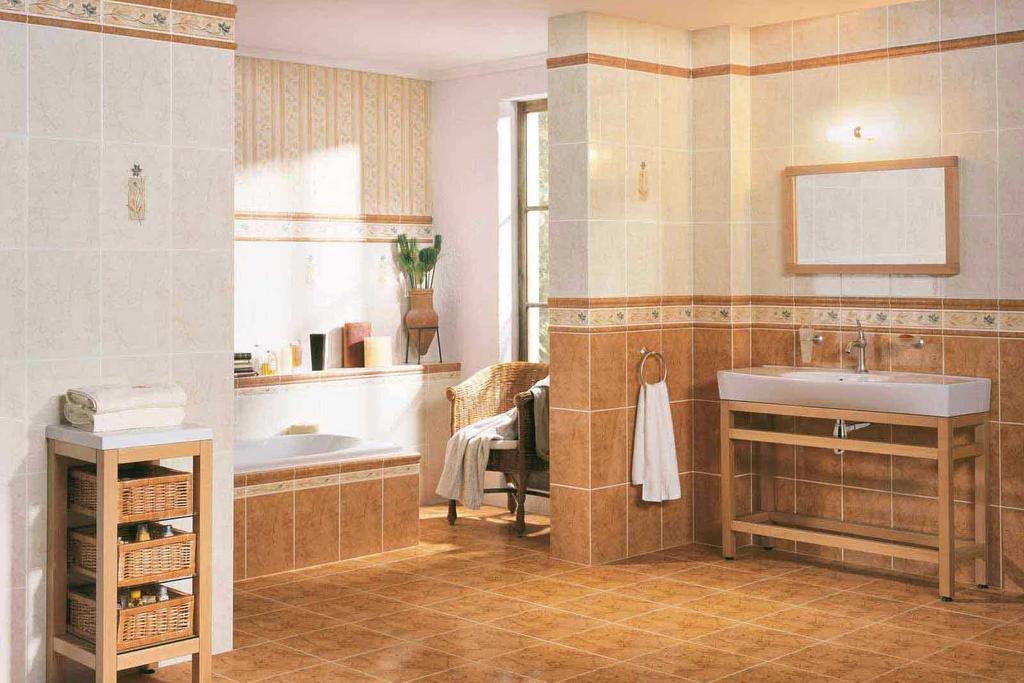
How to wall tile
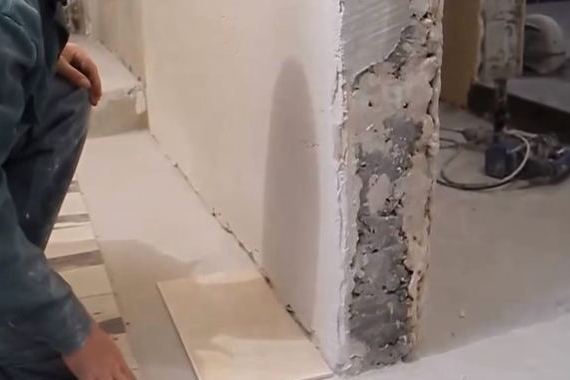
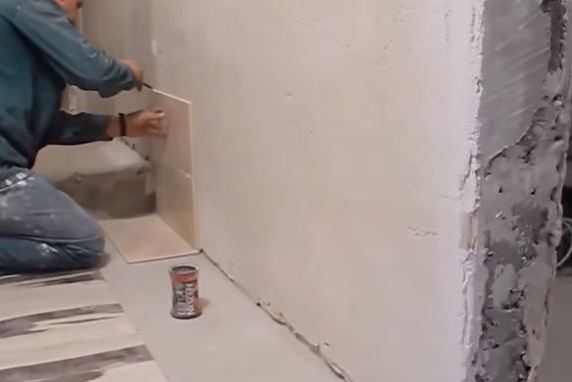
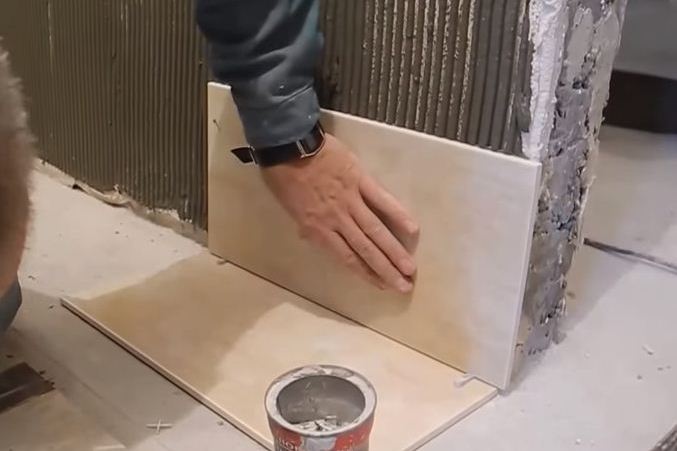
- Note that this method is suitable only in the case when the floor is flooded with a smooth quality screed. If everything is done correctly and according to the level, then we try to lay out a kind of beacon from the tiles. First, put the floor tile on the floor near the wall.
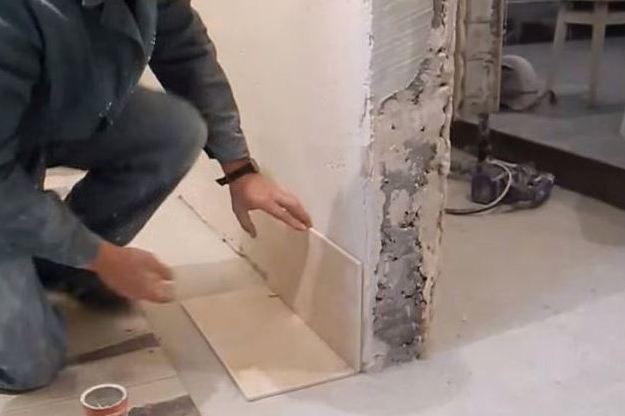
- Next, we put a wall tile on top of it and lay flat pegs for the gap from below.
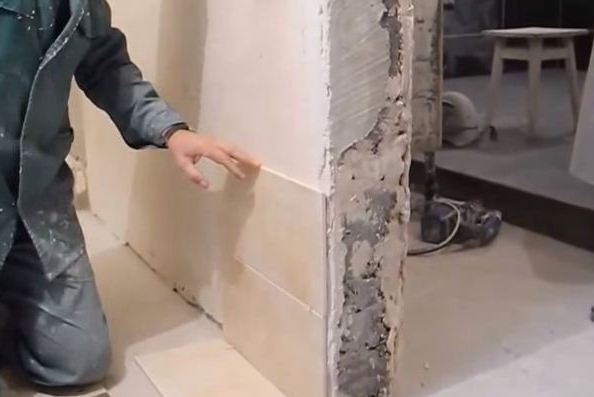
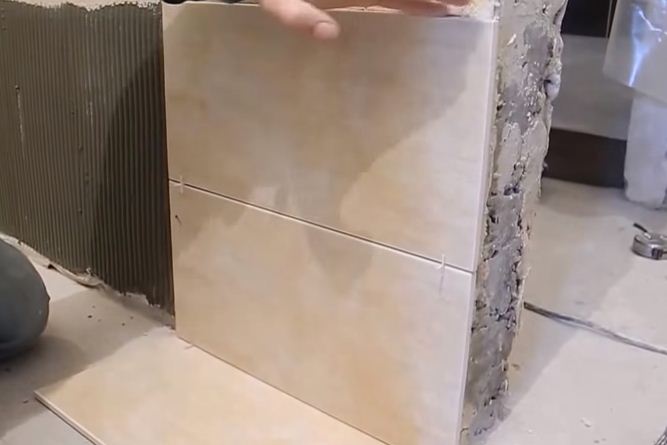
- We will lined two rows at once, tiles. From above on the first row we put crosses and on them we establish a tile of the second row.
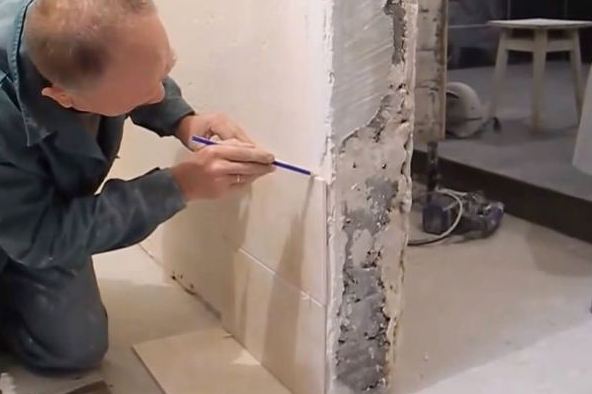
- We put a mark on the wall, indicating the height of the second row.
- Similar work is done on the opposite side of the wall.
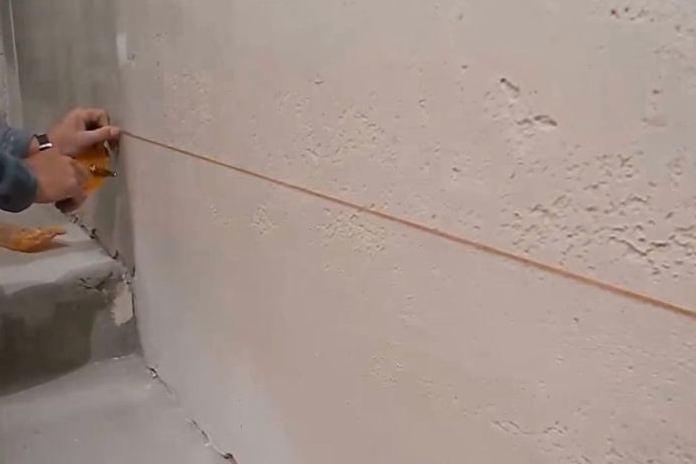
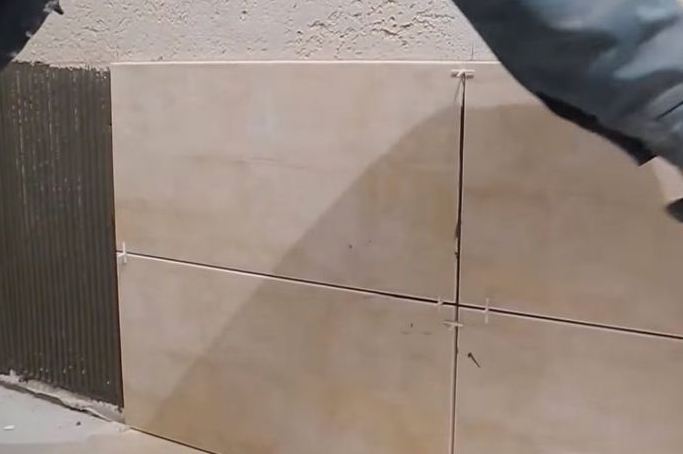
- We paint a line on our marks with a dyeing marking cord.
- We make calculations, how many tiles will go on a row, and whether it will be necessary to cut it into pieces.
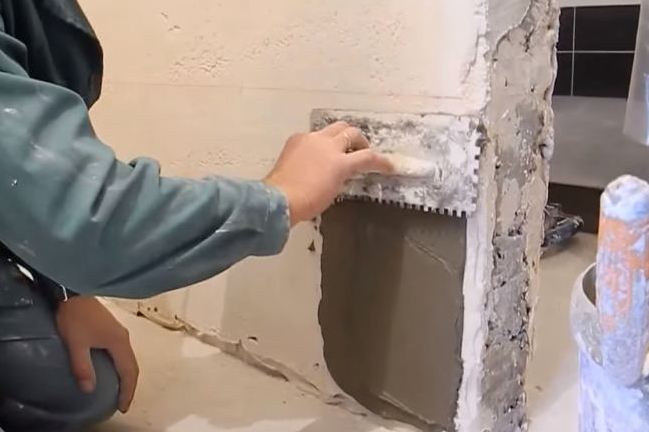
- The wall is primed with a composition that has deep penetration properties, and then a glue with teeth 6 mm wide apply glue on it.
- Cladding of walls in the corridor, toilet or bathroom with tiles is not very difficult, but requires some skills. The application of glue is also an important process that needs to be done thoroughly. First put the comb at an angle to the wall, trying to withstand an angle of about 45 °.
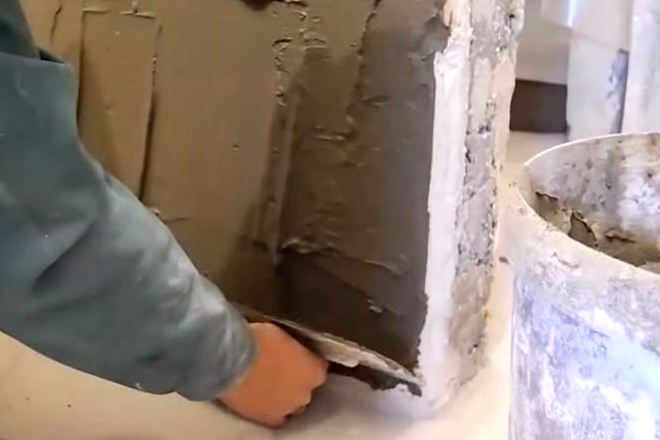
- We draw the tool tightly on the wall and get a smooth layer of glue. Remove excess solution from the comb in a bucket.
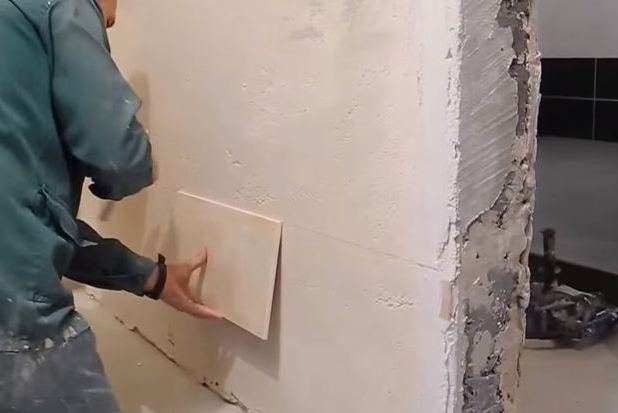
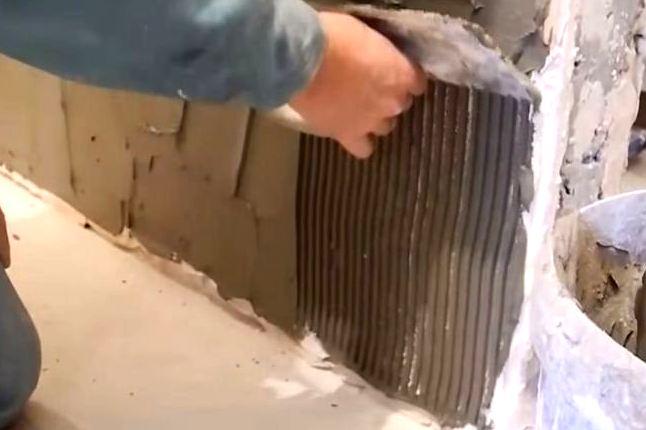
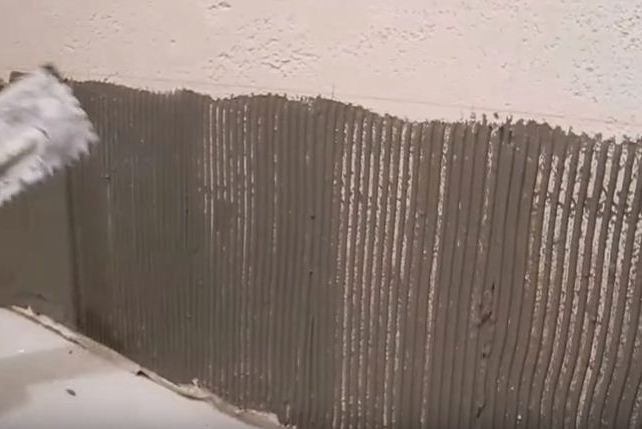
- The same is done on the entire plane of the wall, where the solution is applied. If you apply a tile and press it against the wall, then under it you will get a uniform layer of glue 2 mm thick.
- Next, do the same work as when marking. We put the floor tiles on the floor, we put pegs on it and put the first row of wall tiles on top.
- We paste the crosses on top and attach the second row of tiles. We have it exactly according to the line of markup. Press the tile against the wall, clapping it to make an ideal plane.
- In the same way, we put the next tile, decorating the wall with two rows. The floor tile will need to be pulled out after a while, when the glue will dry up a little, and then put it already capitally, adjusting in place.
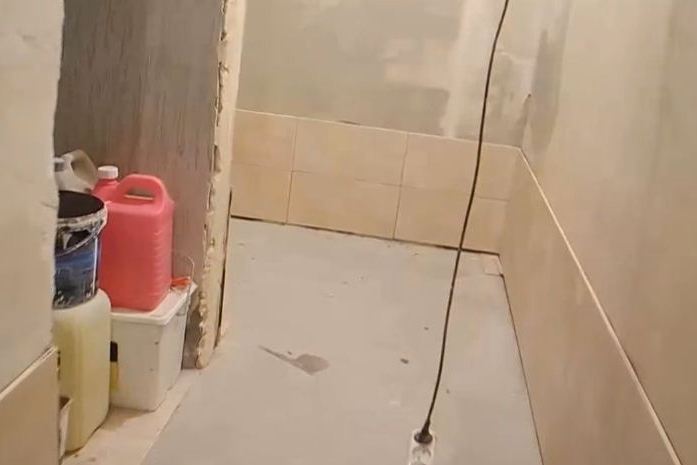
- We pass our two rows of material around the perimeter of the room and continue facing the walls with tiles in the bathroom. Further work will go much easier.