To buy sheets of gypsum cardboard is not a problem for today, as this material is actively used for different purposes by both professional builders and home craftsmen. Below we will consider how the installation of an interior partition of plasterboard is taking place.
Installation of gypsum plasterboard with your own hands
First of all, your task is to calculate the required number of sheets, knowing their size and size of the partition itself. You will also need a profile, a damper belt, screws with dowels and a special insulating material.
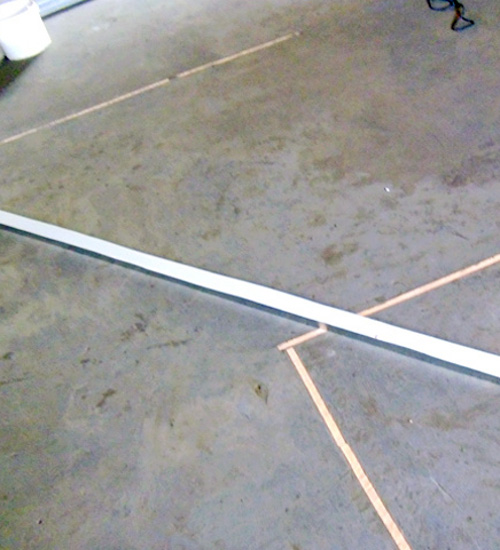
- We make the marking of the future partition. To do this, we use the level, the intended thread for beating, and also the plumb line to apply lines along the walls and ceiling.
- The markup is done, it's time to tackle the frame. We will fasten the profile on all the lines we have planned. First, each profile is pasted with a damper tape to get good sound insulation.
- We lay the workpiece for the frame with a tape on the floor and fix it with screws with dowels.
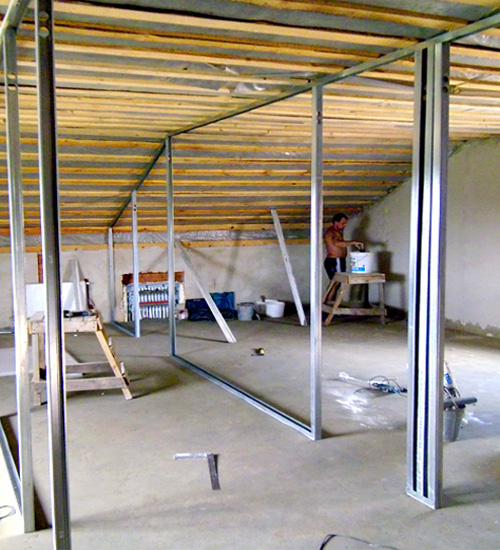
- Here is such a frame around the perimeter is obtained, in advance of the affairs of the gap in the place of installation of the doors.
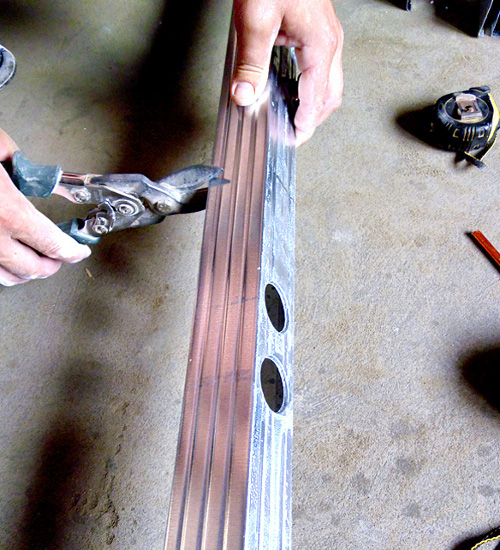
- The profile for installing the interior partition will be increased to cover the entire perimeter. Similarly, you will need to adjust the height of the profile to set the guides at regular intervals. The process of forming the partition is as follows.
- Fix the screws only those guides that are located near the doorway.
- Next, we form the doorway itself.
- Then make an additional partition in the upper part above the opening.
- At the jambs at a distance of 10 cm, install additional guides.
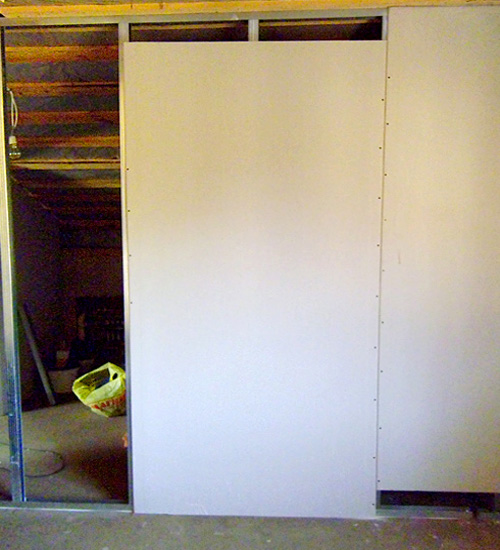
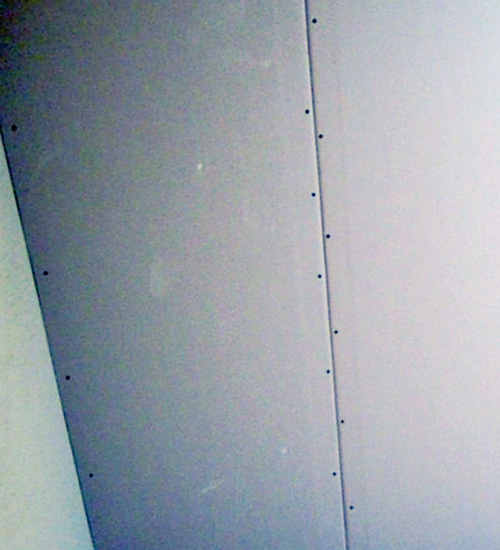
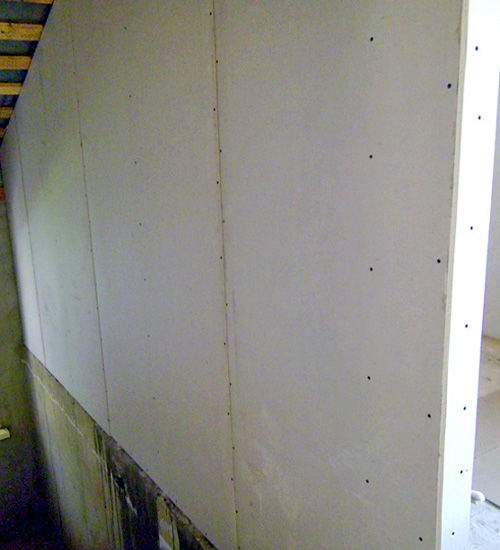
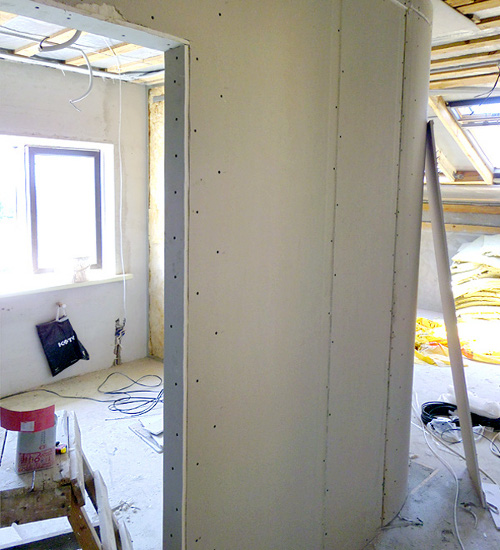
- The installation of the frame for the interior part of the gypsum board is ready, it's time to decorate it. When working, the step between the fasteners should not exceed 20 cm.
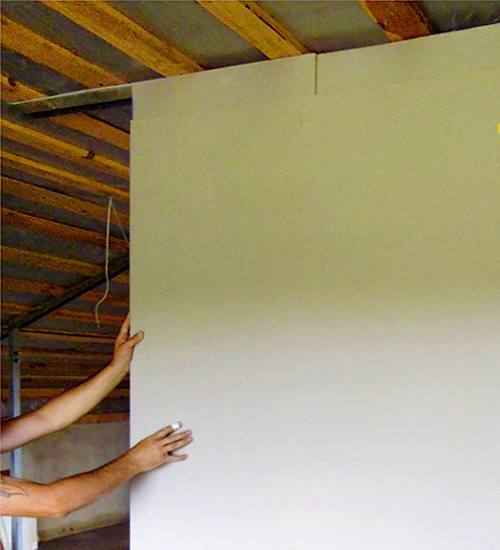
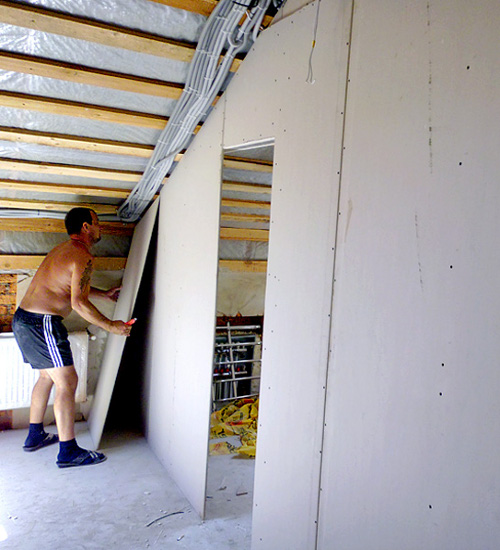
- Important point: if you need to use a couple of whole sheets and one half (and we'll sew in two layers), we work first with a half, then we attach whole sheets.
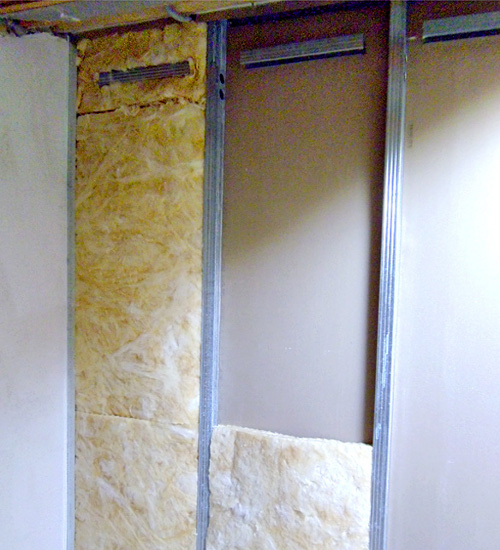
- It is likely that when installing gipsokartonnoy septa yourself, you will encounter such a problem: the sheets are shorter than the height of the ceilings in the room. In this situation, additional pieces are fixed alternately under the ceiling and above the floor.
- Next, make cutouts for the doorway.
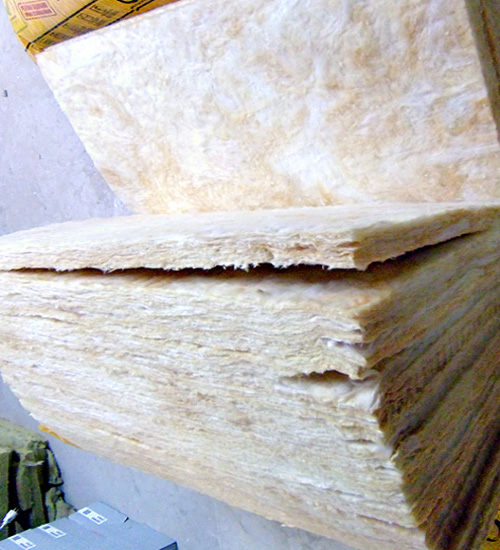
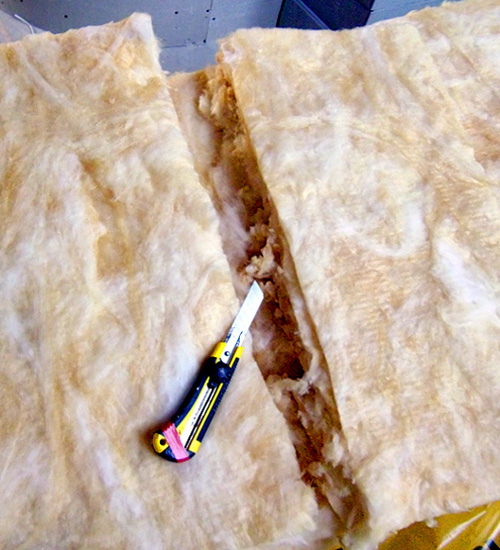
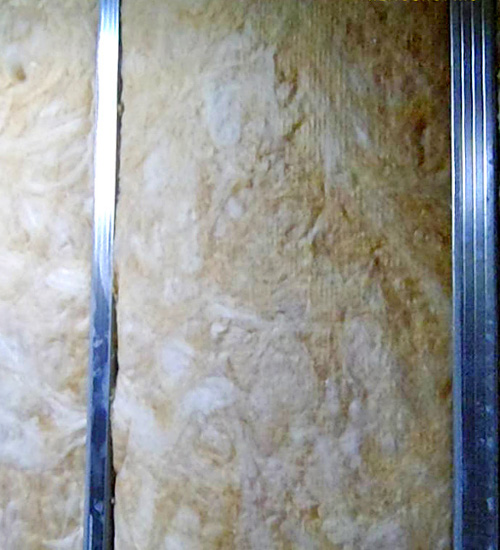
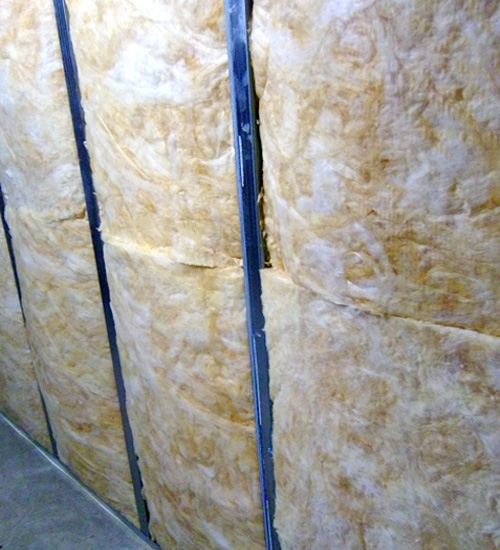
- The penultimate step of the installation of the plasterboard partitions is the installation of sound insulation.
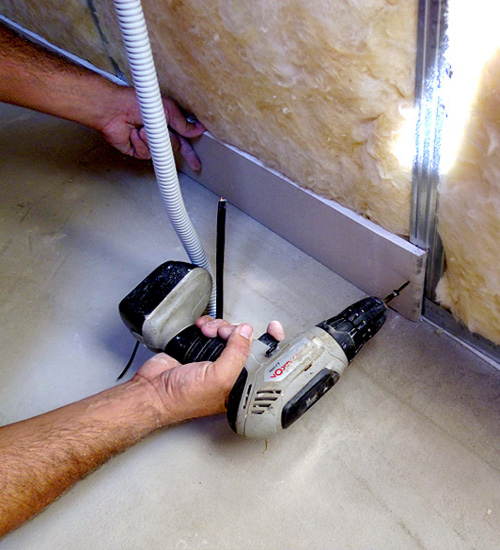
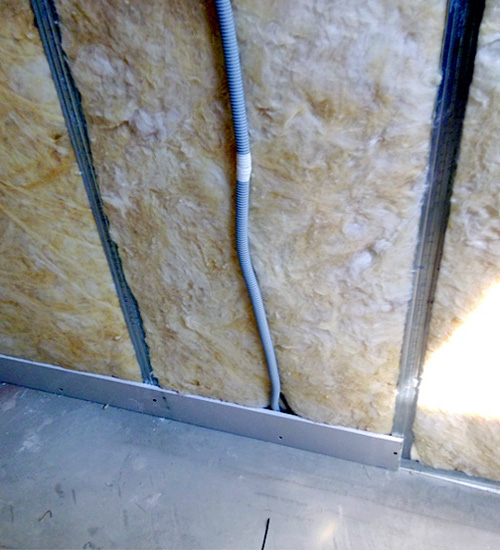
- It remains only to frame the frame from the back side and at the same time make a markup for all the wires and sockets. At this installation of the plasterboard partitions is completed.